3D part design with Inkscape and Openscad part 1: Making a custom Inkscape template for your 3d printer
Part one: Customizing an Inkscape template for your 3d printer
There are a lot of software options for designing 3d objects for 3d printing, most have a pretty large learning curve, cost hundreds of dollars or require a subscription. The method I'm going to outline here is simple for beginners but advanced enough to design very complex parts, starting with a basic design with multiple layers in Inkscape and finishing with how to set up the customizer in OpenScad to automate most all routine tasks like rotate, scale or extrude with a slider bar.
I'm using version 1.0, but the setup should be the same for older versions.
I'm using version 2019.05, any newer version that has the customizer should work.
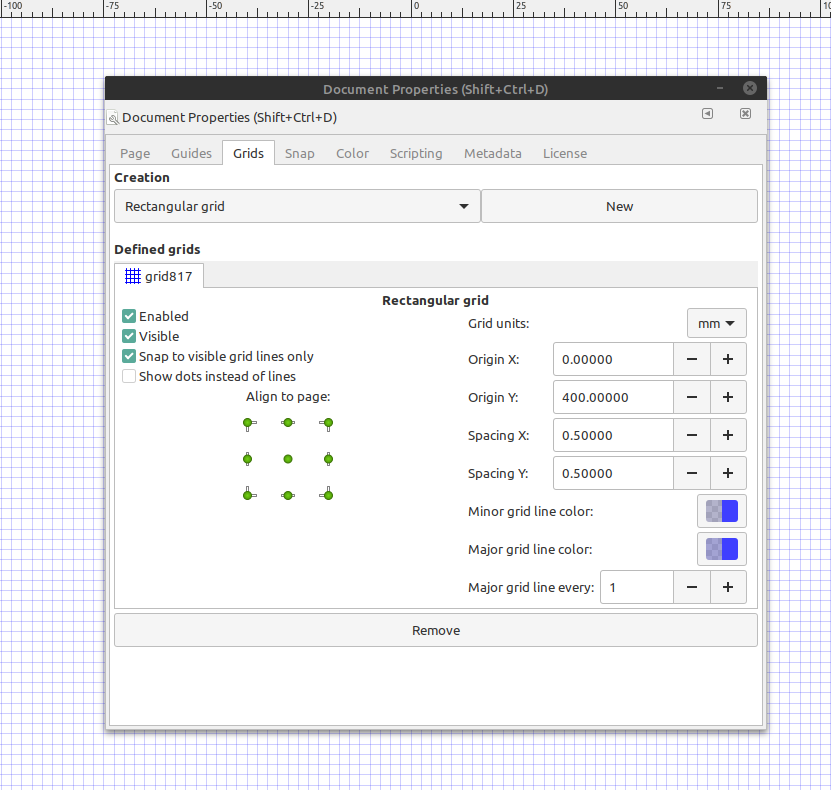
Set up the grid in Inkscape : goto File>Document Properties>Grids or click (Shift+Cntrl+D) and set the origins and grid units, this helps with determining the correct size and orientation of the objects on the print bed. The origin of X and Y are important because they determine the position of the object when it's exported to OpenScad. Origin X = 0, Y = 400 will make sure the object is exported to X=0, Y=0 (the center of the page) in OpenScad. More on why this is later in the tutorial.
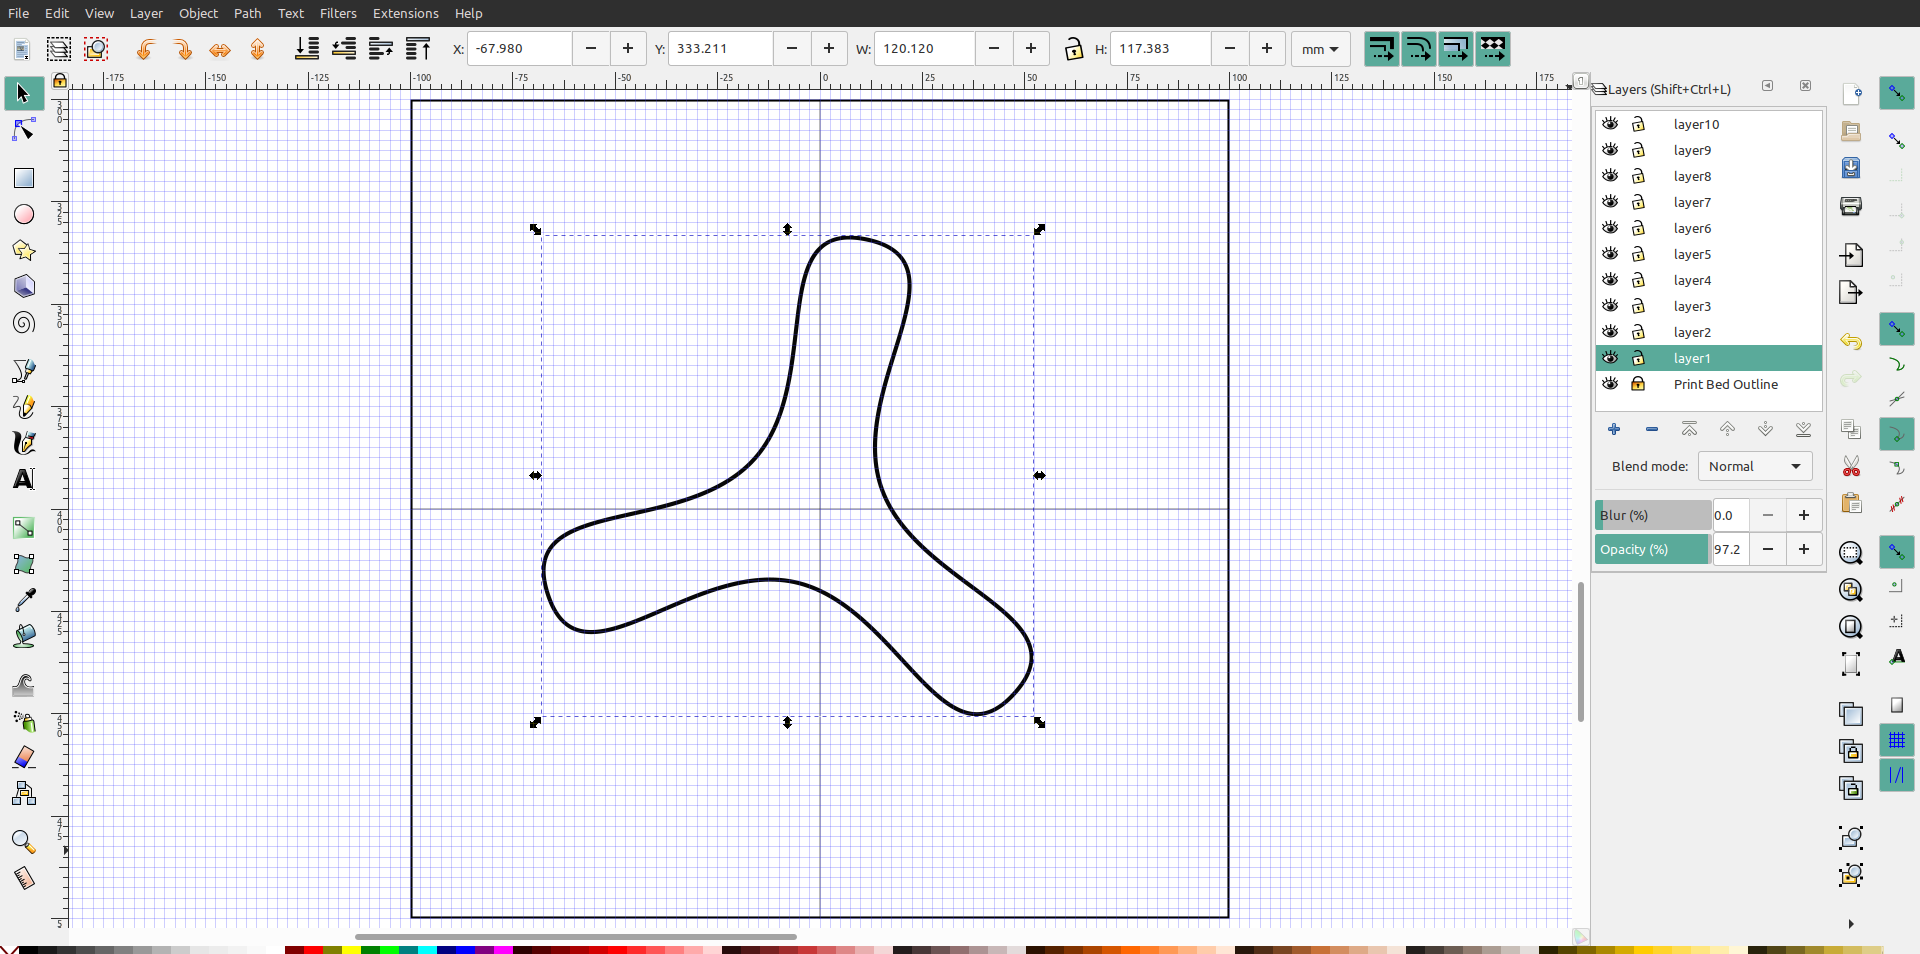
Set up a bed outline that is the size of your print bed: I set up my template to be 400 mm by 400mm, if your print area is smaller make it the size of your print area so your design fits on your heat bed. Just draw a square the right size, put it on the bottom layer and lock the layer so it can't be moved or modified. I named the layer bed outline and added a couple of lines to show the center of the design area, also notice that the center of the square is at x=0 y=400. Once the layer is locked the outline will be a guide for designing objects the right size for the printer, just make sure you don't draw anything on this layer because it is locked and we will hide this layer before we export the design to OpenScad.
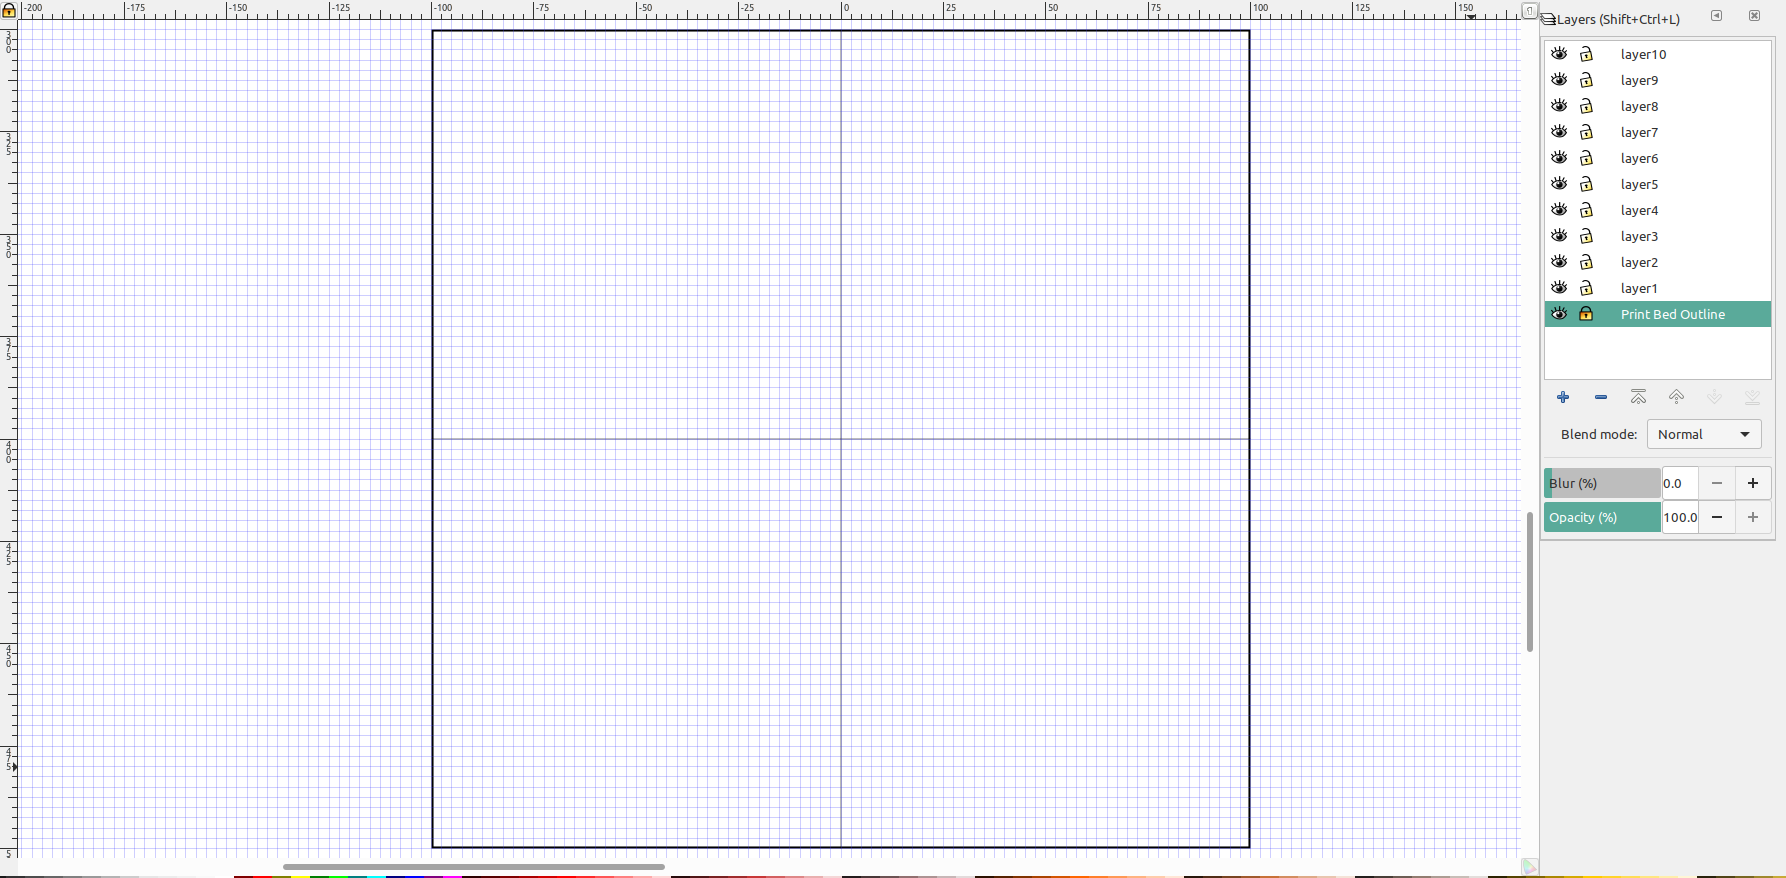
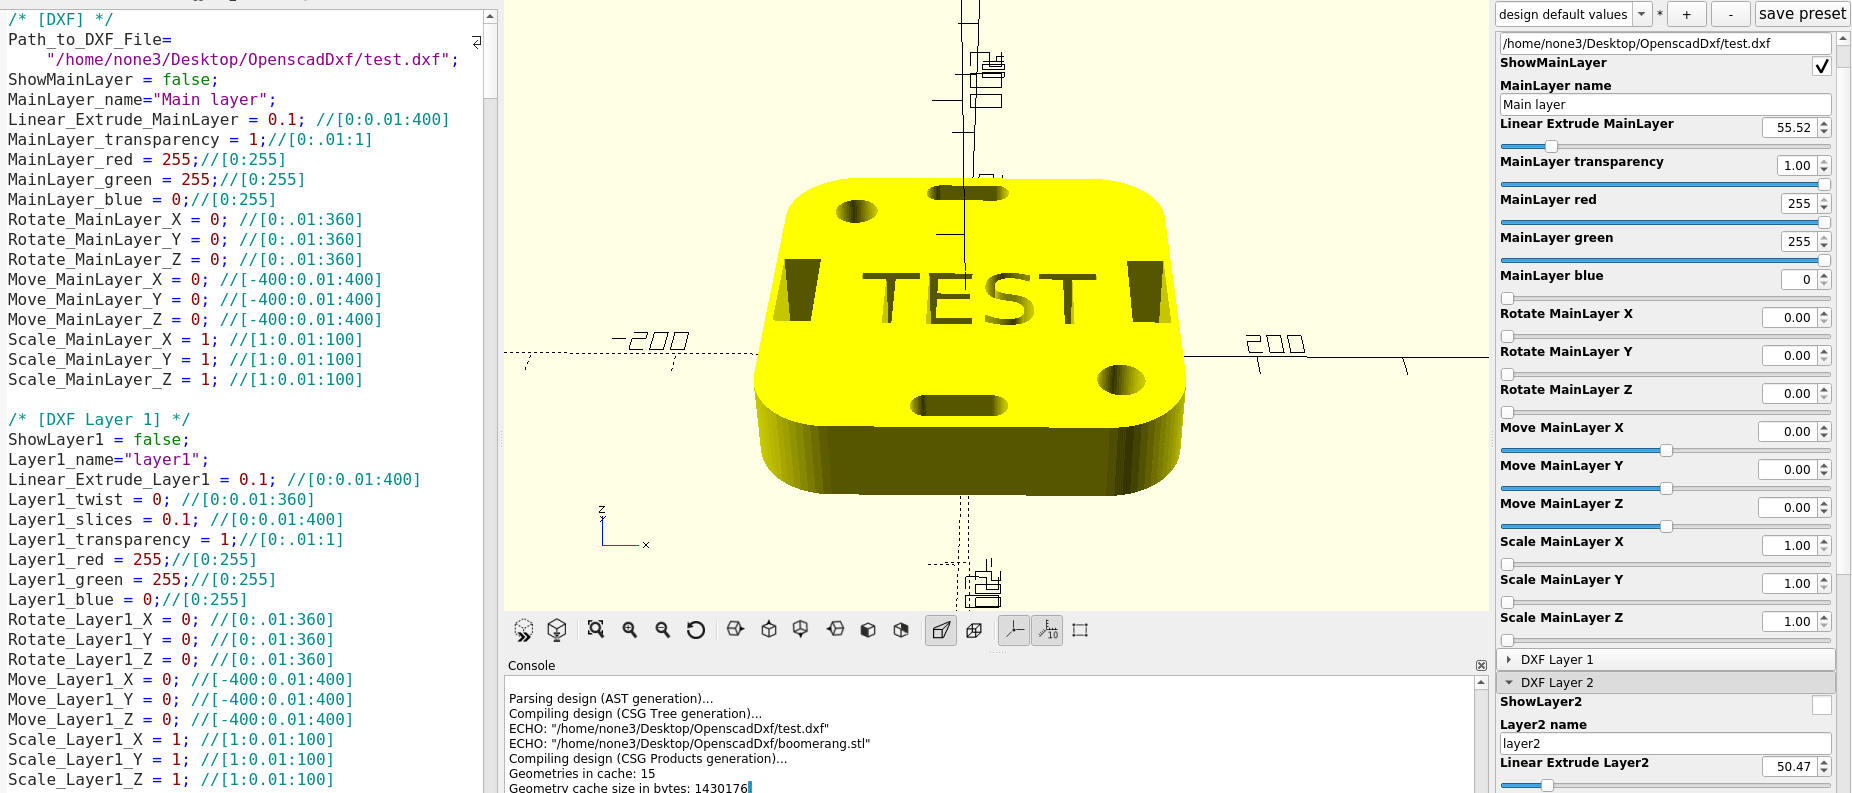
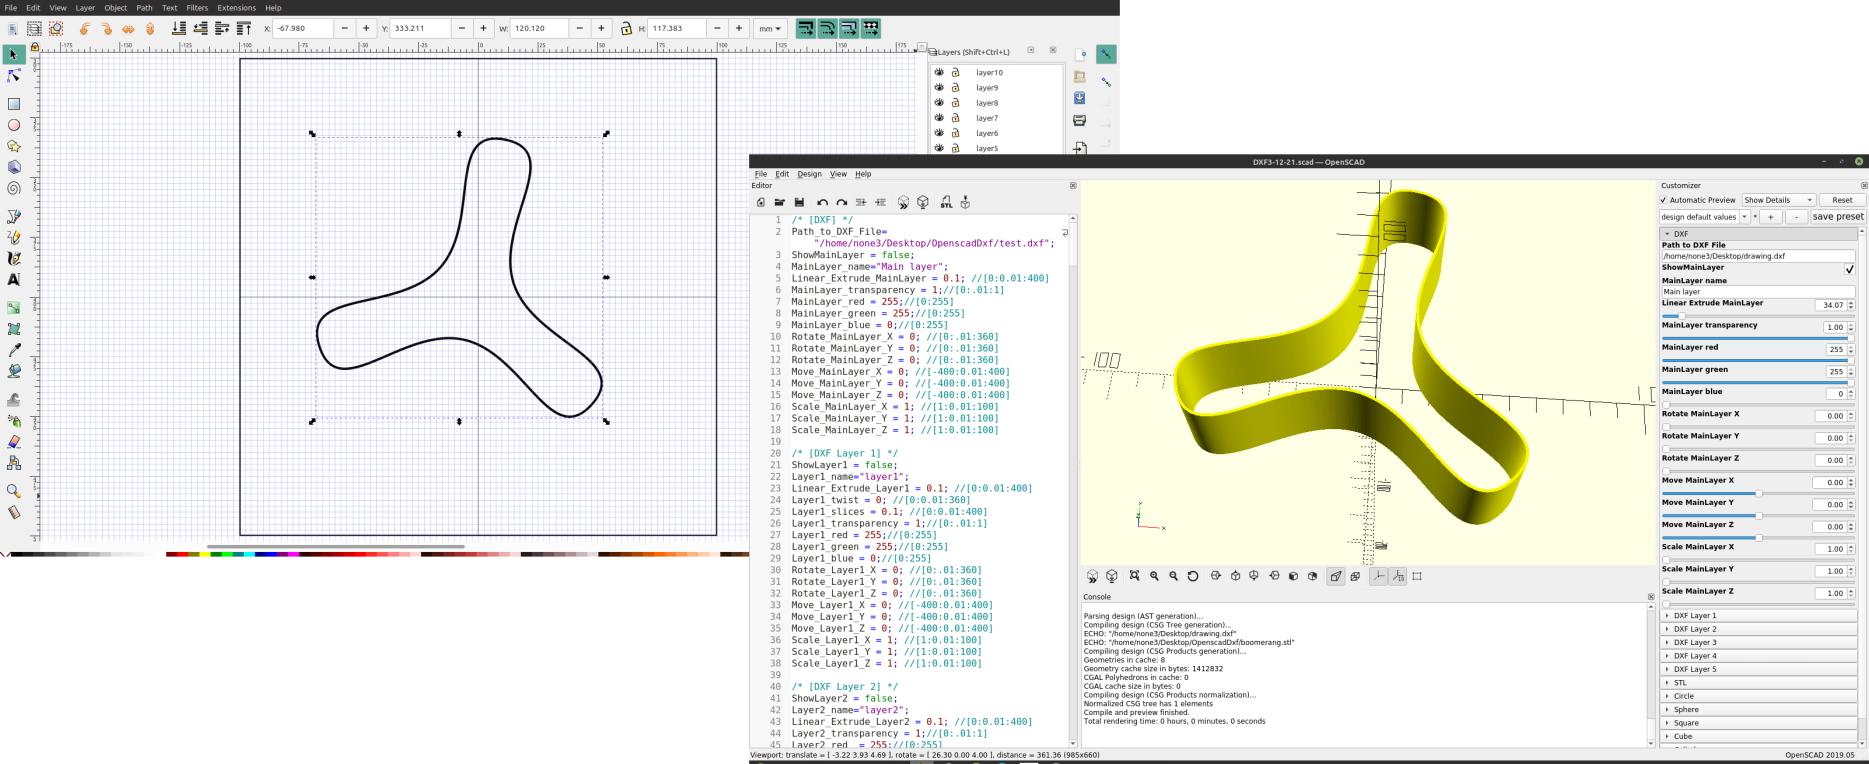
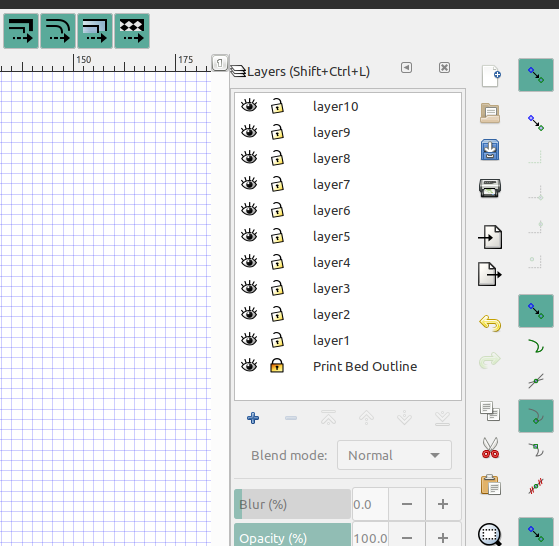
Add layers to the template: I added 10 layers to my template but 5 is probably plenty, you can always add more depending on how complex your project is. I named the layers 1 through 10 and the names are important because they will be used to import each layer individually into OpenScad. Each layer will add a unique aspect to the 3d design which you will see shortly. For anyone that is not familiar with Inkscape you can add the layers by clicking on the "+" symbol, show or hide layers by clicking on the "eye" next to the layer and lock or unlock the layer by clicking on the "padlock" symbol. If you can't find the layers dialog just click (Shift+Cntrl+L) or goto Layer> Layers
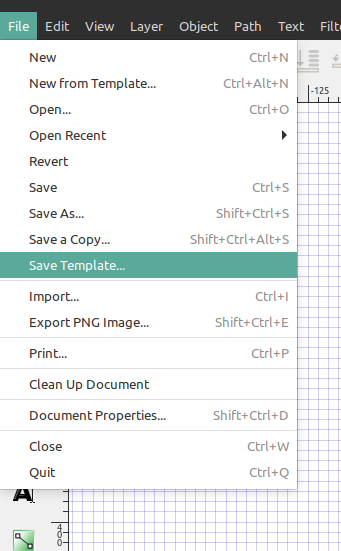
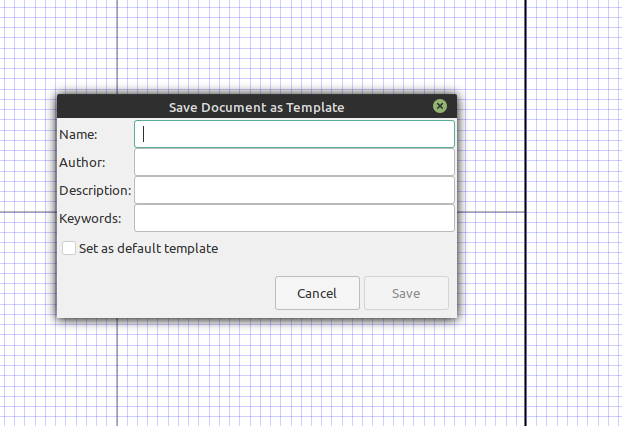
Save as a template: That's pretty much it for the set up and once you save the file as a template you can just open it up and start designing, or you can set it as the default template so everytime inkscape starts it's already loaded.
In part two I'm going to make a design with multiple layers in Inkscape, export it to OpenScad, set up the customizer in OpenScad with a slider bar to extrude the layers of the design, and show how you can have multiple layers inside of layers in the design.