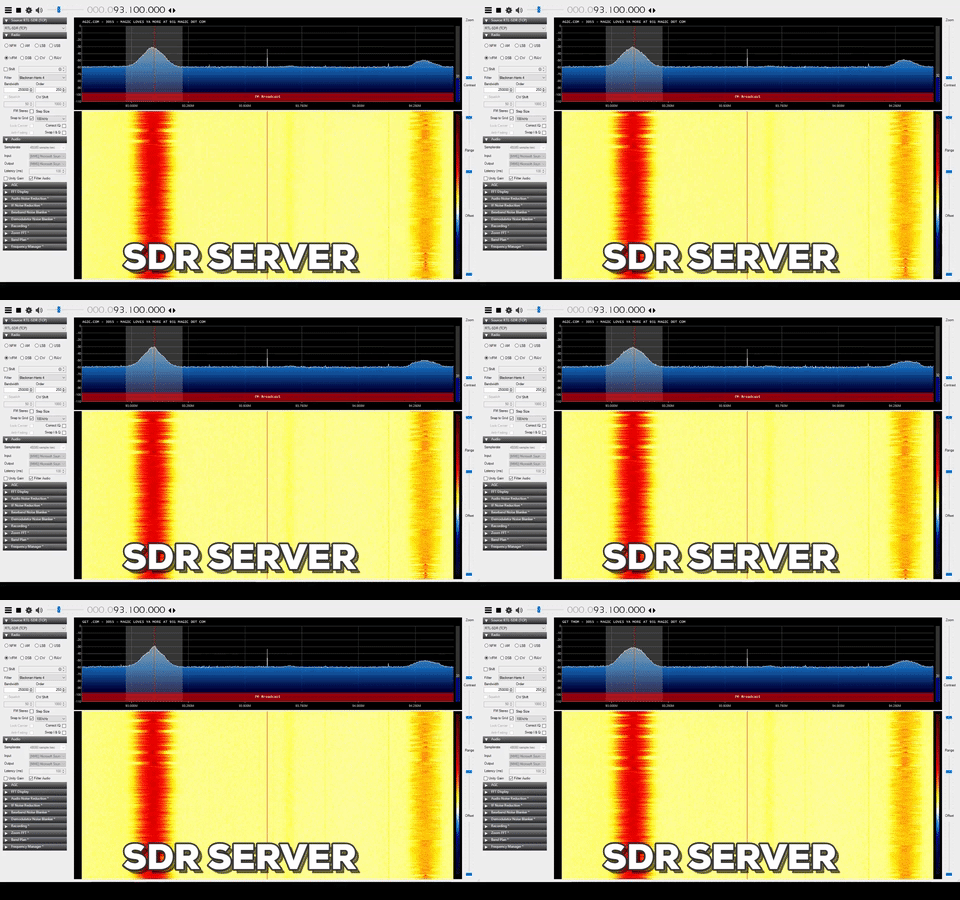
I wanted to find a way of having an SDR server without needing a computer on all the time. So I used a PI Zero W and a cheap SDR to have an always-on SDR server that I could use anytime I wanted to.
Parts
- Raspberry Pi Zero
- USB hub with ethernet
- RTL-SDR (any should do)
Installing the drivers and software
The first thing we need to do is install the RTL drivers. Go to the terminal on your raspberry pi and type in the following command.
sudo apt-get install git cmake libusb-1.0-0.dev build-essential
Now we can install the RTL-SDR server on the Pi with these commands.
git clone git://git.osmocom.org/rtl-sdr.git
cd rtl-sdr/
mkdir build
cd build
cmake ../
make
sudo make install
sudo ldconfig
Now you want to plug in the SDR and the USB hub then run rtl_test -t in the terminal to make sure it works.
Running the server and connecting with SDR Sharp
Now that the SDR is running and using the right drivers you can run rtl_tcp -a 192.168.X.XXX and change the IP to the IP of your pi. It should start up with no error. Now you can open SDR Sharp and click on source. In the drop-down menu click RTL-SDR(TCP) and then click on the gear icon and enter the IP of your PI Zero. After that you should be able to click the play button and see incoming radio waves.


