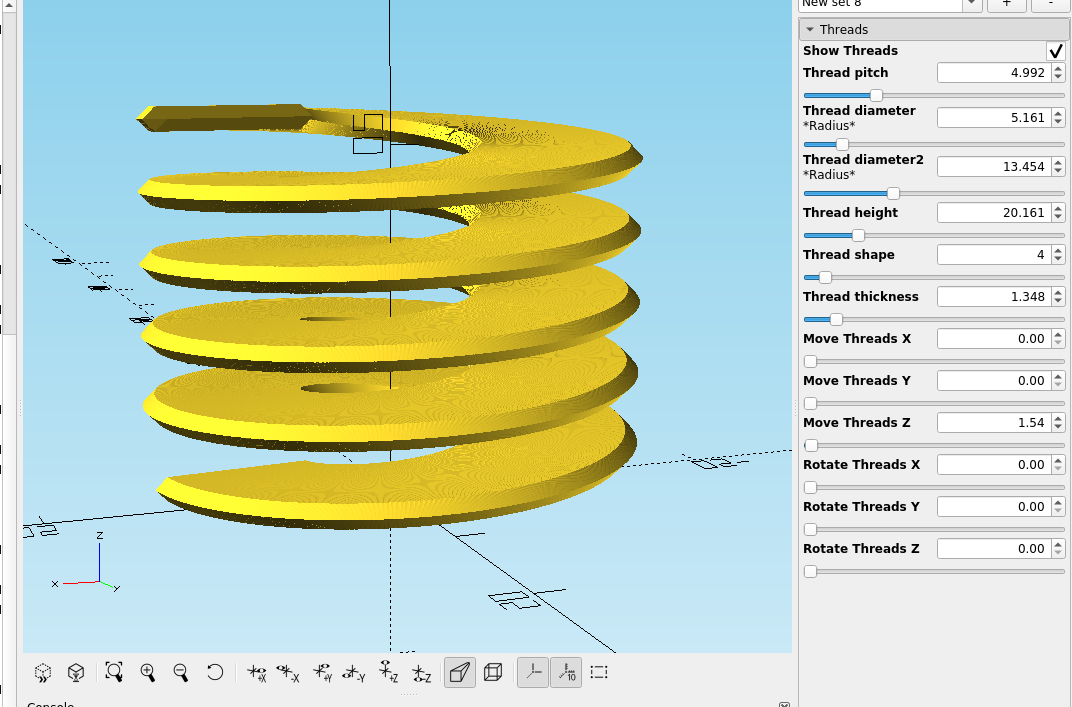
There have been some significant improvements with the rendering speed in Openscad recently, what used to take several hours or possibly a full day can now render in a couple of minutes. I needed to design some sprinkler riser adapters and was using the thread module but it needed a couple of features added like move X,Y and Z, rotate to any angle and adjust the width of the threads. I found that as I widened the thread the sections would come apart, so I added a couple more instances of the same cylinders but offset them a bit.The result is now the threads are much smoother and render at pretty much the same speed.
To use the fast rendering improvements in Openscad you need to use the development version, I downloaded a flatpack and have had zero issues with it:

Click on this picture to go to the downloads page
Here is the version i have been using for several weeks:
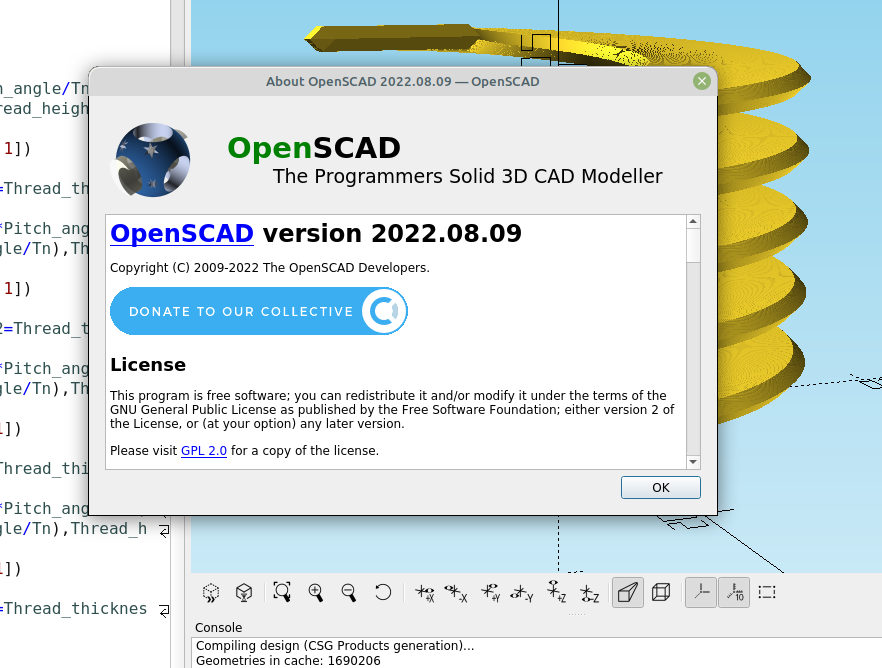
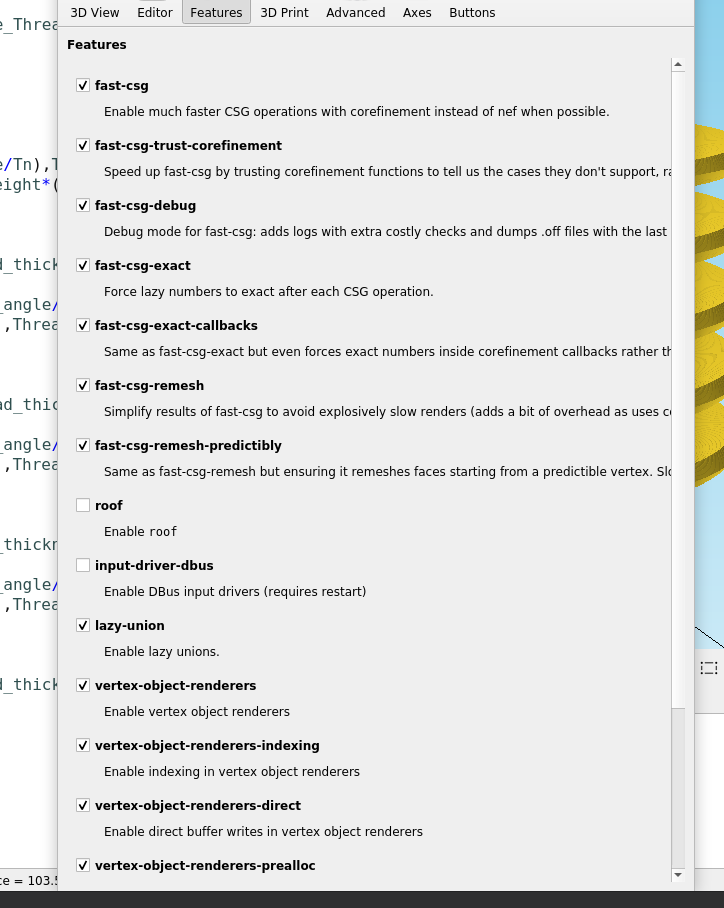
And here are the settings I have enabled:
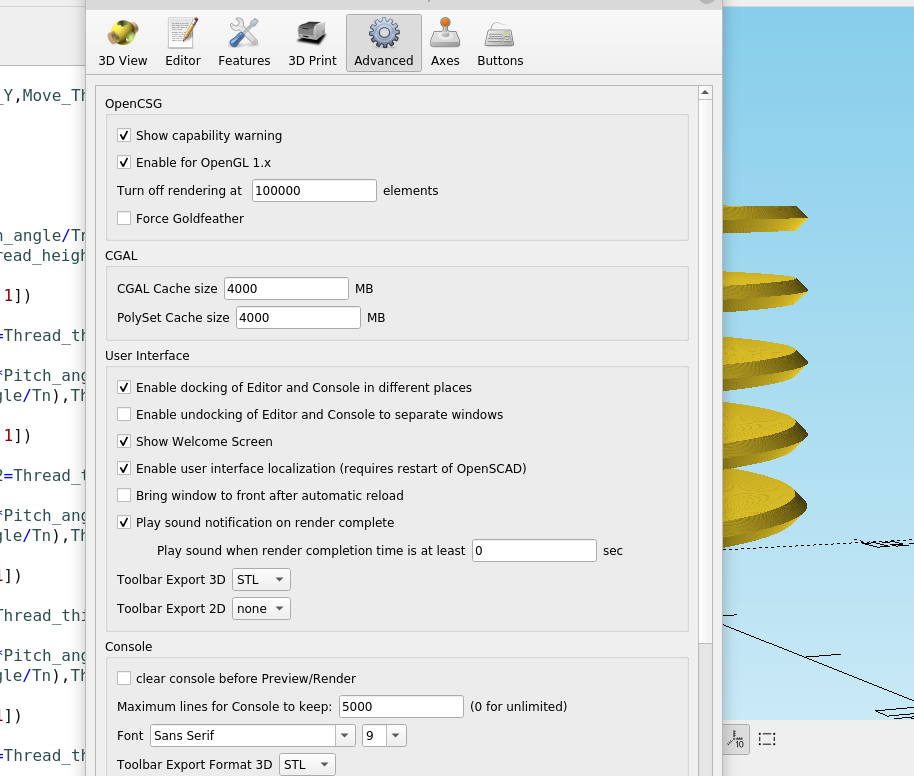
I also increased the CGAL and POLYSET cache size, I started at 256Mb and upped it slowly to see if there were any issues, I have 32Gb of ram so I'm pretty sure I could up it some more, I need to do some research to see how much it would help or if 4Gb is too much. It definitely improved the responsiveness:
Then to add the new features to my template file I just made some small changes to the customizer and threads module:
Just copy the text and paste it in the editor in Openscad to give it a try.
Note: Markdown language has an issue with asterisks, if the code flags an error go through the lines and compare them with the code on this site and add them appropriately. I test the copy and paste but I'm not sure it works in all cases.
/*[Threads]*/
Show_Threads = true;
Thread_pitch = 4;//[0:.001:16]
Thread_diameter = 8;//[0:.001:100]
Thread_diameter2 = 12;//[.1:.001:100]
Thread_height = 10;//[0:.001:100]
Thread_shape = 4;//[3:1:20]
Thread_thickness = 1;//[.1:.001:12]
Flank_angle = 1.5;//[.1:.001:12]
Move_Threads_X = 0; // [0:.01:400]
Move_Threads_Y = 0; // [0:.01:400]
Move_Threads_Z = 0; // [-400:.01:400]
Rotate_Threads_X = 0; // [0:.01:360]
Rotate_Threads_Y = 0; // [0:.01:360]
Rotate_Threads_Z = 0; // [0:.01:360]

//***Threads***//
Inches=(Thread_height/25.4);
ThreadsPerInch =(Thread_pitch);
ImperialBoltDiameter=(Thread_diameter/25.4);
Tn=100*Thread_pitch;
Pitch_angle=360*Thread_pitch;

module Threads(){
  if(Show_Threads)
  rotate([Rotate_Threads_X,Rotate_Threads_Y,Rotate_Threads_Z])
  translate([Move_Threads_X,Move_Threads_Y,Move_Threads_Z])

 for (i =[0.4:.075:Tn]){

 hull(){

   translate([Thread_diameter/2*cos(i*Pitch_angle/Tn),Thread_diameter/2*sin(i*Pitch_angle/Tn),Thread_height*(i/Tn)])
   rotate(a=180+(i*(Pitch_angle/Tn)),v=[0,0,1])
   rotate(a=90,v=[.01,0,0])
   cylinder(h=1,d1=.1,d2=Thread_thickness*Flank_angle,$fn=Thread_shape,center=false);
   translate([Thread_diameter2/2*cos((i+1)*Pitch_angle/Tn),Thread_diameter2/2*sin((i+1)*Pitch_angle/Tn),Thread_height*(i+1)/Tn])
   rotate(a=180+(i*(Pitch_angle/Tn)),v=[0,0,.1])
   rotate(a=89.7,v=[.1,0,0])
   cylinder(h=.01,d1=0,d2=Thread_thickness,$fn=Thread_shape,center=false);
   rotate(a=0,v=[0,10,0])
   translate([Thread_diameter2/2*cos((i+1)*Pitch_angle/Tn),Thread_diameter2/2*sin((i+1)*Pitch_angle/Tn),Thread_height*(i+1)/Tn])
   rotate(a=180+(i*(Pitch_angle/Tn)),v=[0,0,1])
   rotate(a=90,v=[1,0,0])
   cylinder(h=.1,d1=0,d2=Thread_thickness,$fn=Thread_shape,center=false);
   translate([Thread_diameter2/2*cos((i+1)*Pitch_angle/Tn),Thread_diameter2/2*sin((i+1)*Pitch_angle/Tn),Thread_height*(i+1)/Tn])
   rotate(a=180+(i*(Pitch_angle/Tn)),v=[0,0,1])
   rotate(a=89.5,v=[1,0,0])
   cylinder(h=.1,d1=0,d2=Thread_thickness,$fn=Thread_shape,center=false);
}
}}
//

Threads();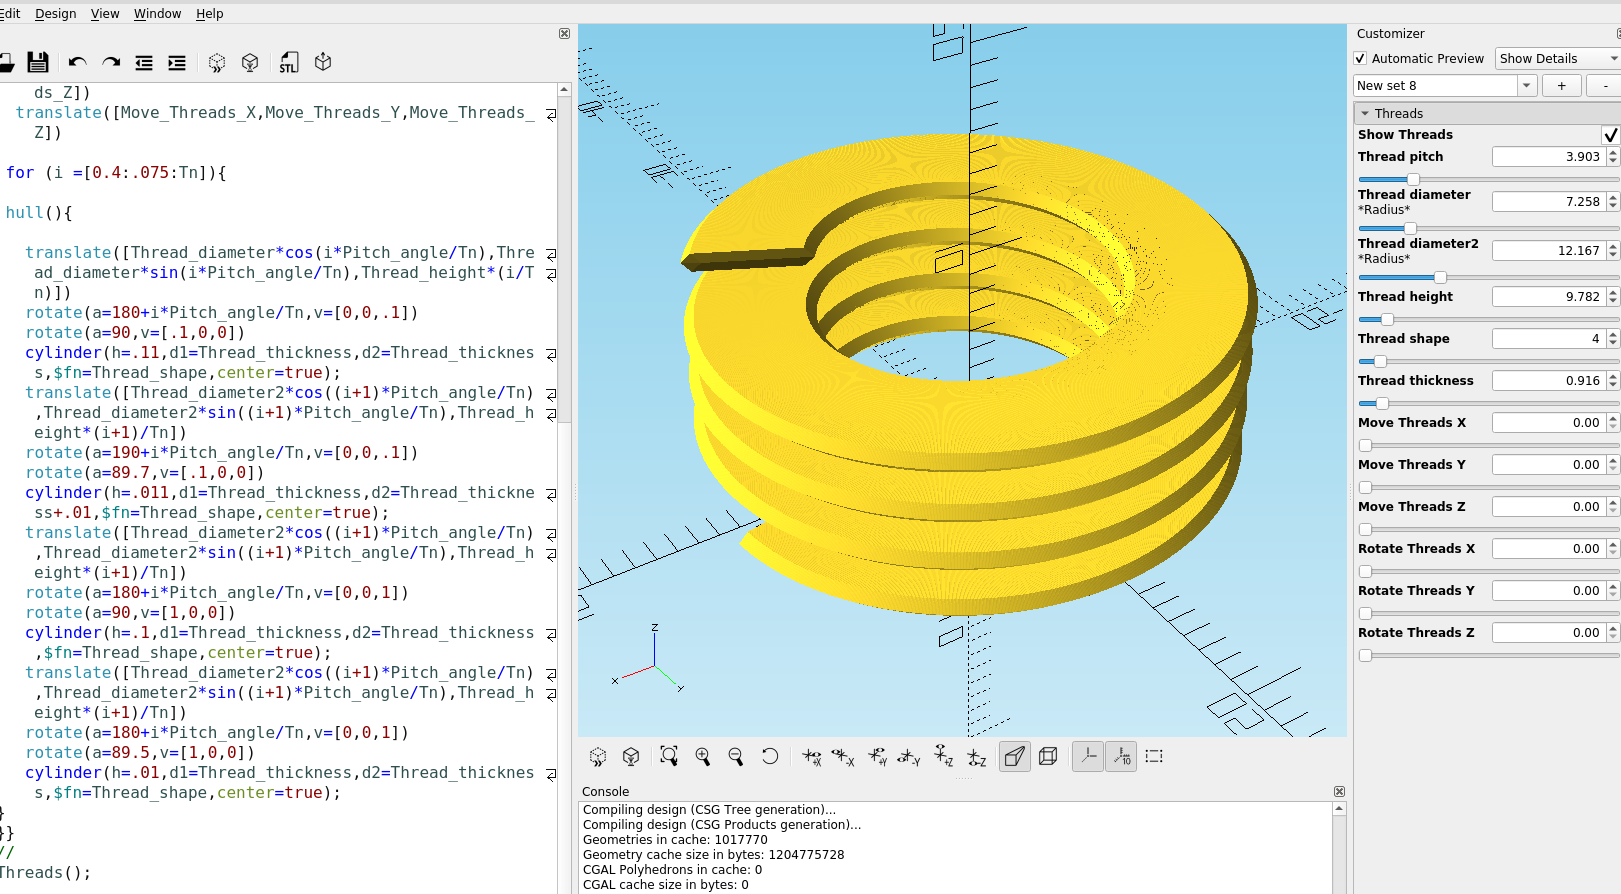
Now I can adjust the width if I want the threads to cut a little deeper and rotate them to any angle for use with the pipe fitting module.
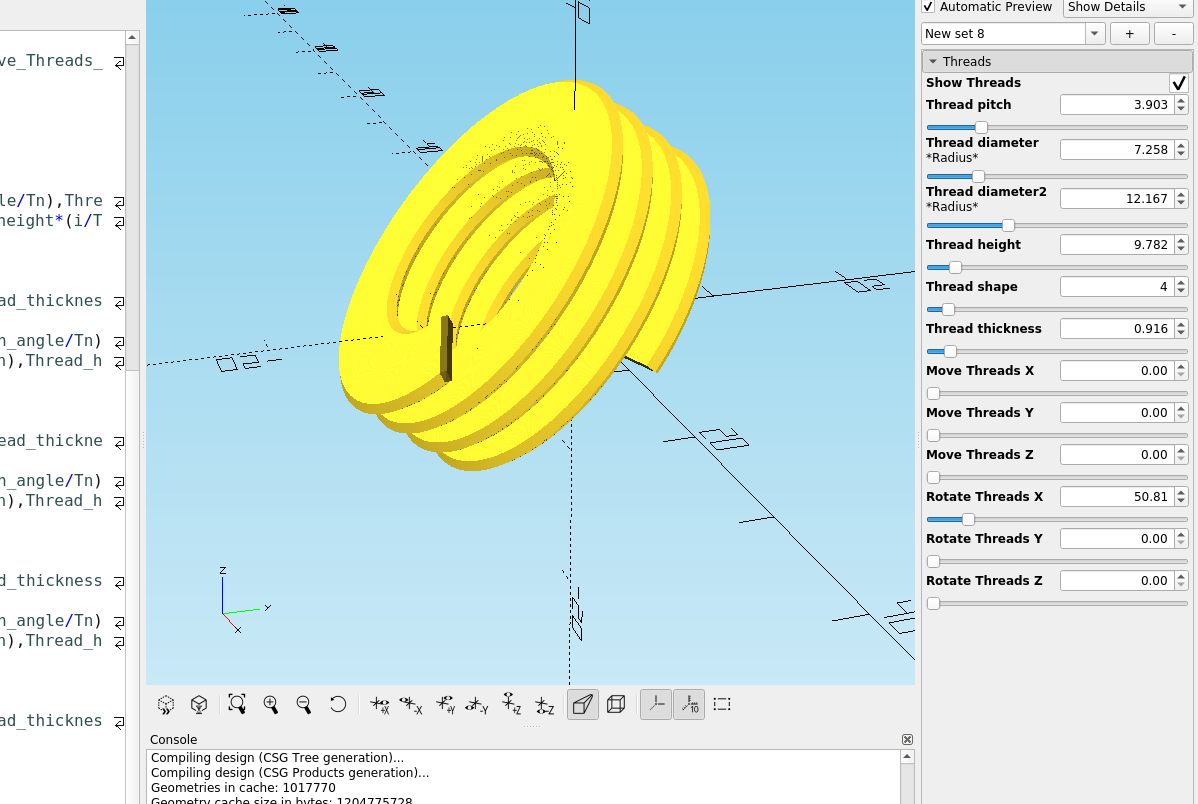
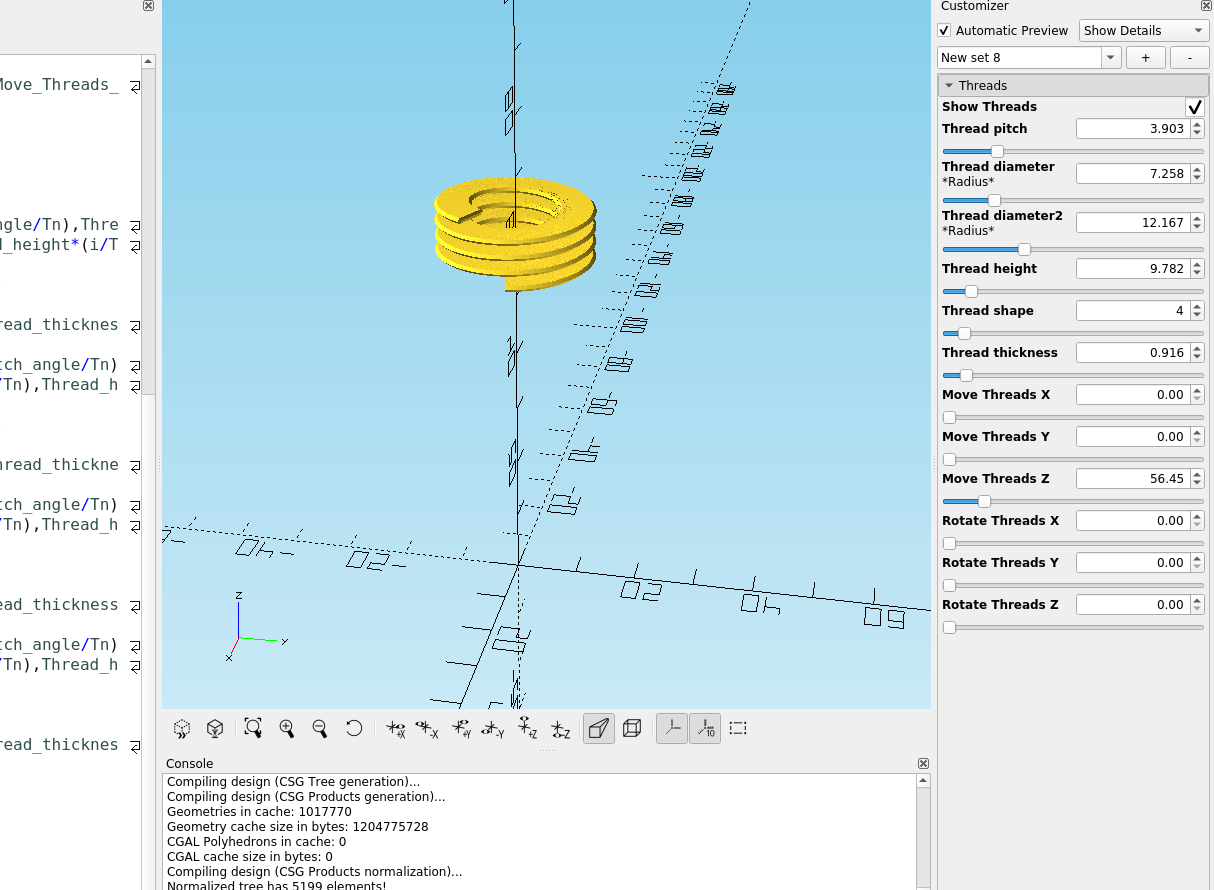
Also by adding the extra sections the profile of the thread is much smoother now.
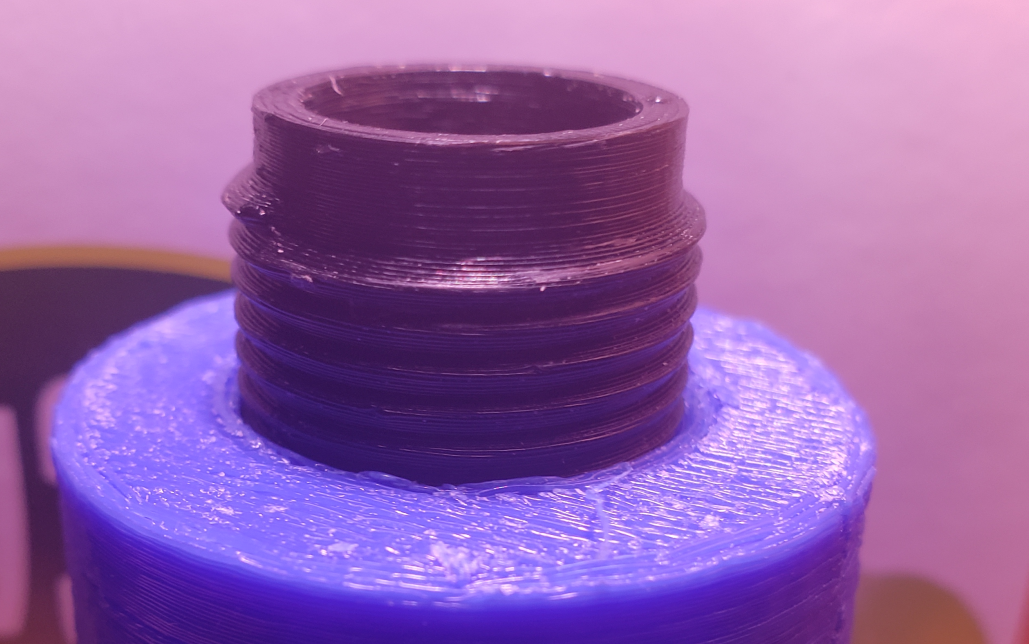
A thread I printed recently fit perfectly and matches a factory thread exactly:
There is still a bit to do like add tapering, but the thread module works really well for the small amount of code it uses.

