
3D part design with Inkscape and Openscad part5: adding DXF rotate extrude
In this tutorial I am going to add slider bars to Openscad to rotate extrude a Layer of a dxf file, and design a roller in inkscape.
First step is to draw the desired shape in Inkscape, when you design the object make sure it sits on the right or left side of the "Y" axis and doesn't overlap otherwise openscad will give you an error:


First I'm going to draw a basic shape for my object:
Set the nodes to lines and export to dxf:
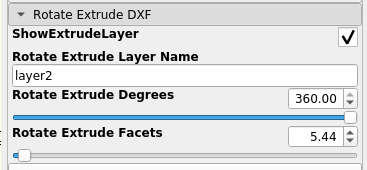
I'm going to add a new section in the Customizer to Rotate Extrude a specified layer:
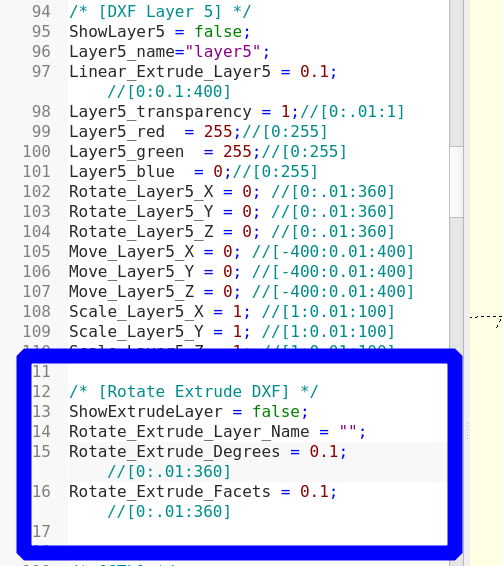
After specifying ShowExtrudeLayer(checkbox),layer name input(text input), a slider for rotate degrees, one for number of fragments and then clicking update, the new menu shows up in the customizer:
Next I add a new module for Rotate Extrude:
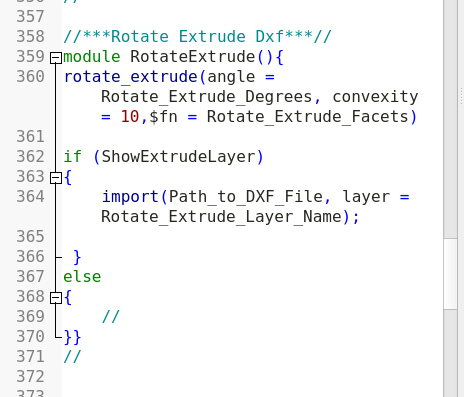
You will notice that I now get the values for rotate degrees and fragments from the value of the slider bar, and I set ShowExtrudeLayer so that if it's not checked (false) the program just goes to the next command.
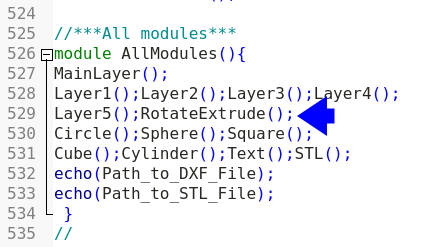
Now I add my new module to the rest so I can call it independently or as part of the group:
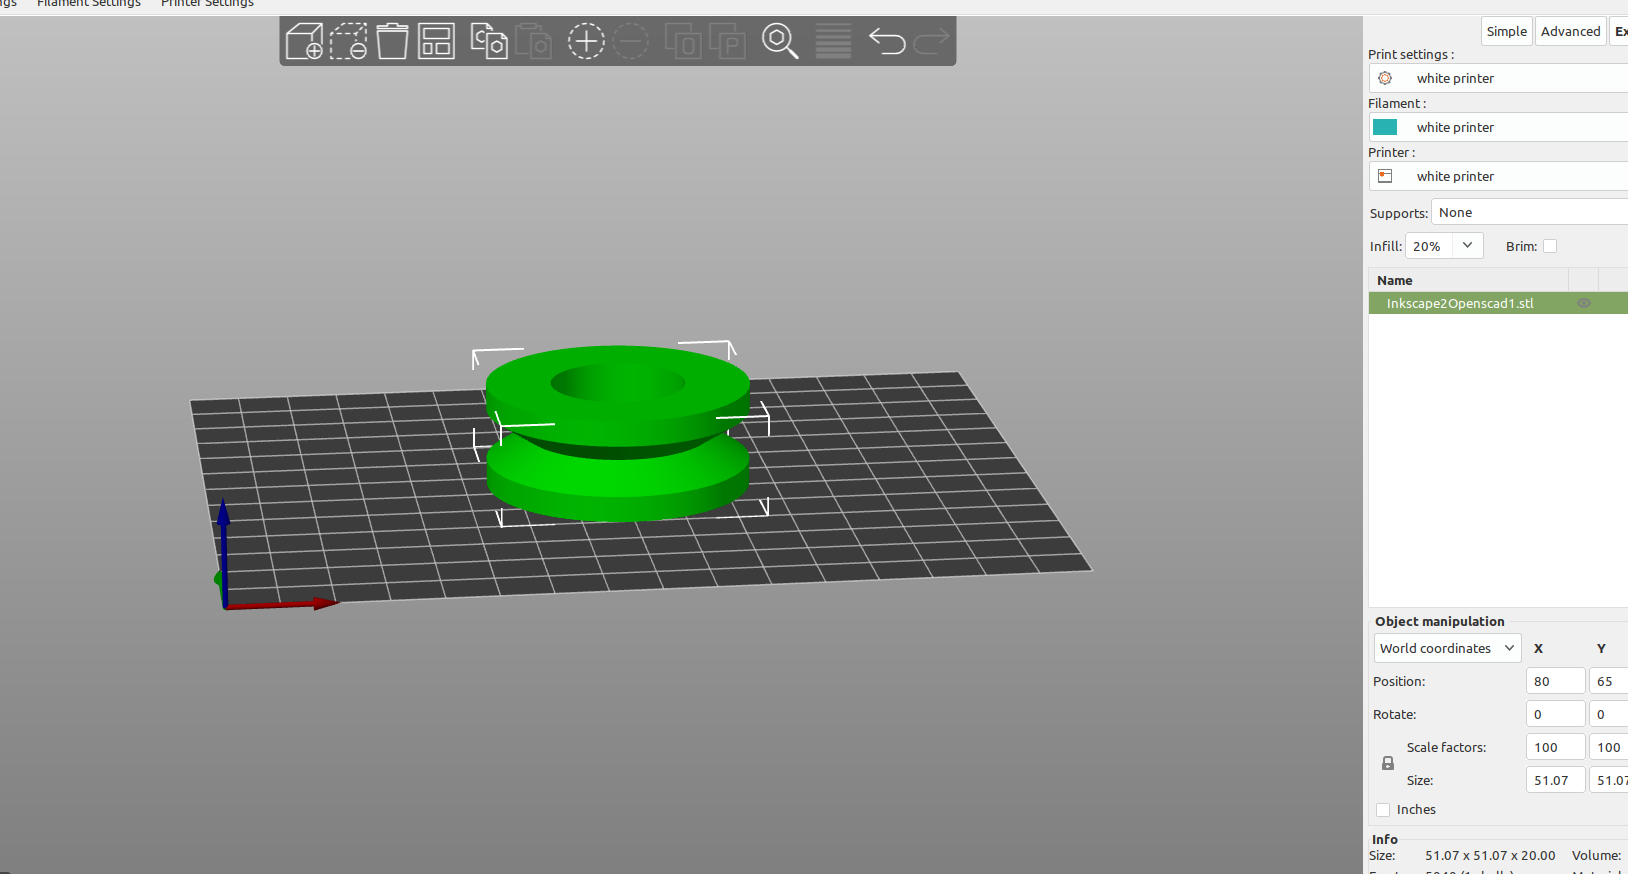
Now I can import my DXF file and rotate extrude it:
As you can see from this example the capabilties you can add to your Openscad template are only limited by your imagination and ability to take a few weeks to learn the program. I don't think that using the customizer to automate common tasks takes away from the "programming" based spirit of Openscad at all because as you come up with more ideas on how you can adapt it to do what you want the deeper you get into the programming aspect.
In the next tutorial I'm going to make some more complex objects and send them to the printer for some real world results.
