3D part design with Inkscape and Openscad part 6: pattern along a path
This next tutorial will show how to draw a path and then make a selected pattern follow the path, I chose a circle for simplicity but I would recommend trying different patterns along different paths to see the interesting ideas you can come up with.
First I make my "path" object, then I make the "pattern" object. You will select the path, open the path effects window, copy the pattern to the clipboard and then paste it to the path:
Notice that if you resize your pattern object it will resize along the path.
Then I will set the stroke to the desired thickness, convert the stroke to a path, convert the nodes to lines, and export to a .dxf file:
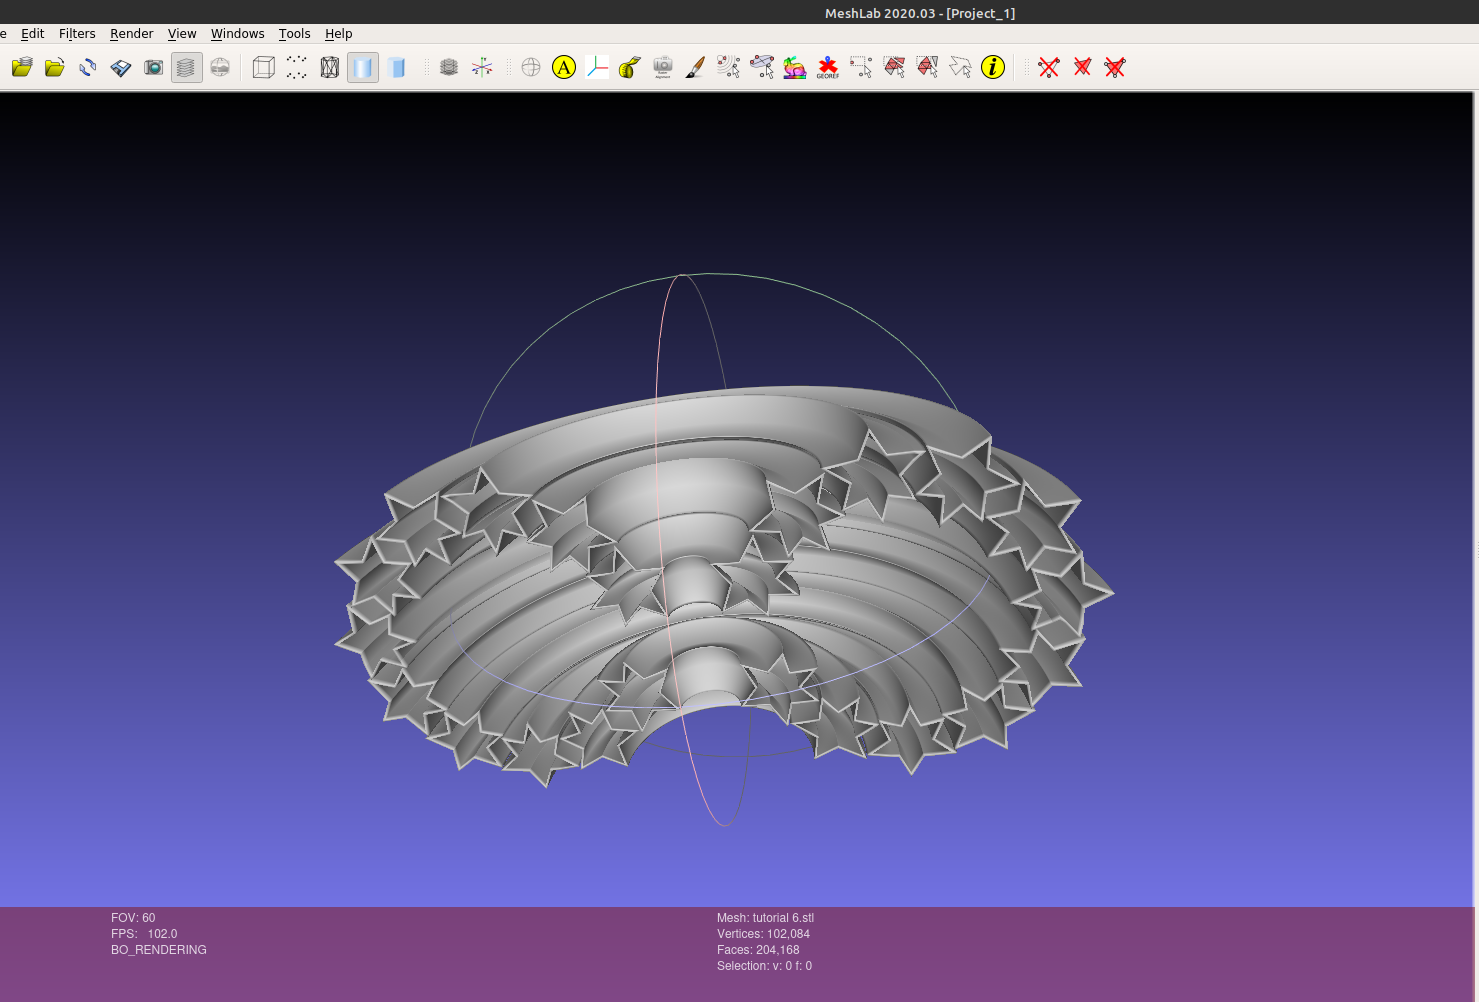
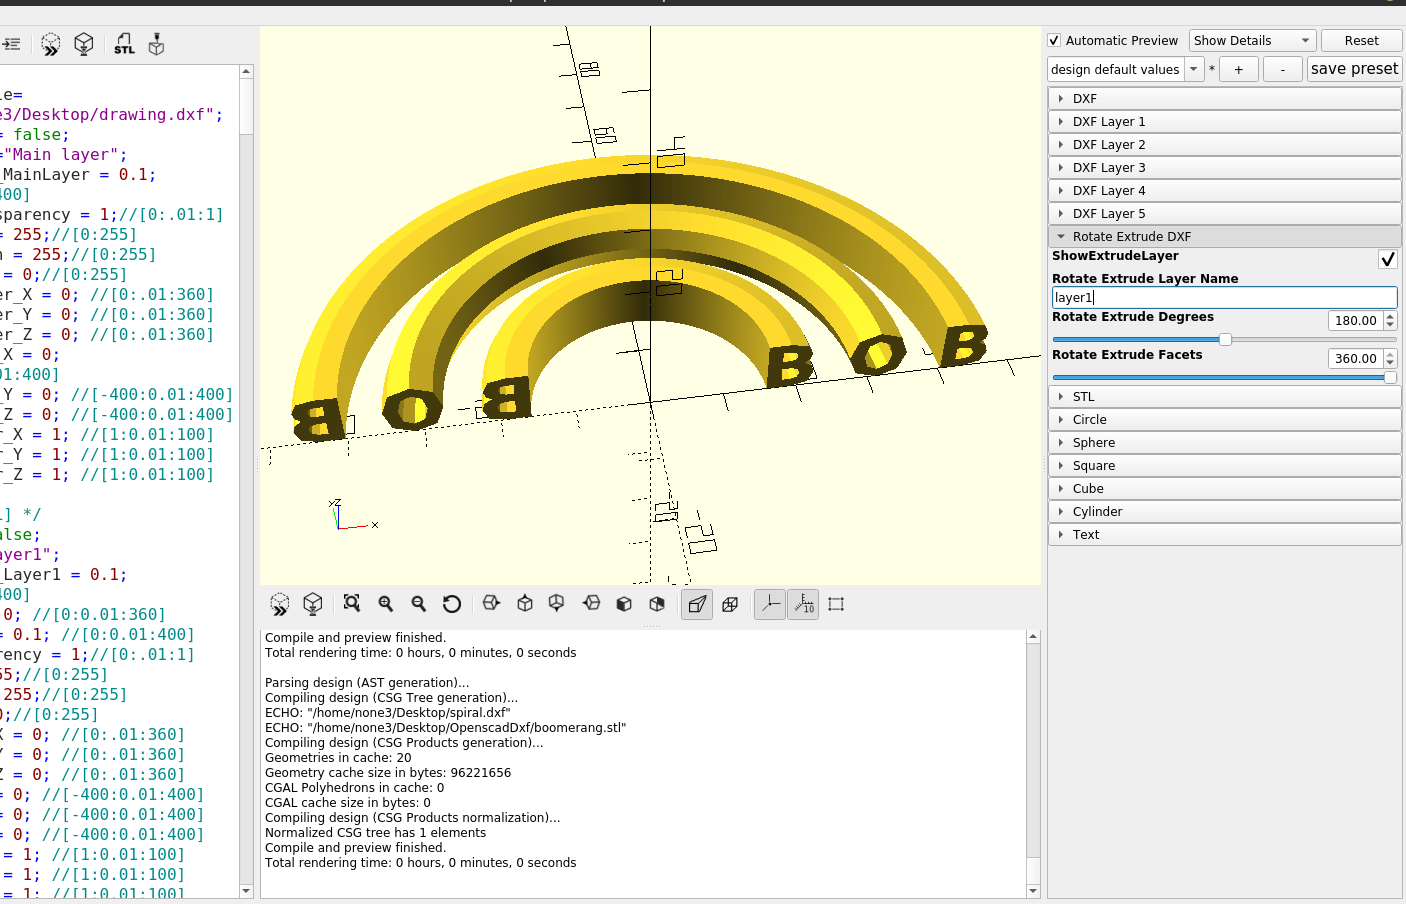
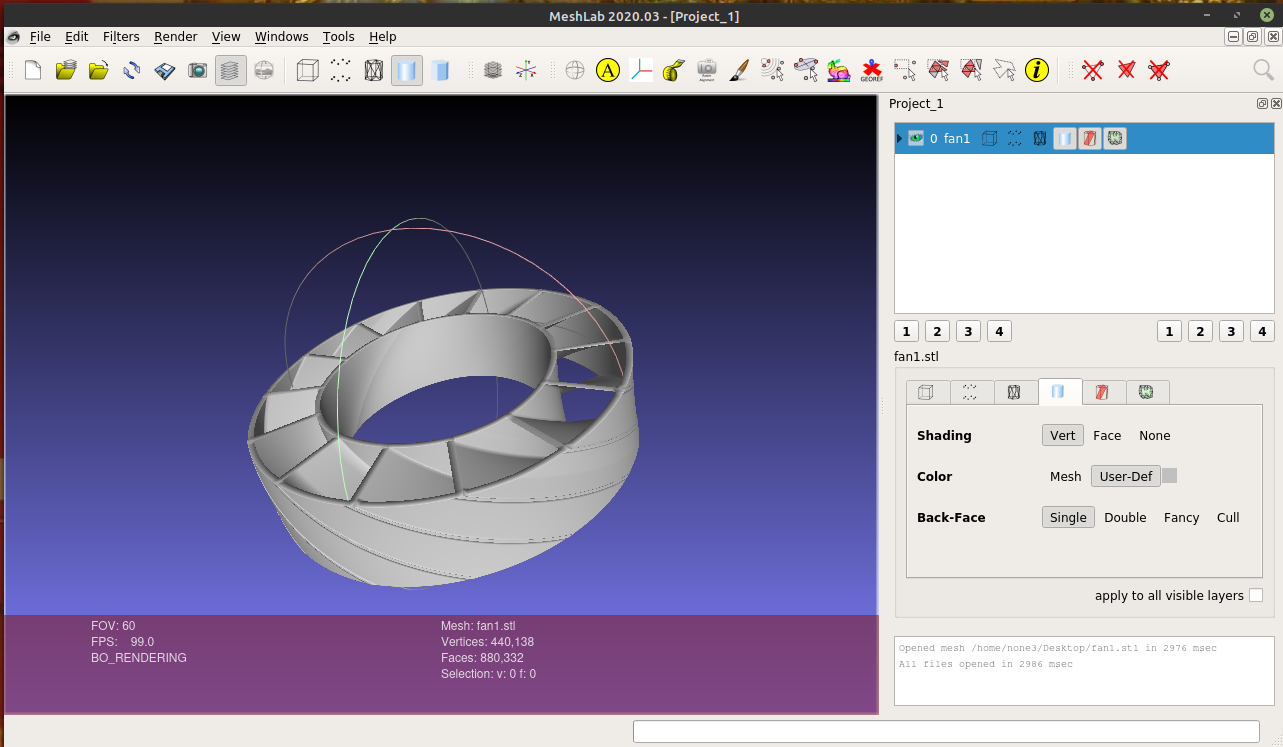
Then I import into Openscad , open layer1, extrude it to the desired height, add a 45 degree twist, increase the slices and I have a finished object:
As you can see from this short tutorial you can make some very complex designs in minutes using the pattern along path tool.