3D part design with Inkscape and Openscad #51: Making a hollow egg.
An easy way to make a hollow egg for 3d printing.
There are a bunch of really cool egg makers for 3d printing online, here's an easy way to make your own egg from scratch.
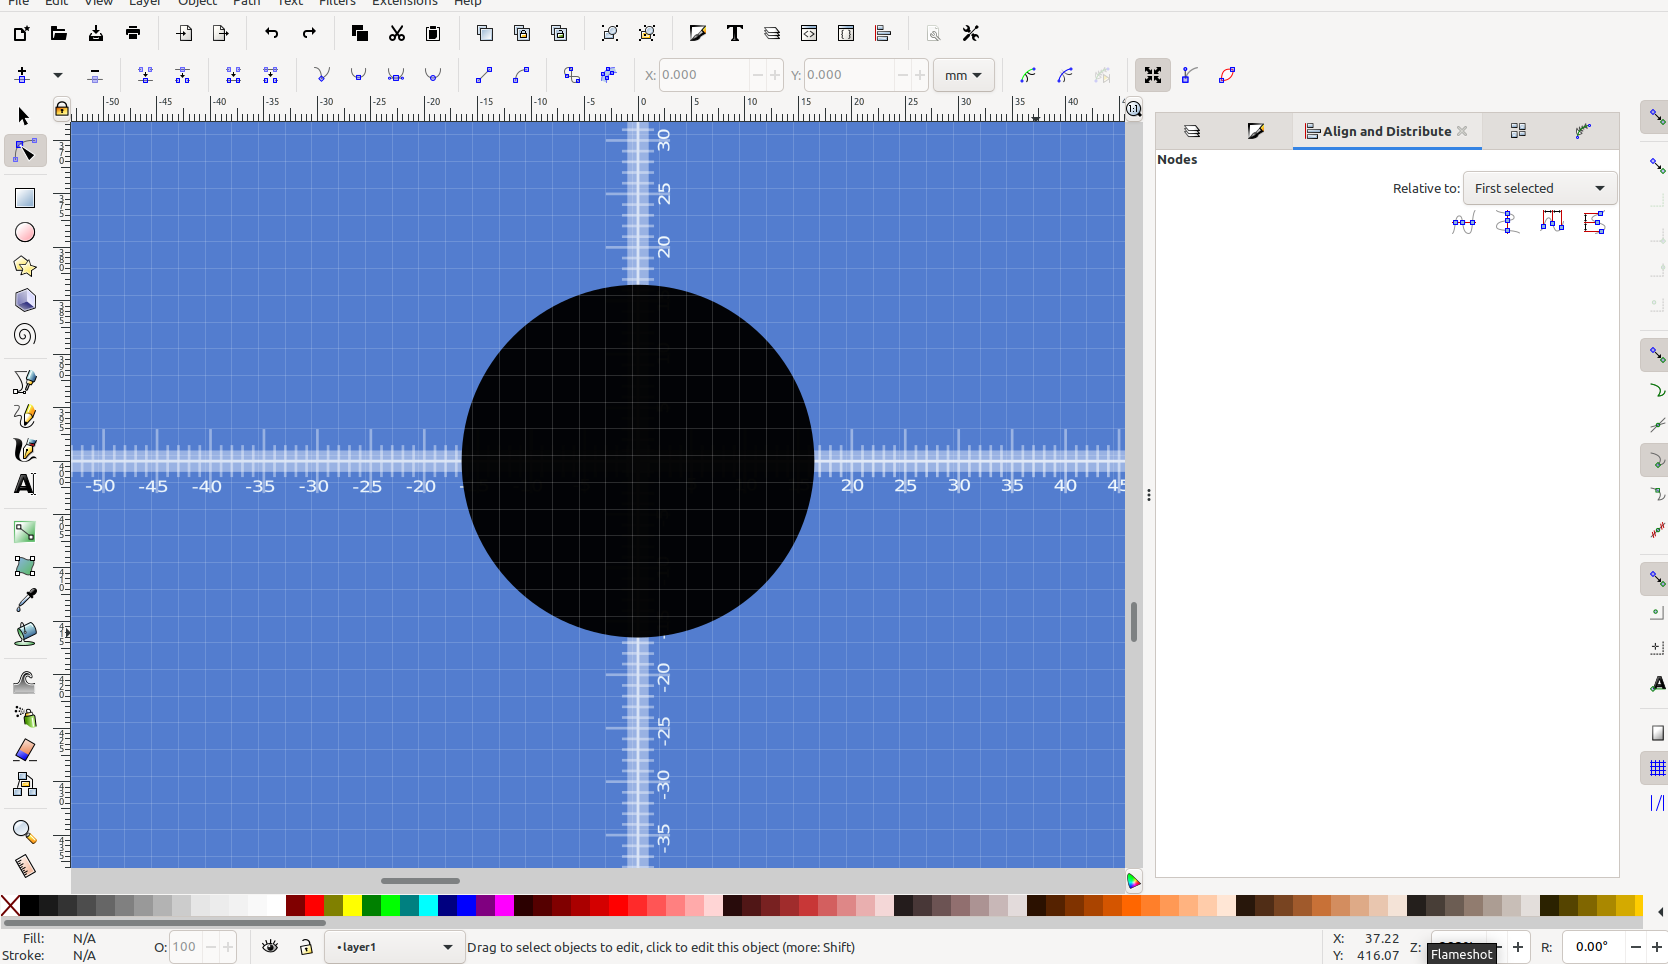
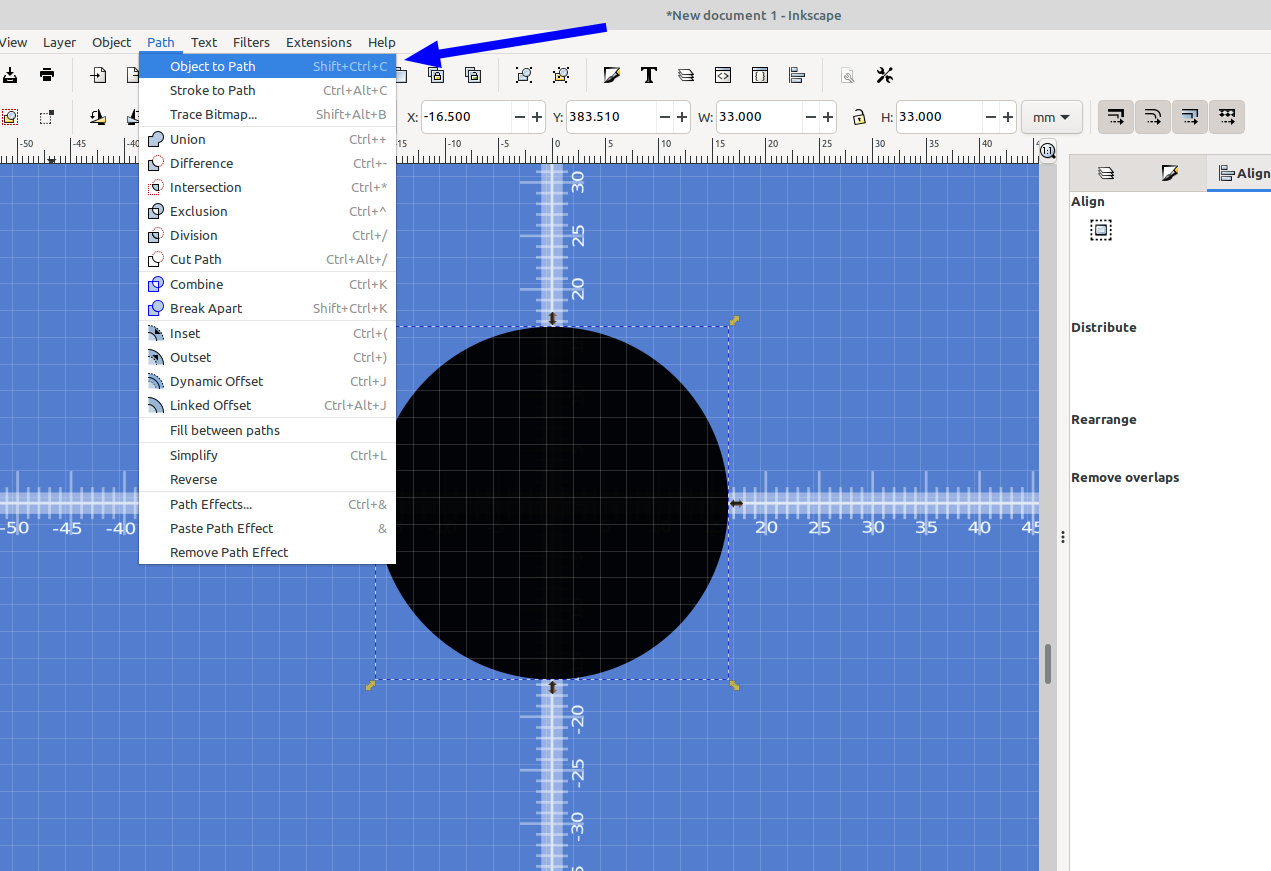
First step is to make a circle the size you want your egg to be:
Next convert the object to a path, highlight it and select the top node:
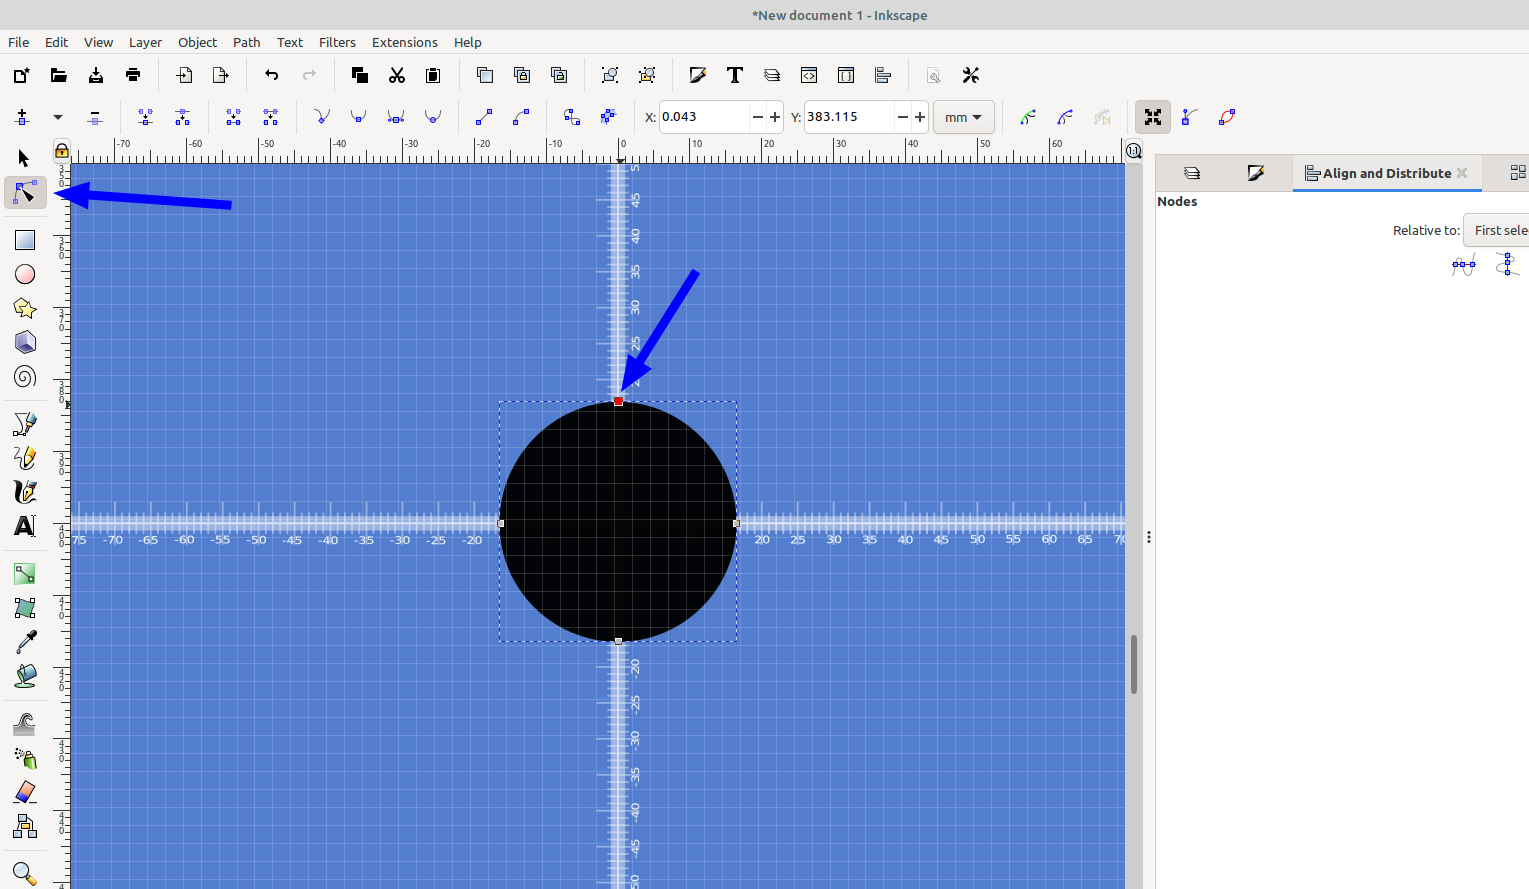
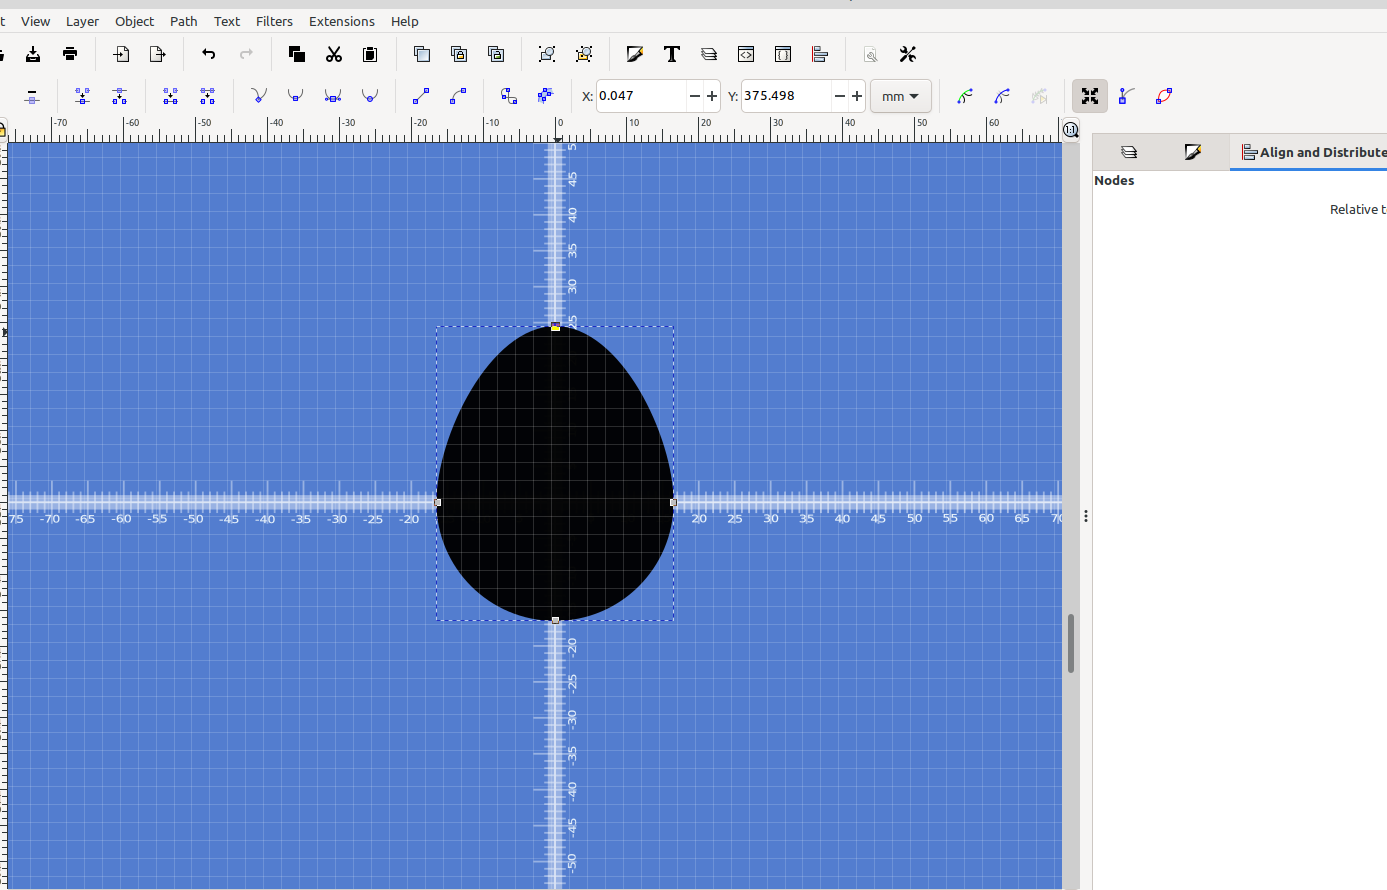
Then drag the top node straight up until you have the shape of an egg :
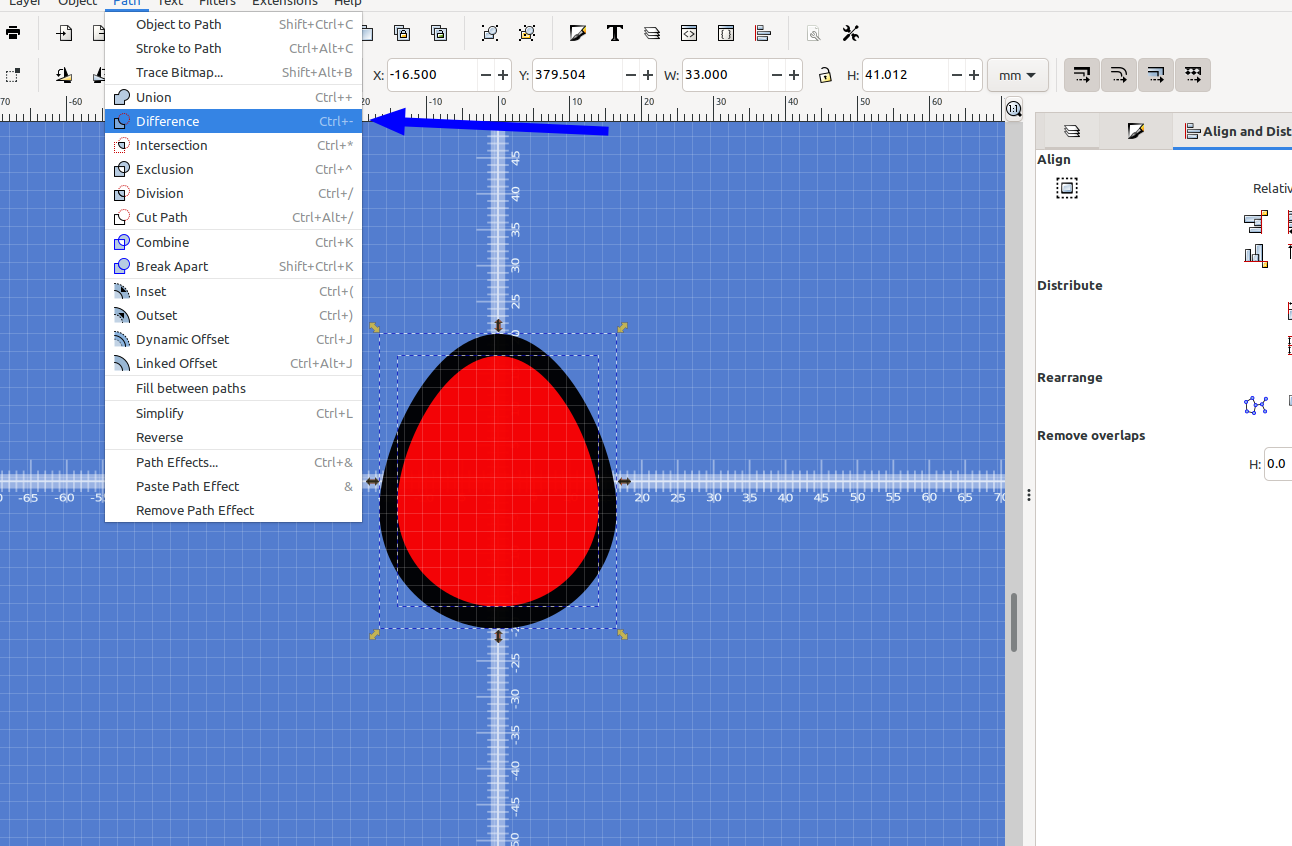
Next make a copy of the egg, resize it and subtract it from the first one using Path>difference:

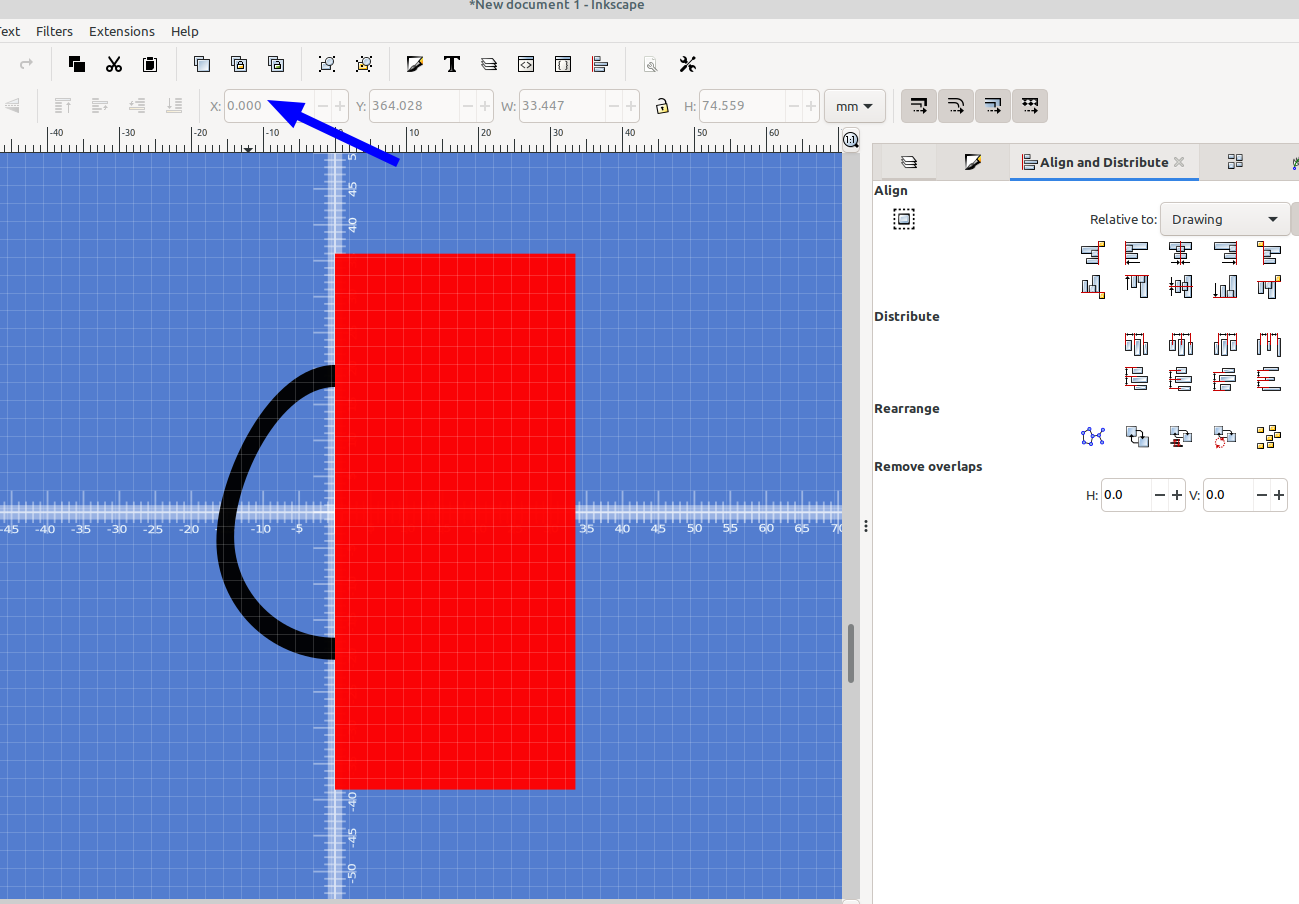
Since I am going to use rotate extrude to make the egg I'm going to cut it in half and set the x axis at zero:
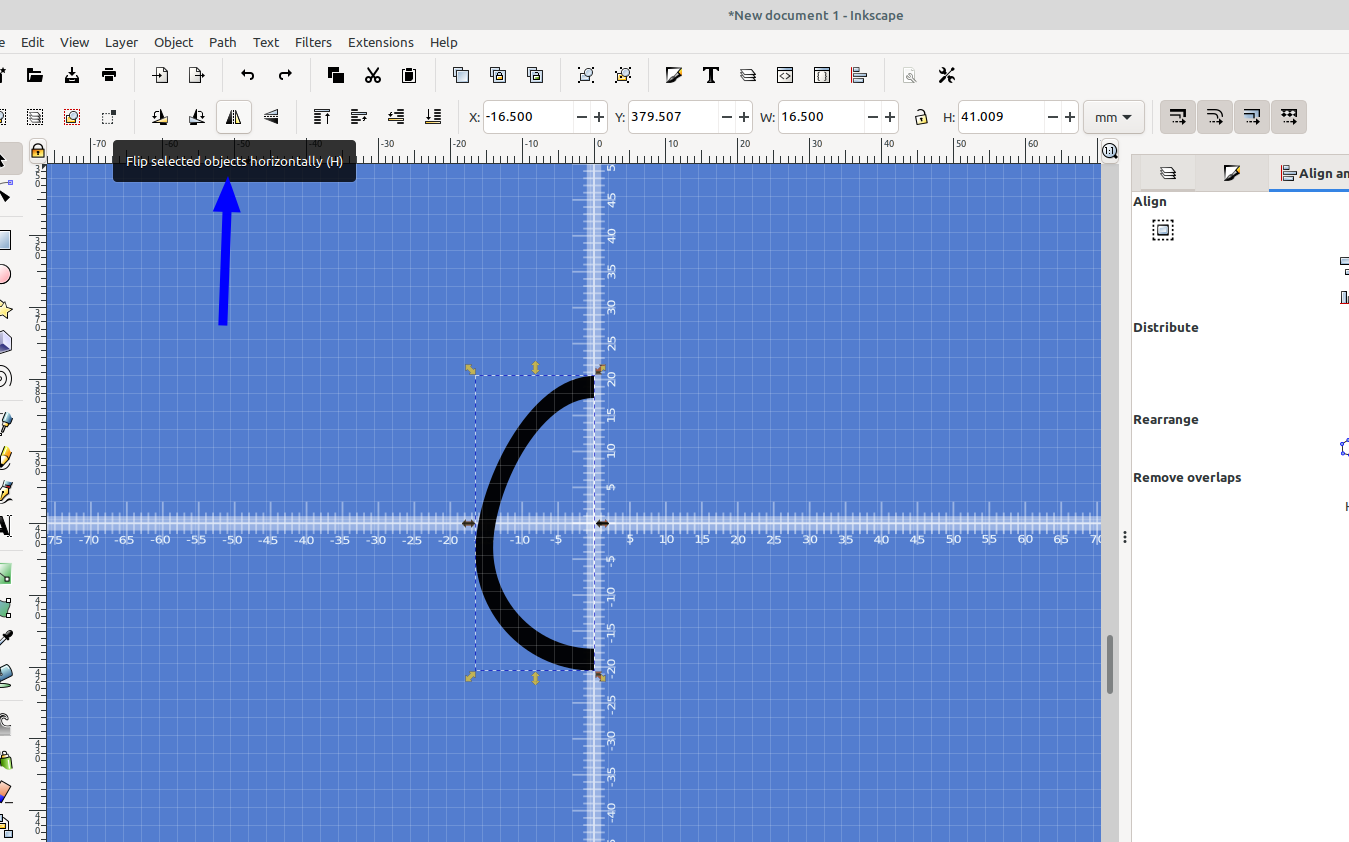
Then I flipped it horizontally and set the half egg's x axis at zero:
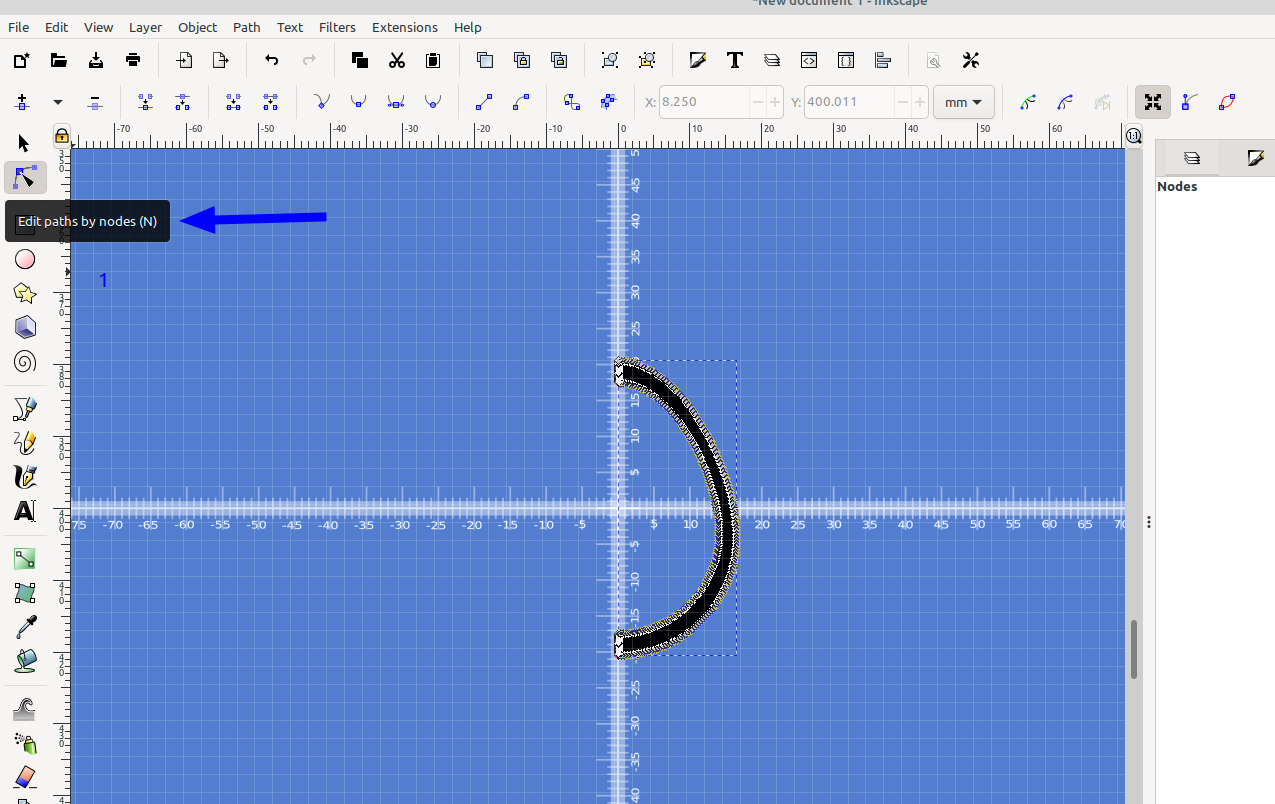
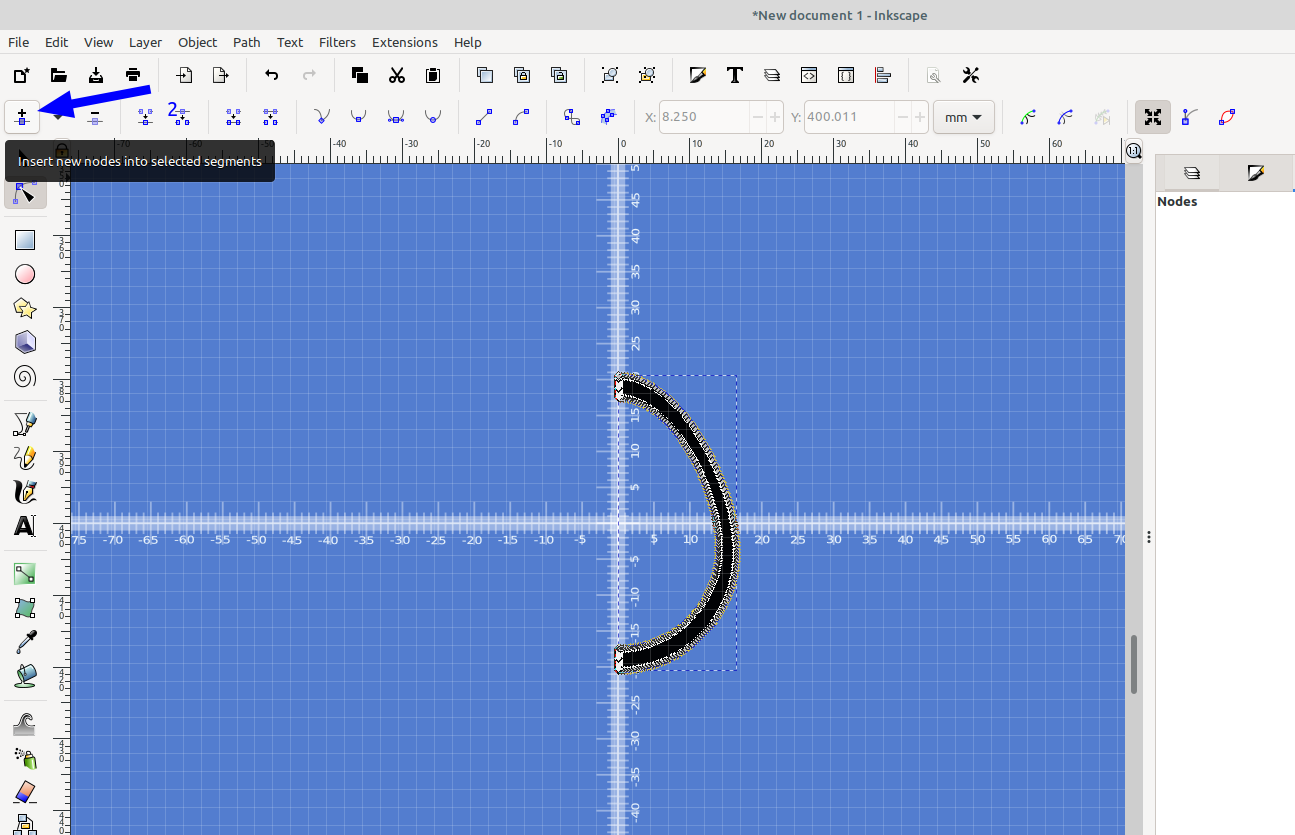
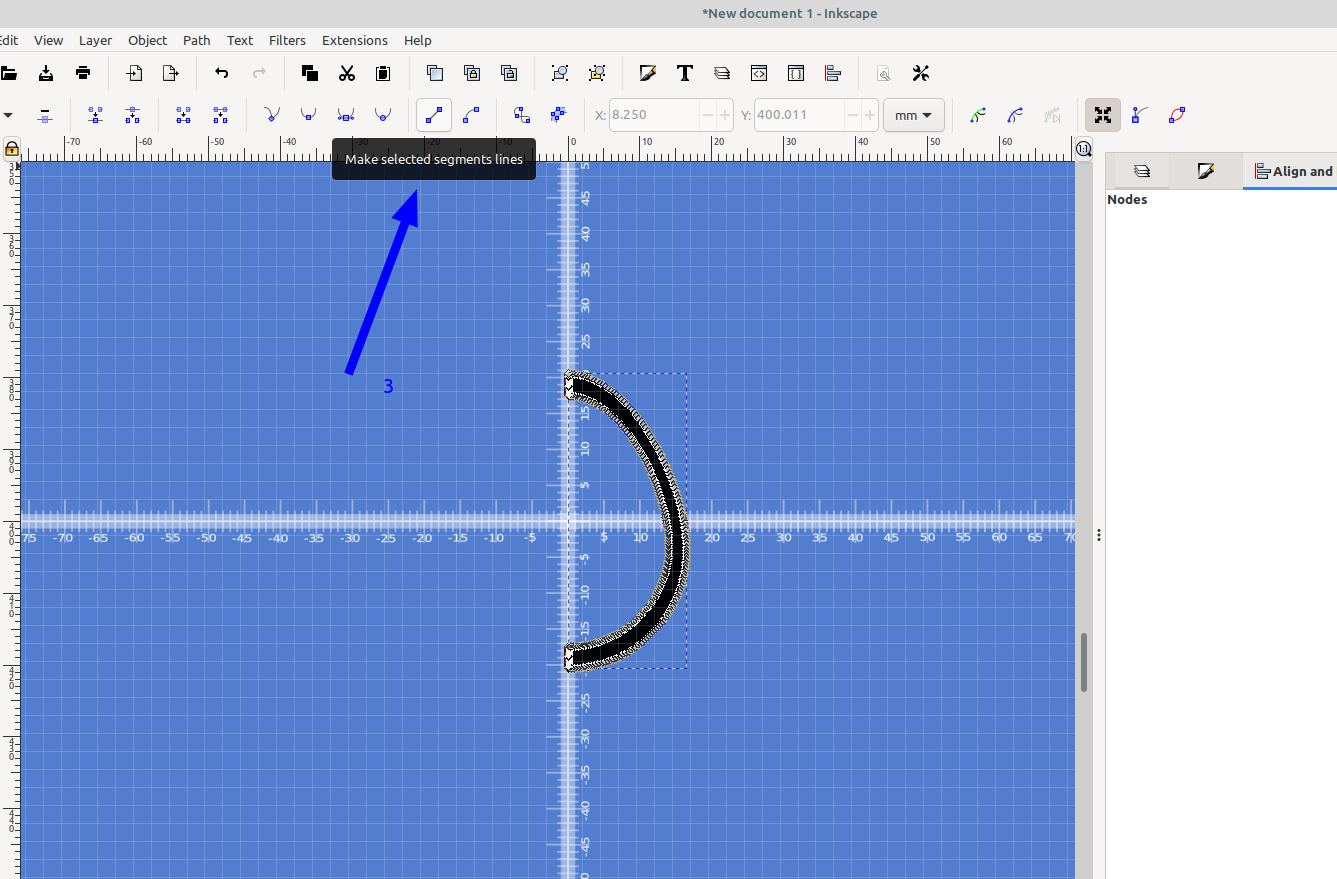
In order to export the egg to Openscad the lines that the object is drawn with have to be small so the curve is smooth, so I selected the Paths, added more nodes, and made the selected segments lines. There are plugins for Inkscape that do this automatically and I recommend you try them out, but I usually just do it manually.
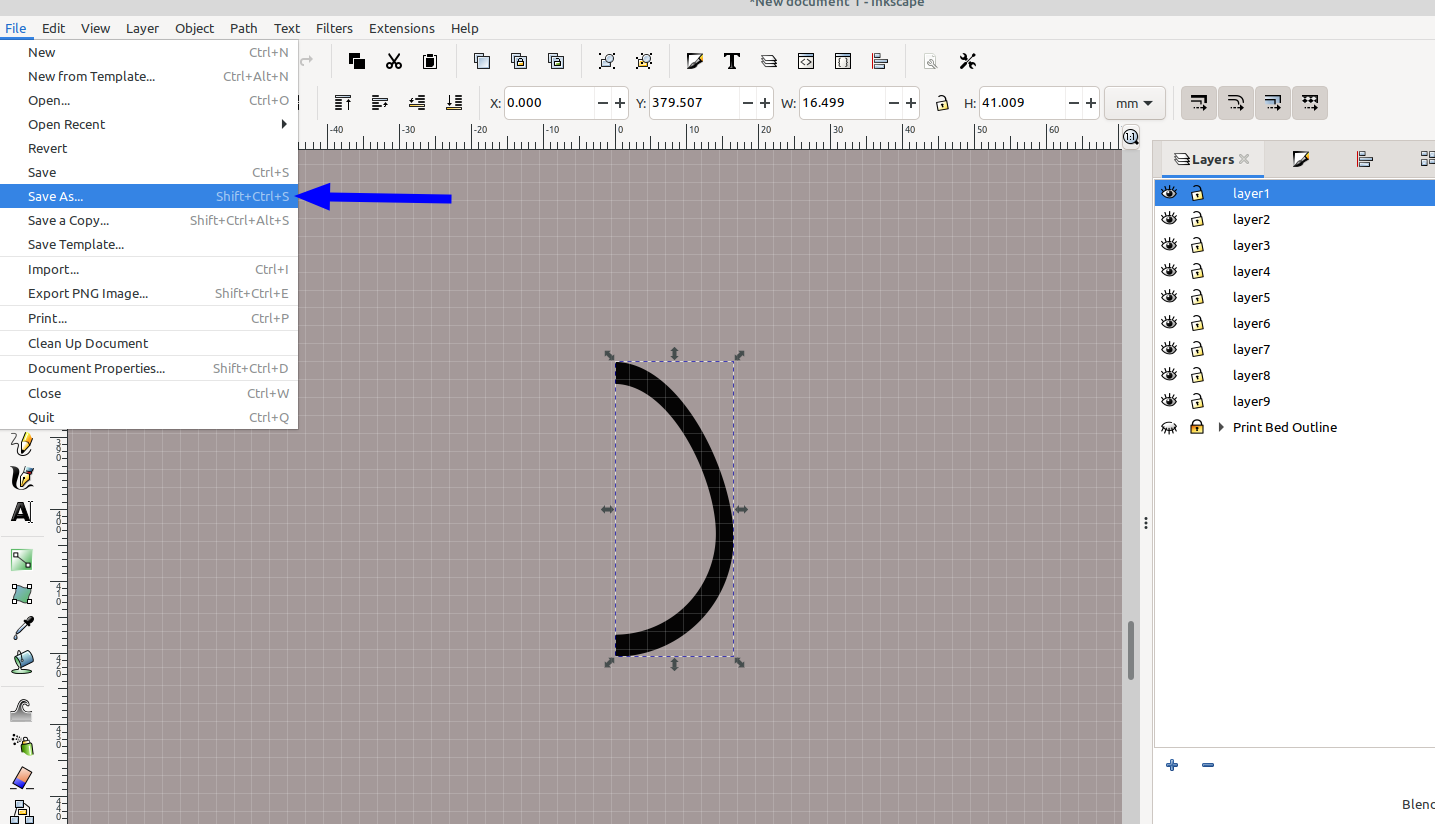
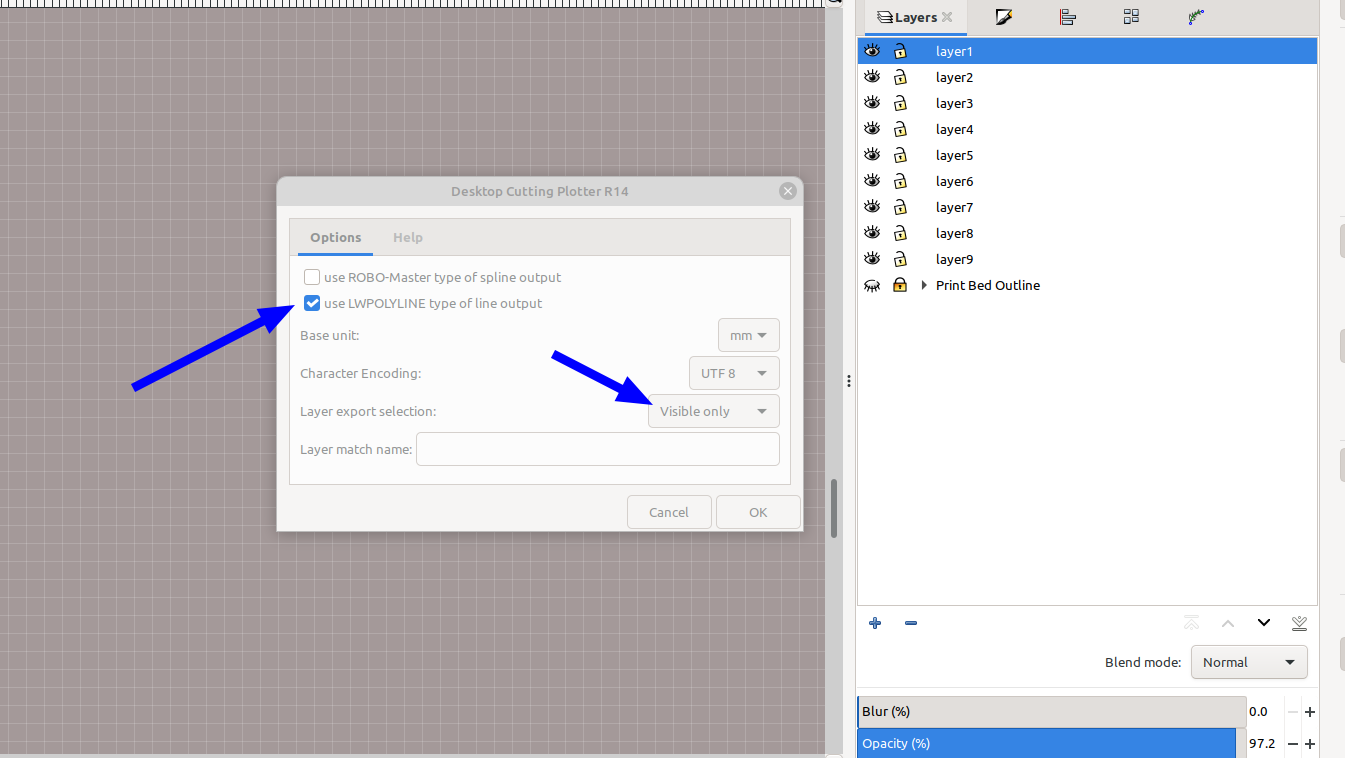
Once the paths are converted to lines I hid the bed layer and exported my half egg to a dxf file so I could import it into Openscad:
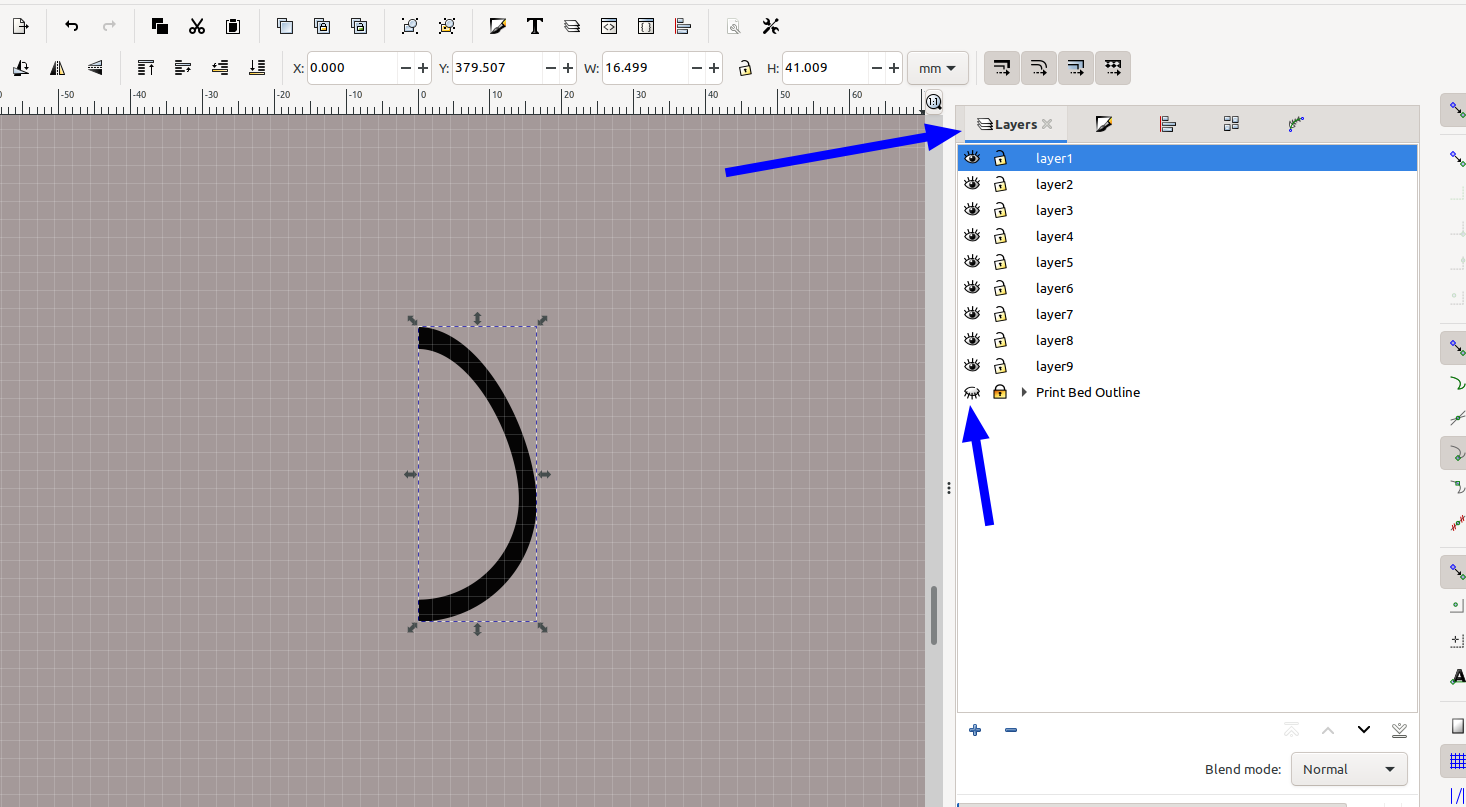
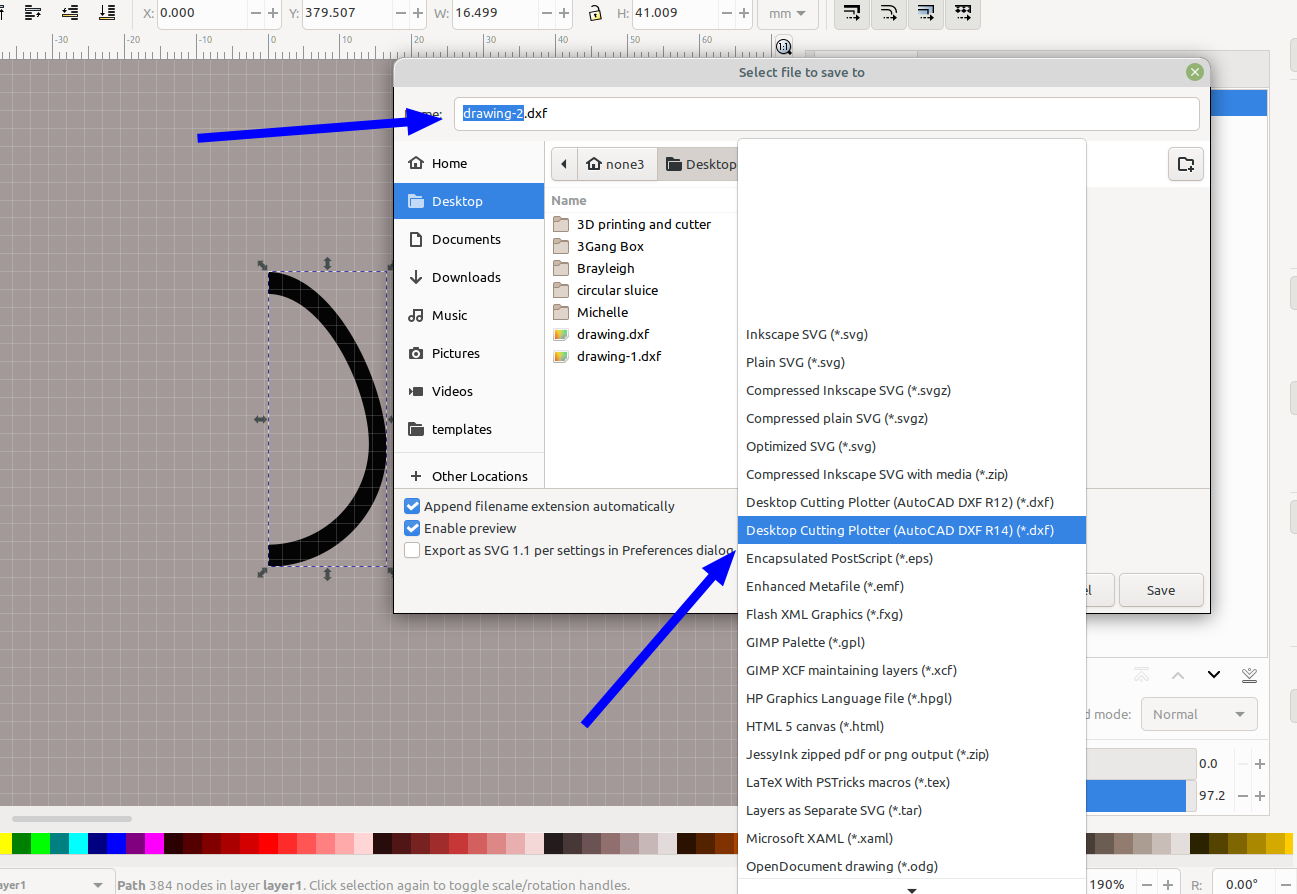
Here you can see why you need to convert the paths to lines, as far as I'm aware Openscad doesn't support splines and you have to use LWpolyline. I use visible only so I can hide any part of the design I don't want to export by hiding the layers.
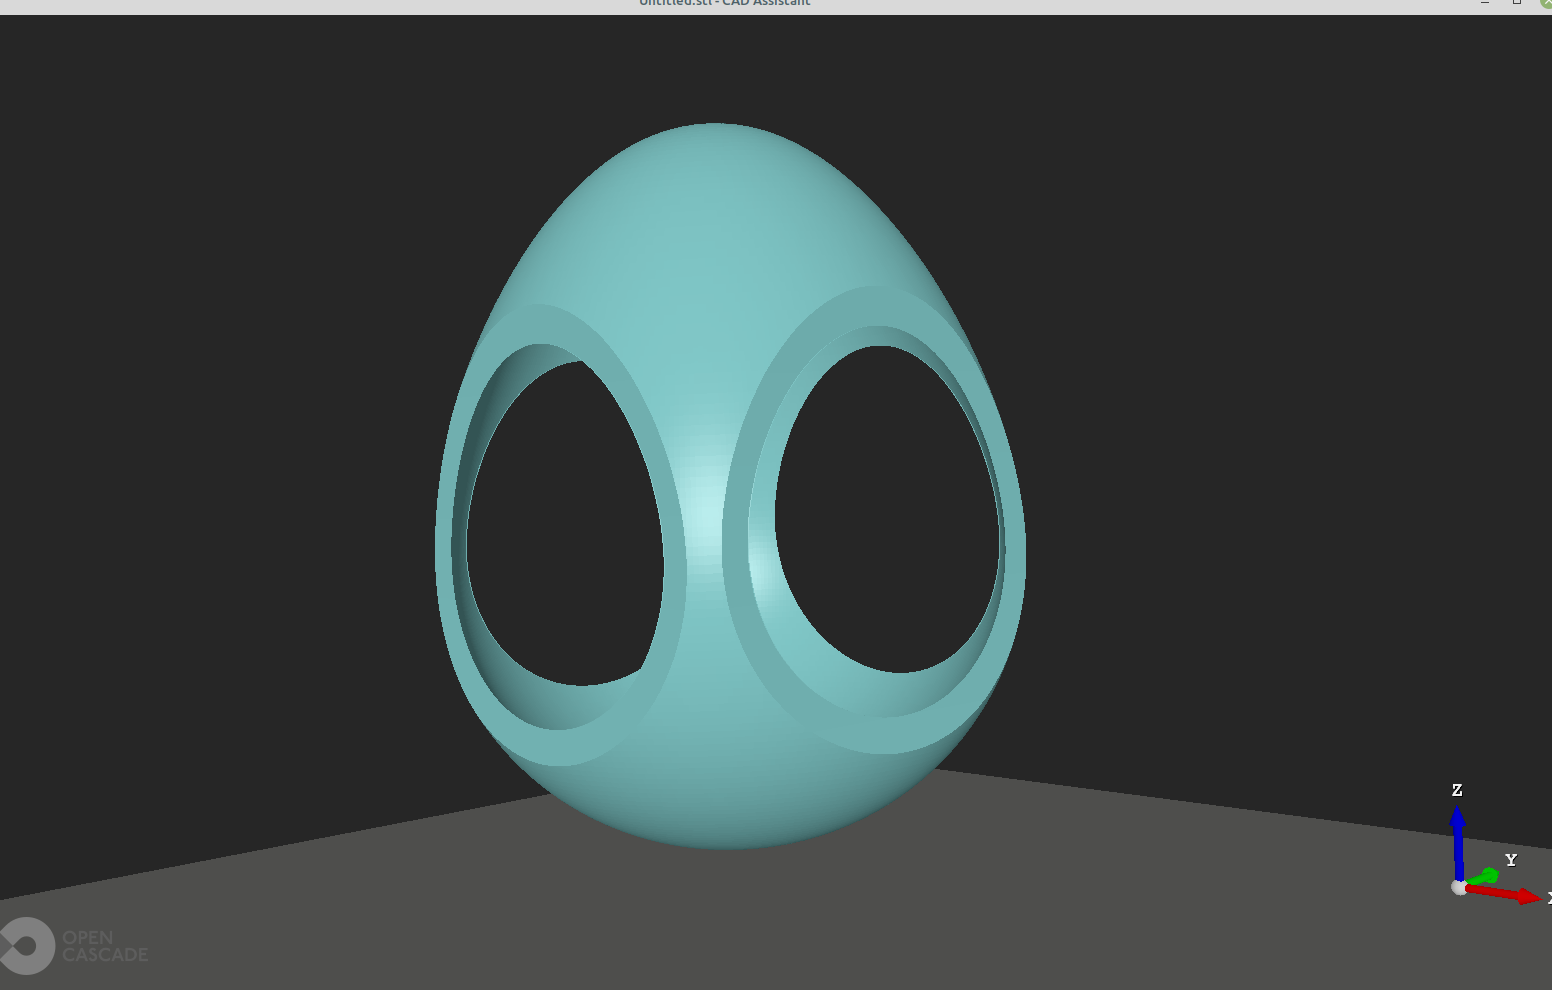
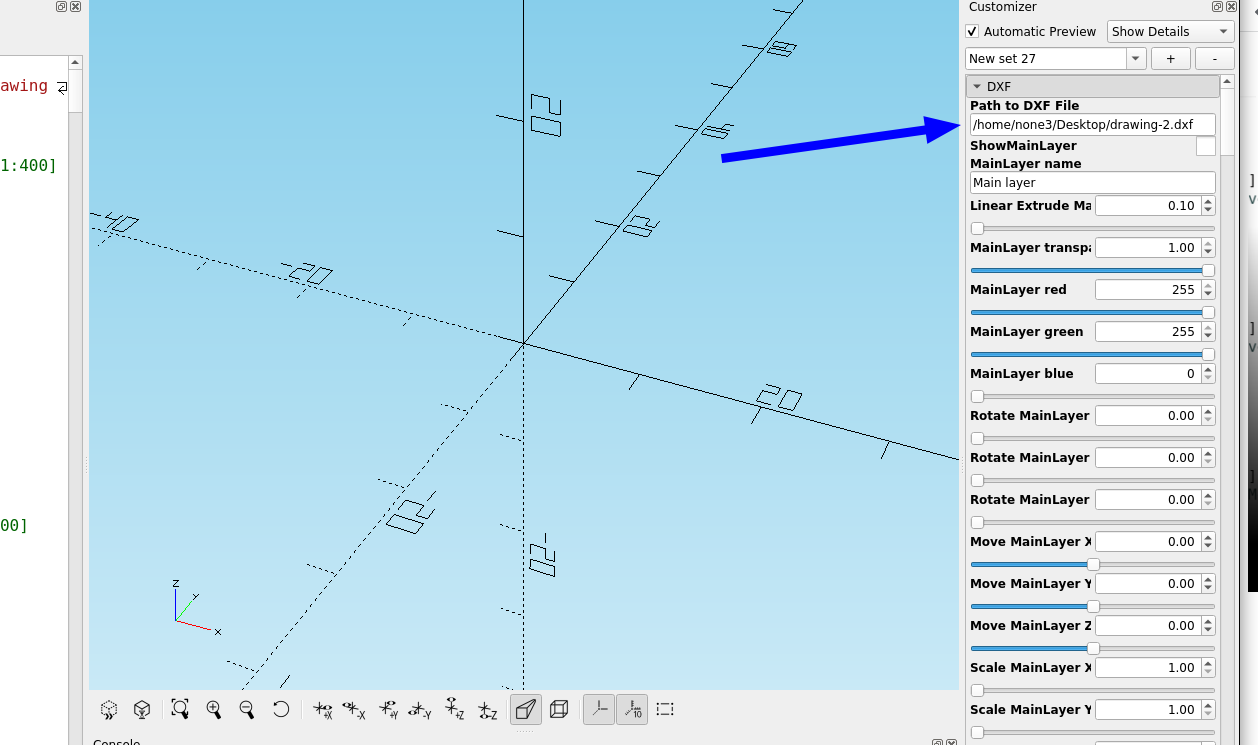
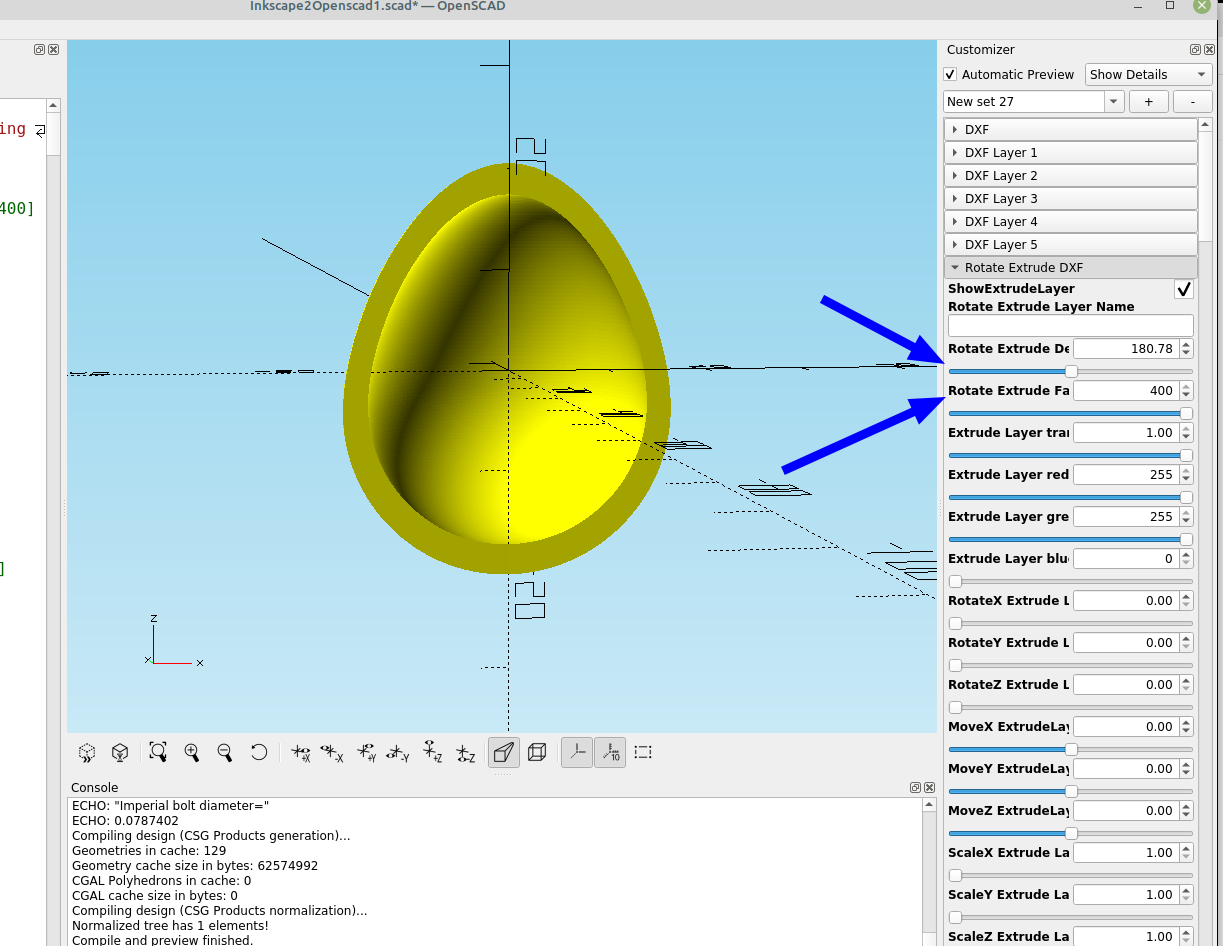
Now i open my Inkscape2Openscad template and use rotate extrude to make the hollow egg:
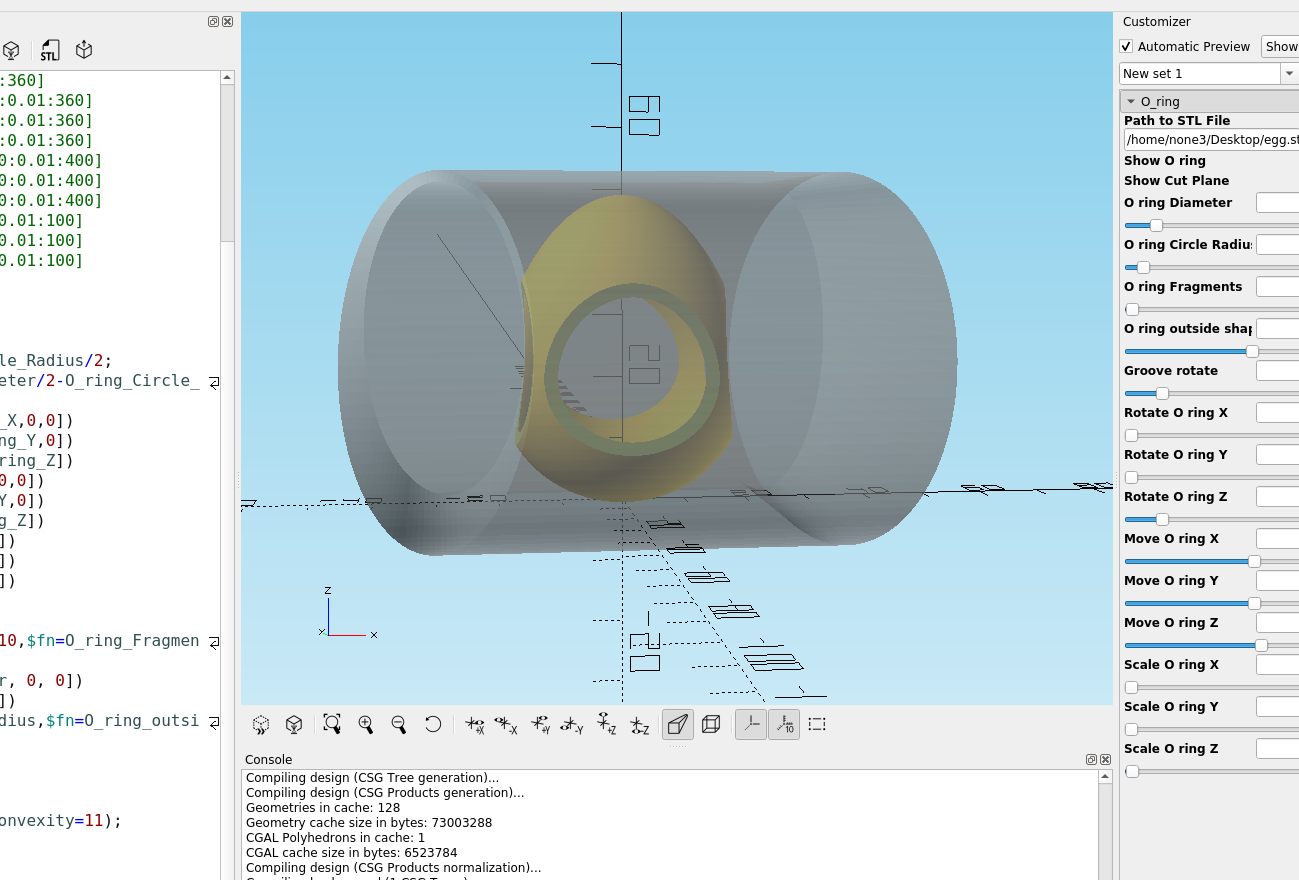
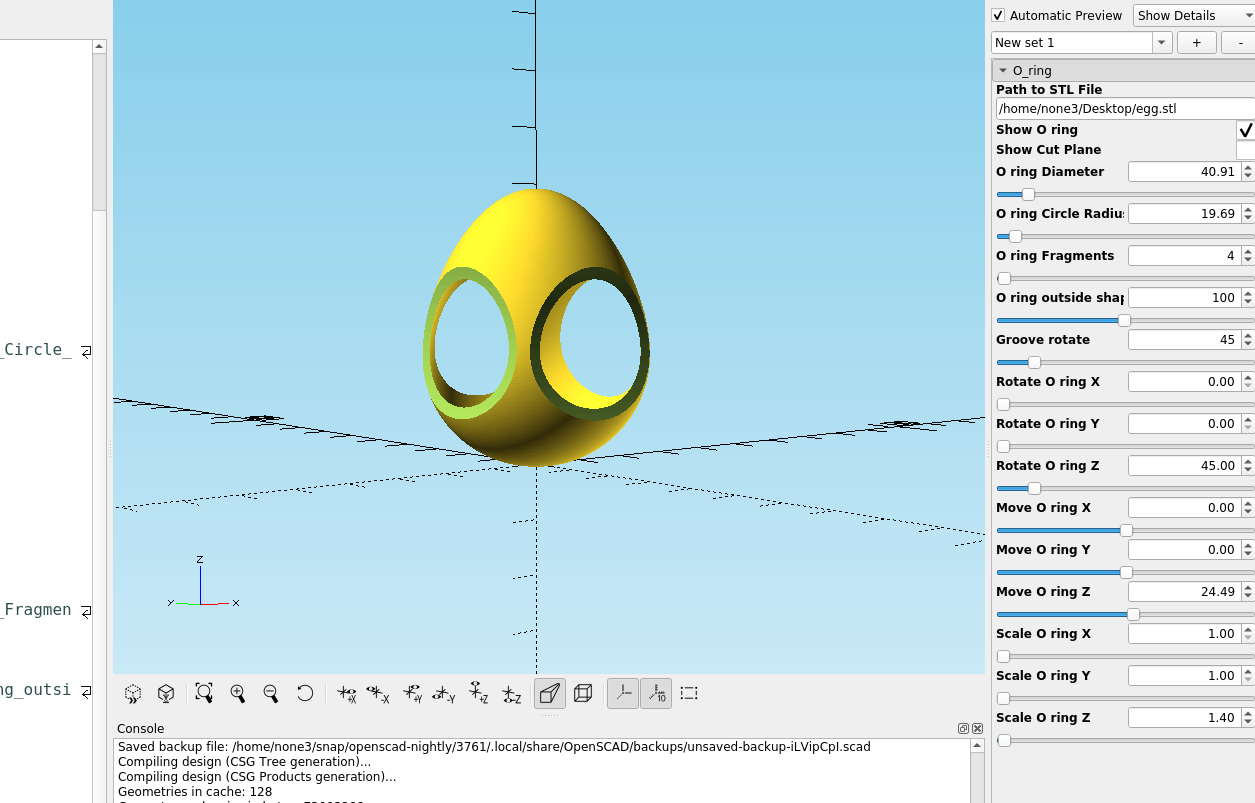
Using the O-ring module with the hollow egg: