3D part design with Inkscape and OpenScad #30: Easy way to add accurate scale marks to a bed template
An easy way to make a ruler or add scale marks using Inkscape

When i first made the bed template I thought having scale marks wouldn't be necessary, but after I added them I found it pretty useful. Here's an easy way to add them to a template.
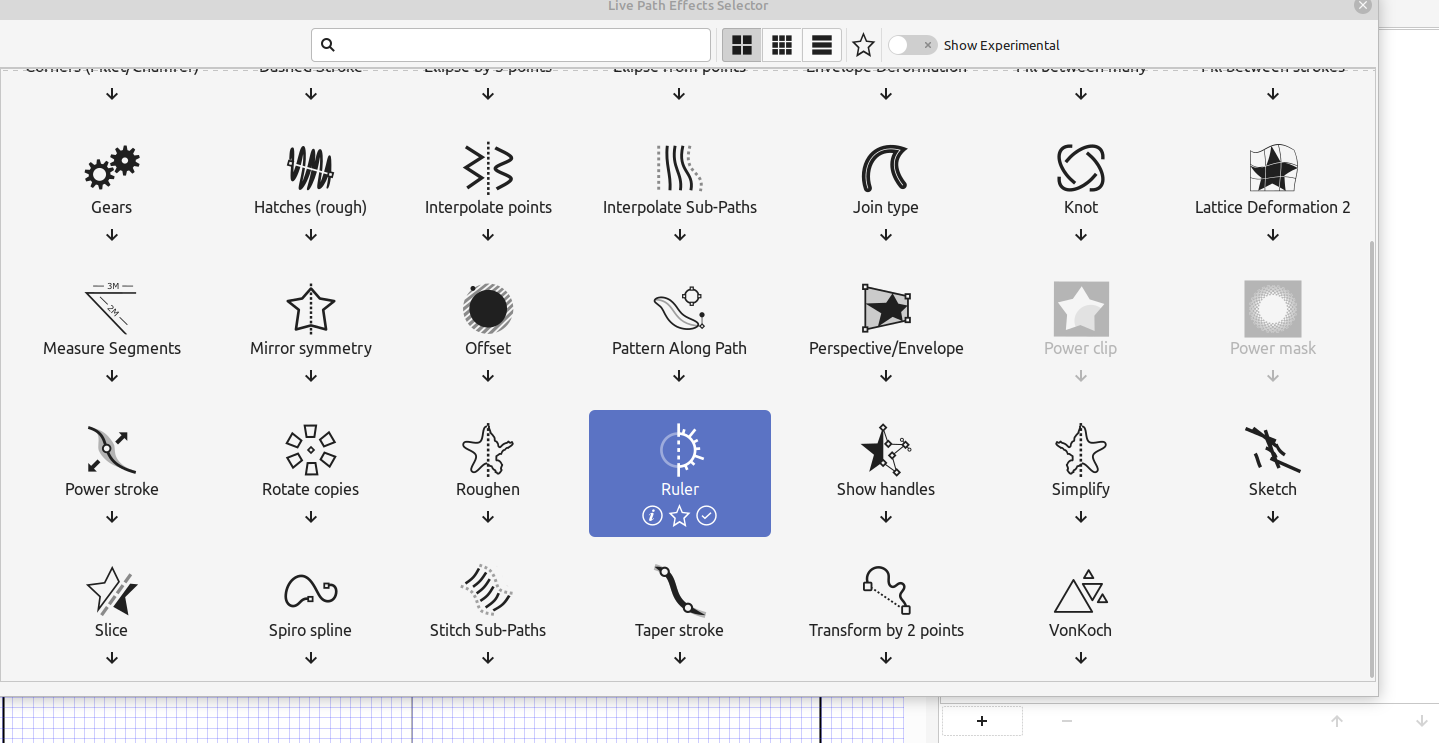
I made a line the width of my template and used Path effects > ruler to add the marks:(Open images in a new tab for a larger image)
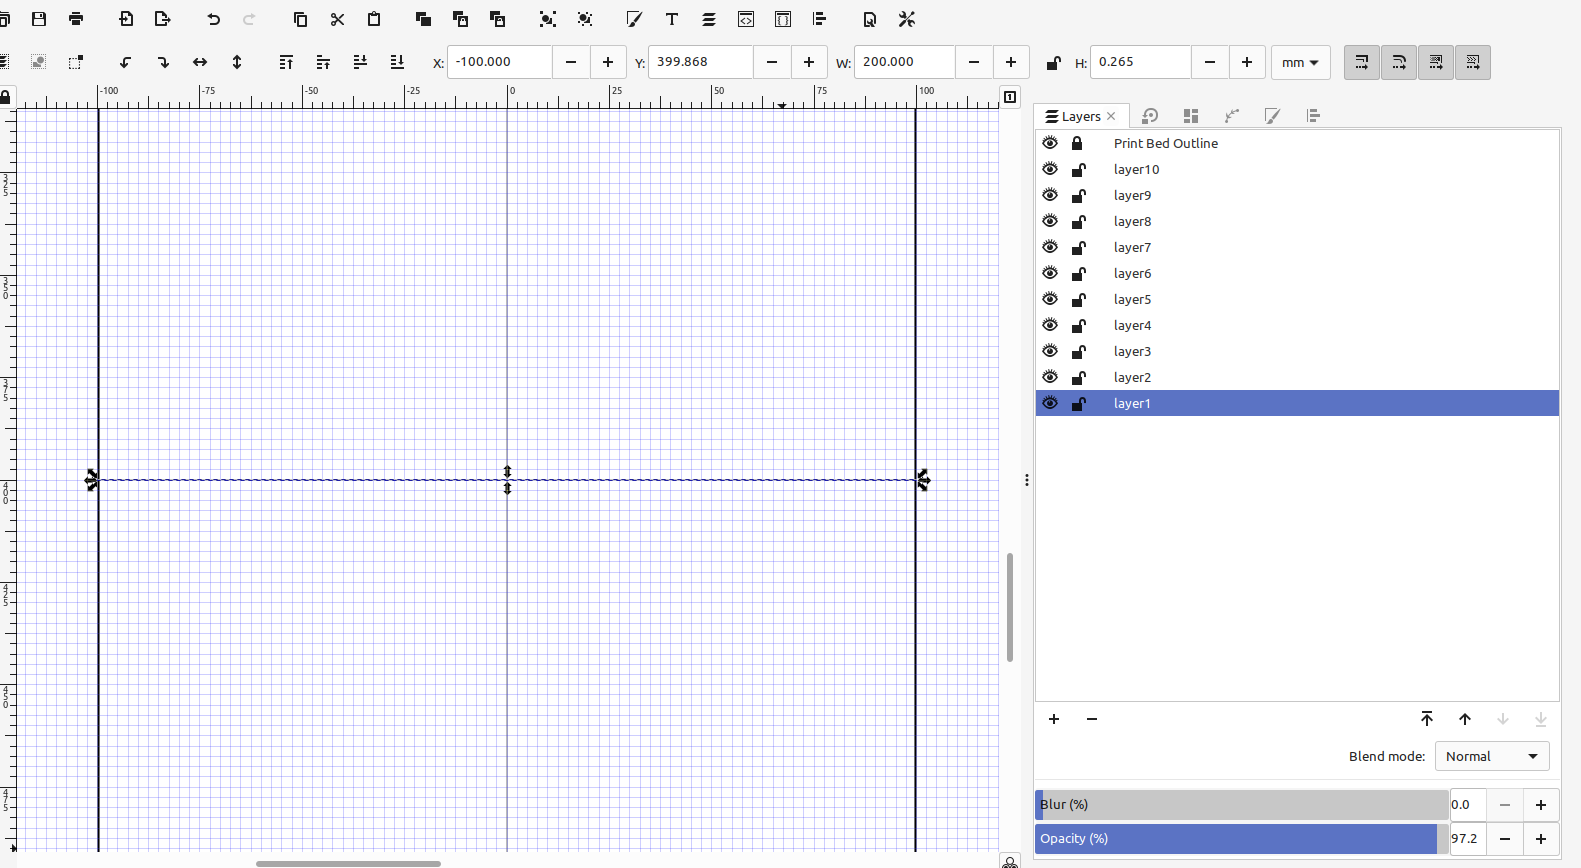
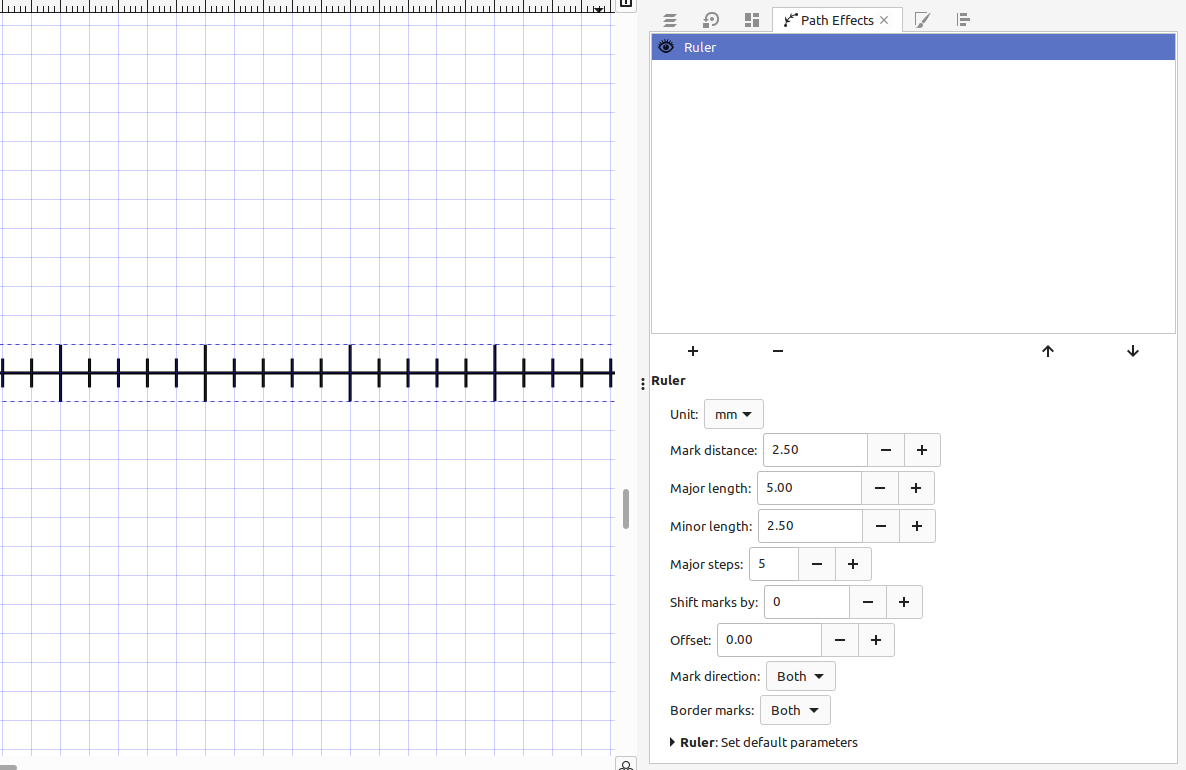
Then I set the marks to the right units and spacing so they will align to my grid:
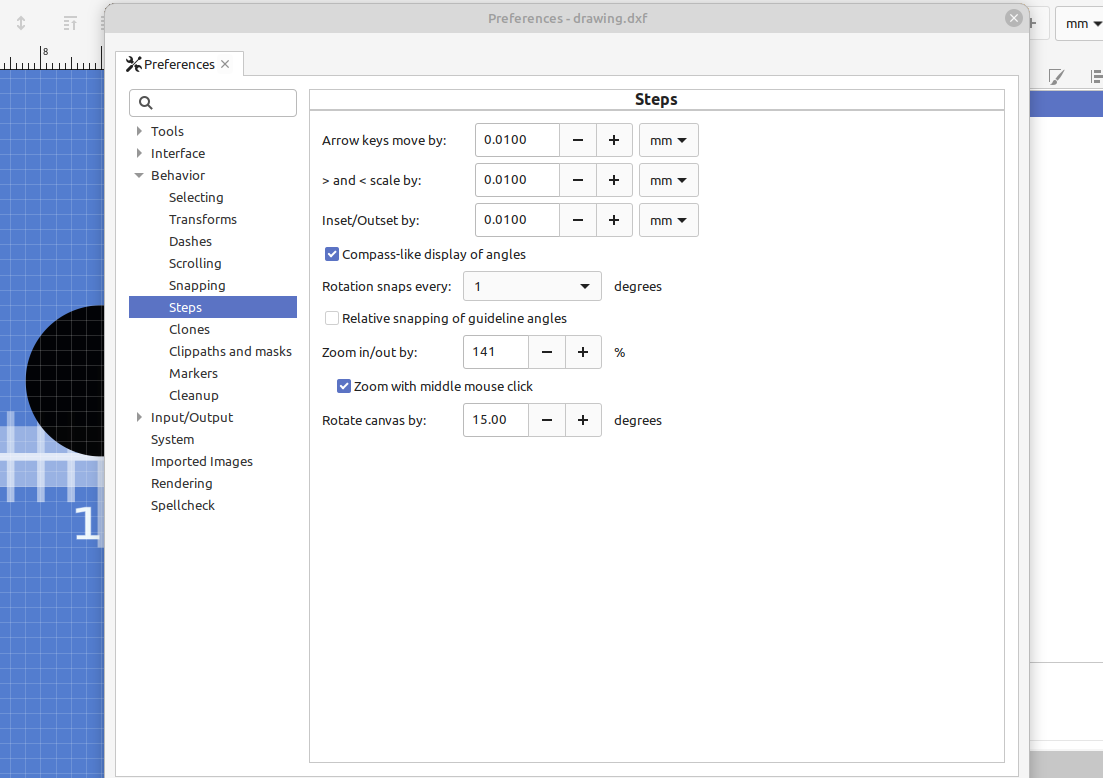
Inkscape tip: you can position objects with extreme precision by selecting an object and using the arrow keys, I set the steps to .01 which is plenty accurate for most things:
Edit> Preferences> Steps
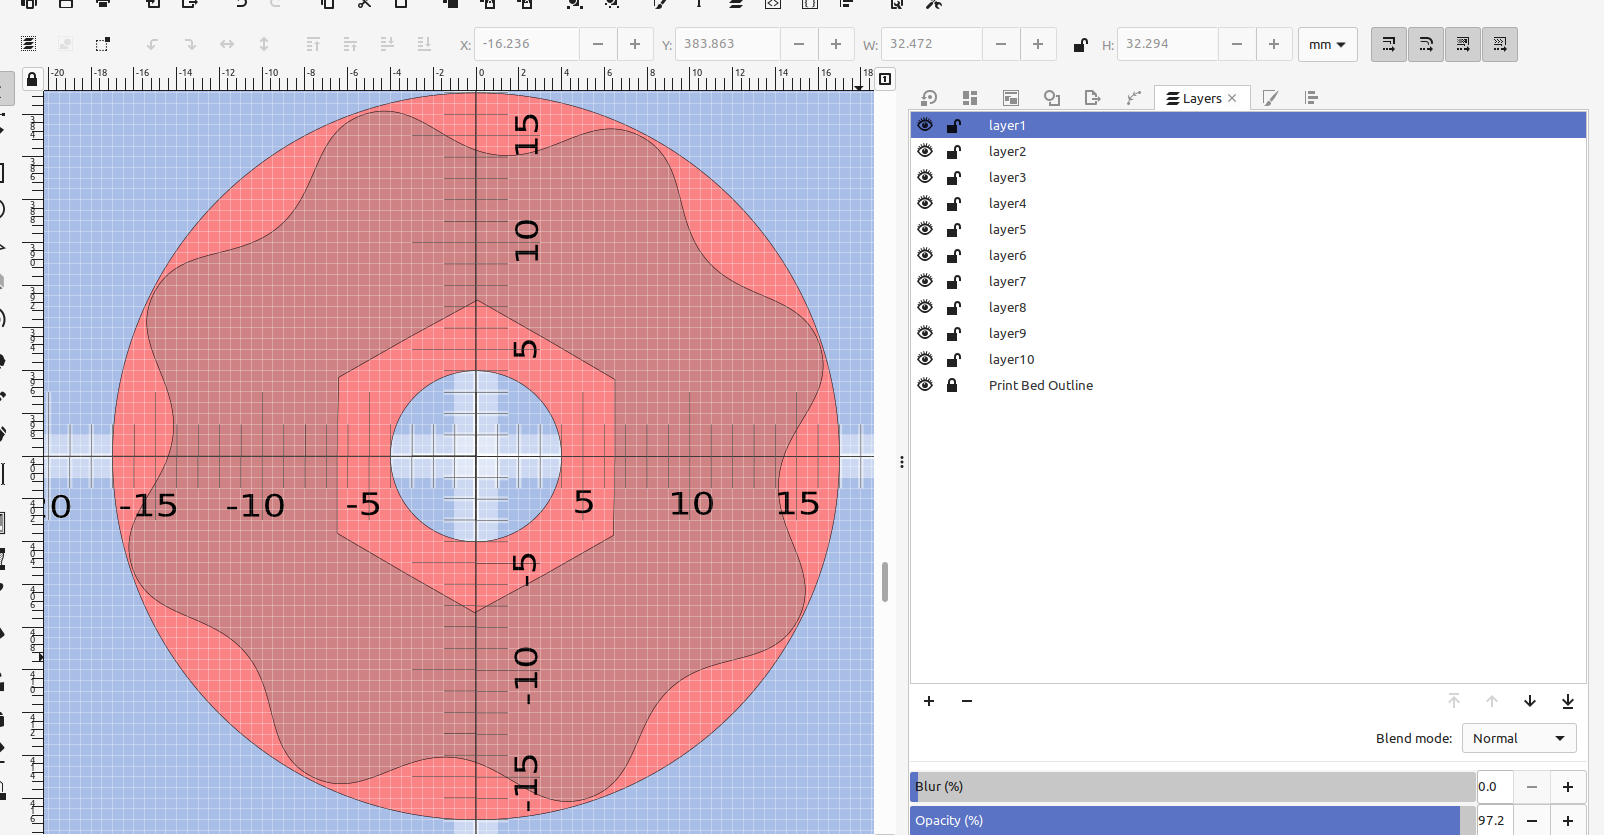
I copied and pasted the ruler I just made and rotated it 90 degrees for the other direction, grouped them, added scale numbers and moved them to their own layer so I could turn them off and on if needed:

The grid marks were fine for giving a general idea of where the object was at on the print bed but the scale marks along with the arrow keys definitely help to add objects with better speed and position them with excellent precision.
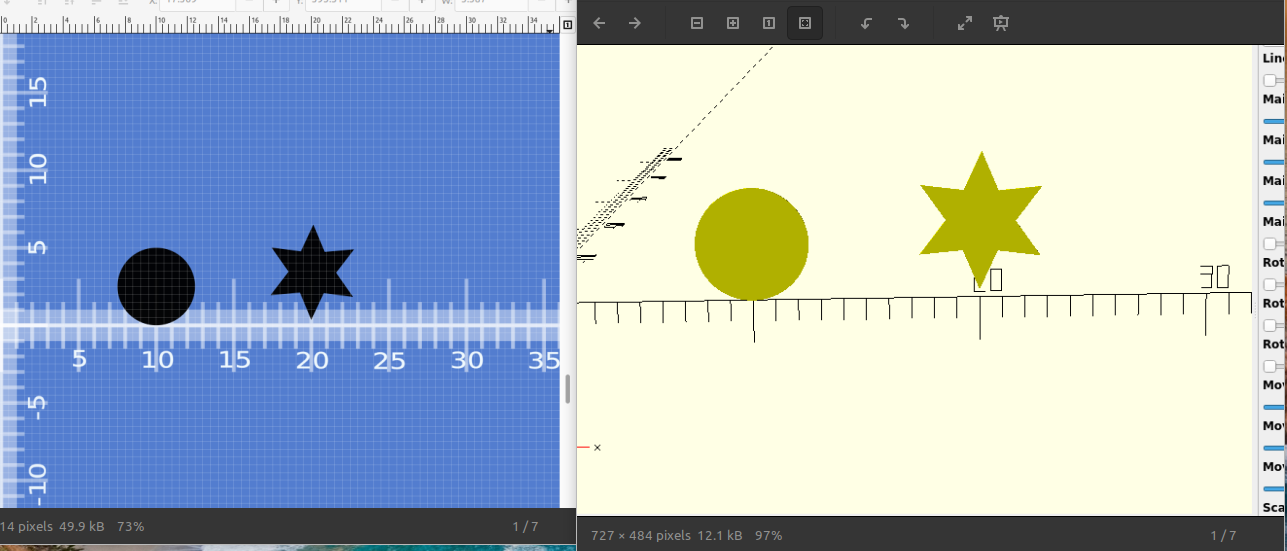
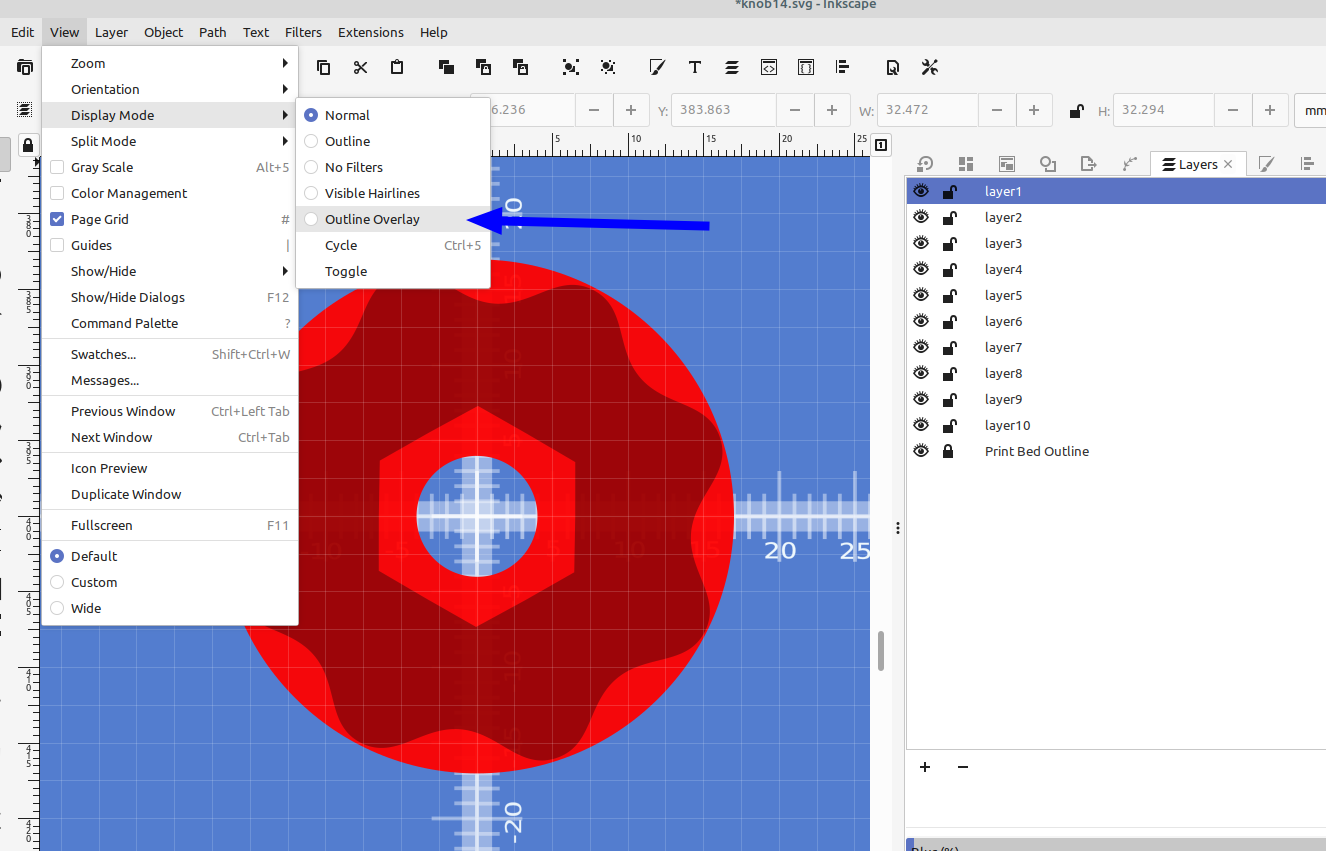
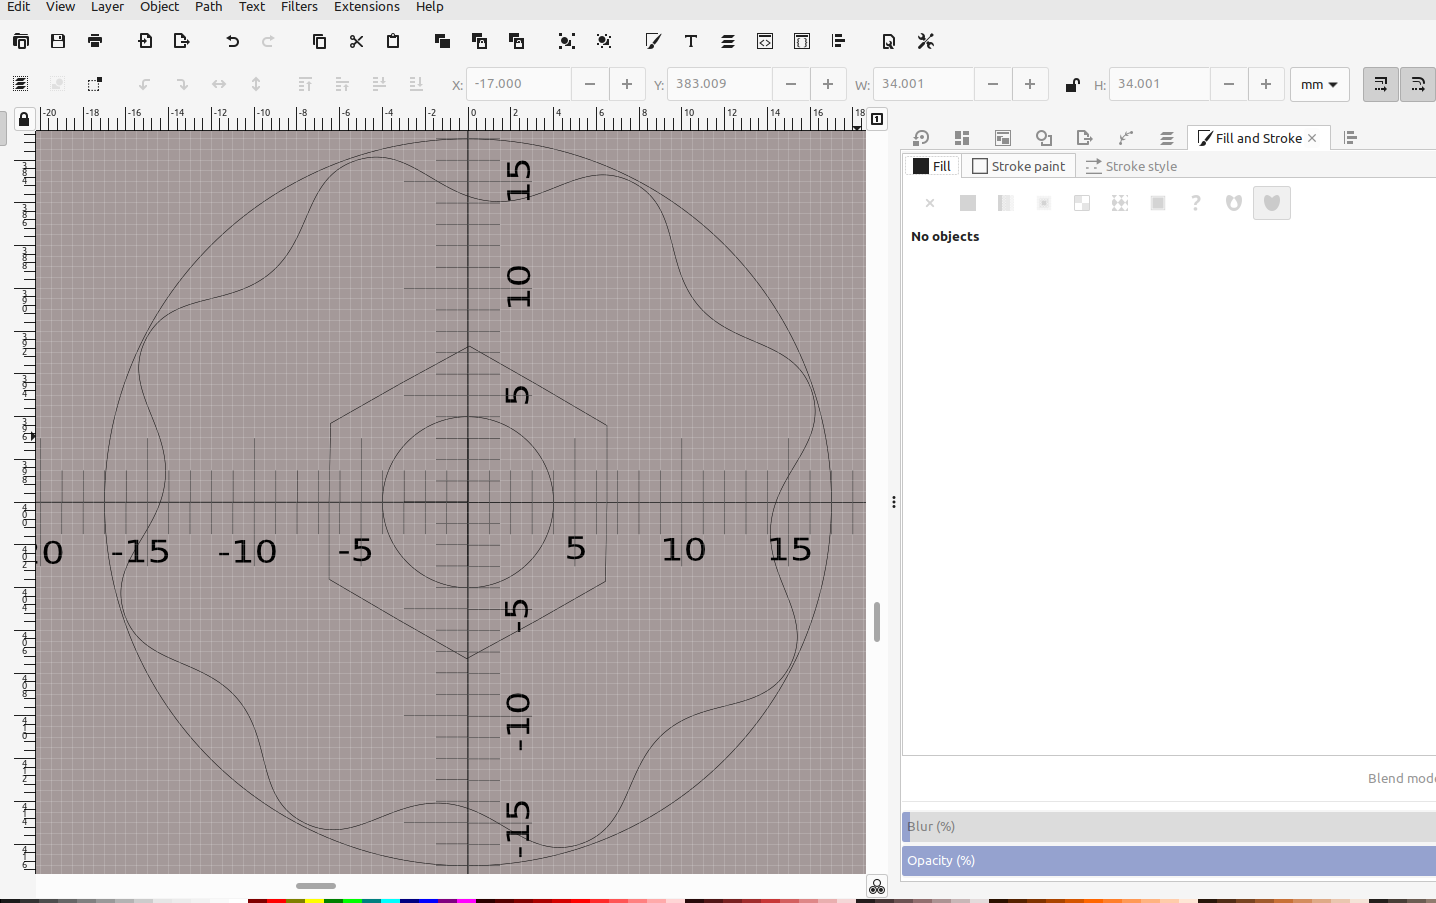
And by changing the display mode in the view menu you can make your objects transparent or just a line, which also helps with perfectly aligning and positioning them: