3D part design with Inkscape and OpenScad #29: fancy gears
An easy way to make 3d printable gears using Inkscape and Openscad.
There are a lot of excellent examples on line of how to make gears using Openscad, here is an easy way to use Inkscape's gear rendering extension to make any type of gear you want.
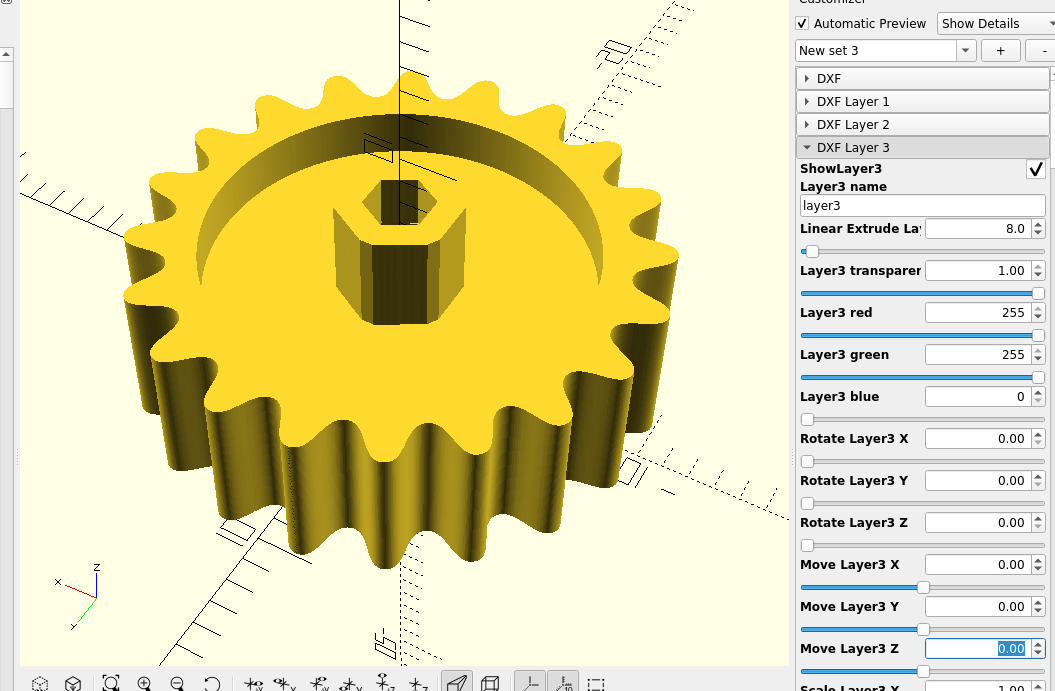
Making a complex design in the middle of your gear is as simple as using the path tools to cut out or merge patterns:
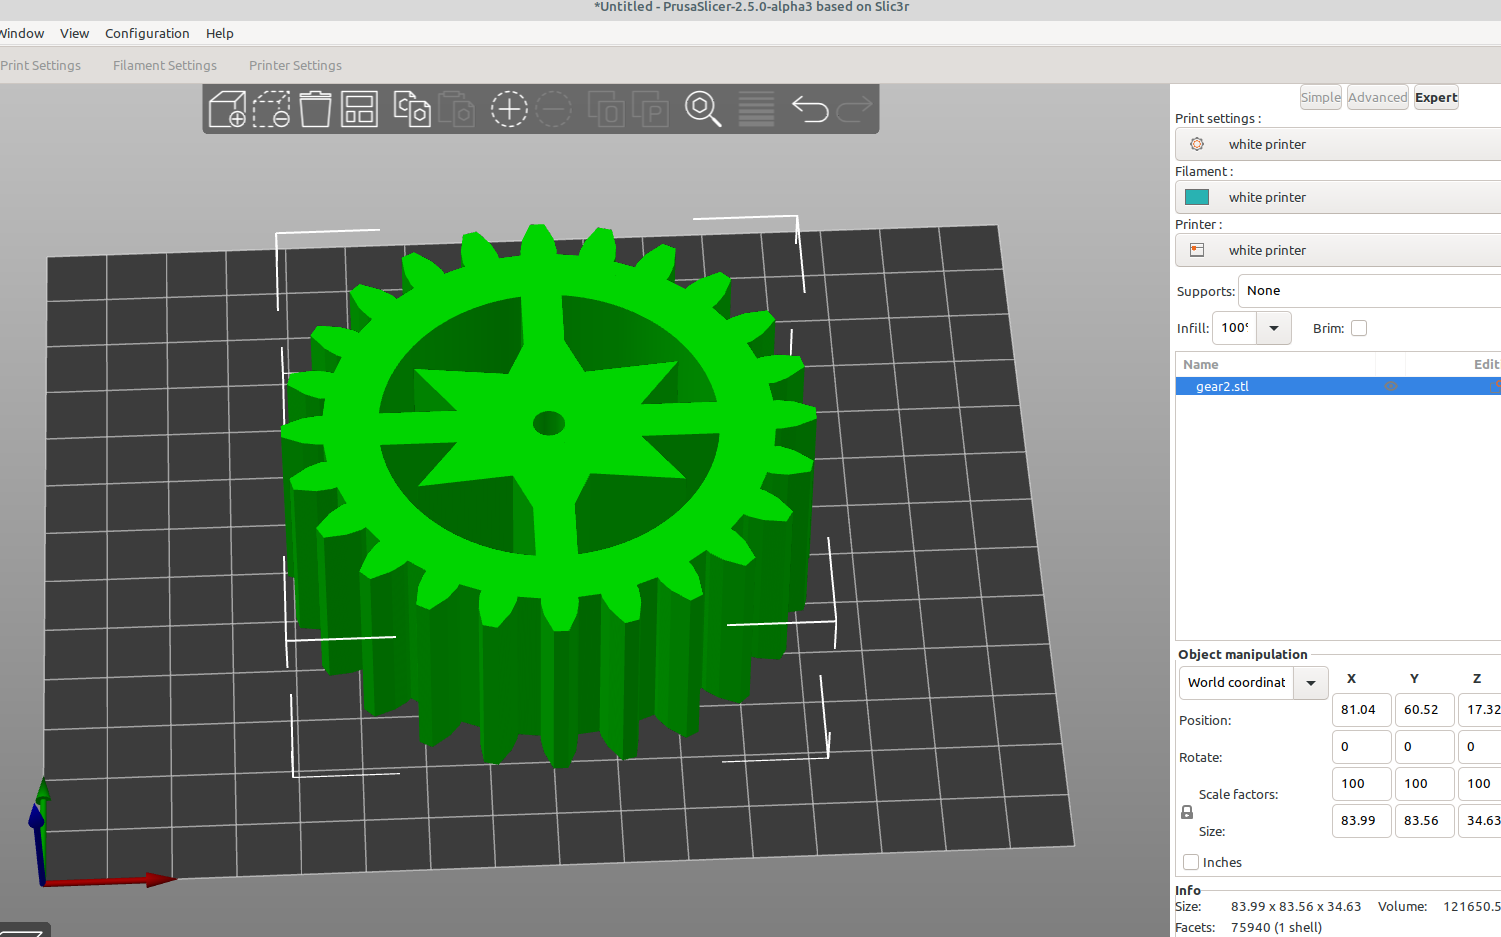
To make the design in the middle of the gear above I made a gear and then a circle, cut two lines out of the circle using Path>Difference, then made a star and added it using Path>Union.
Inkscape TIP: If path difference or path union don't seem to work right, highlight the object you want to add or subtract, press and hold the shift key and then the control key at the same time, and select the object you want to add or subtract from. They should both be outlined and now the path tools should work how you expect them to. Just holding down shift key seems to work sporadically.
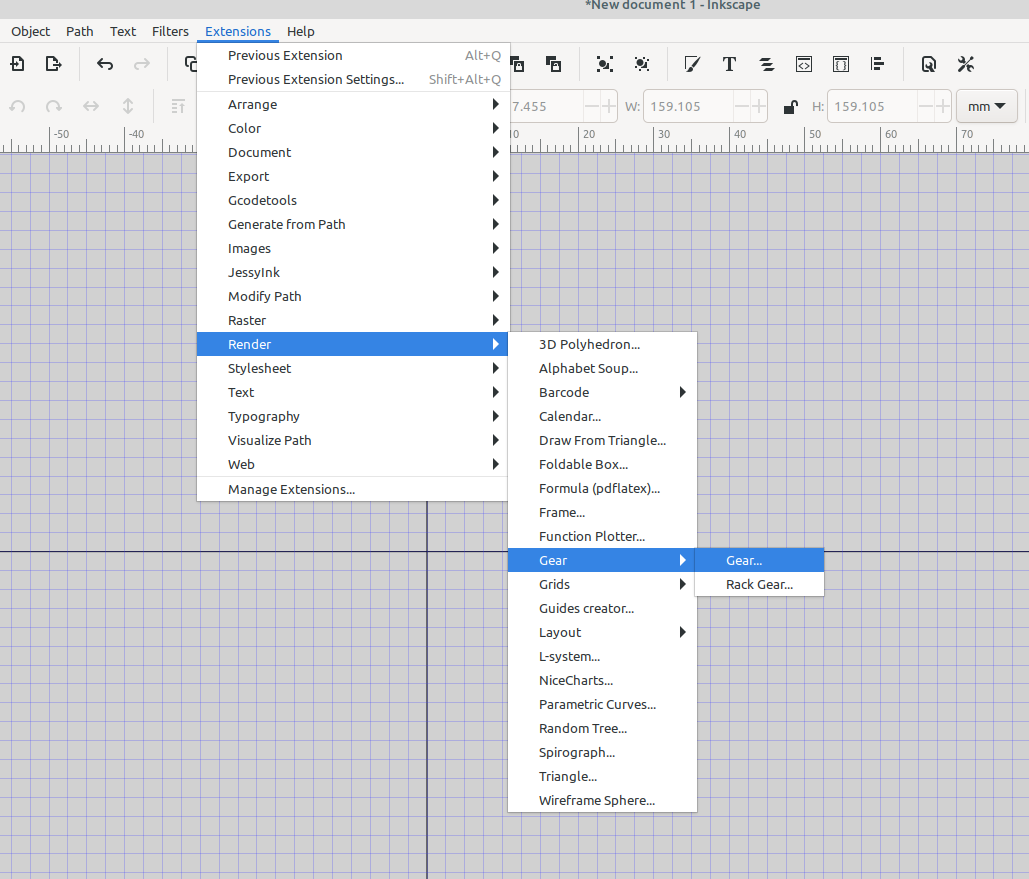
To make a herring bone gear I used the gear rendering extension:
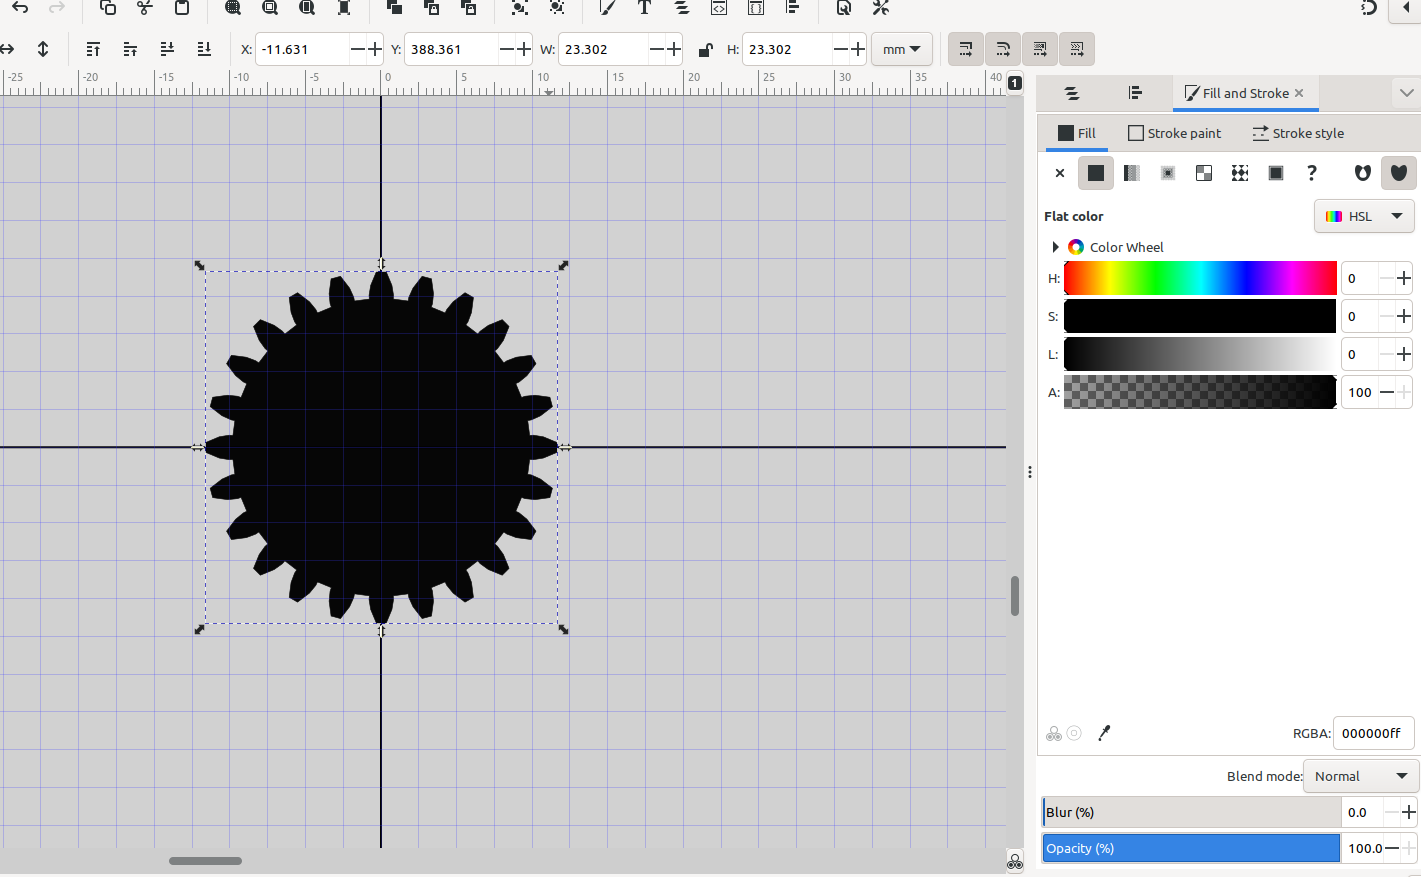
I re-sized the gear by pressing and holding shift then control at the same time and then by draging the corner arrows everything should resize and still be at the same pitch.
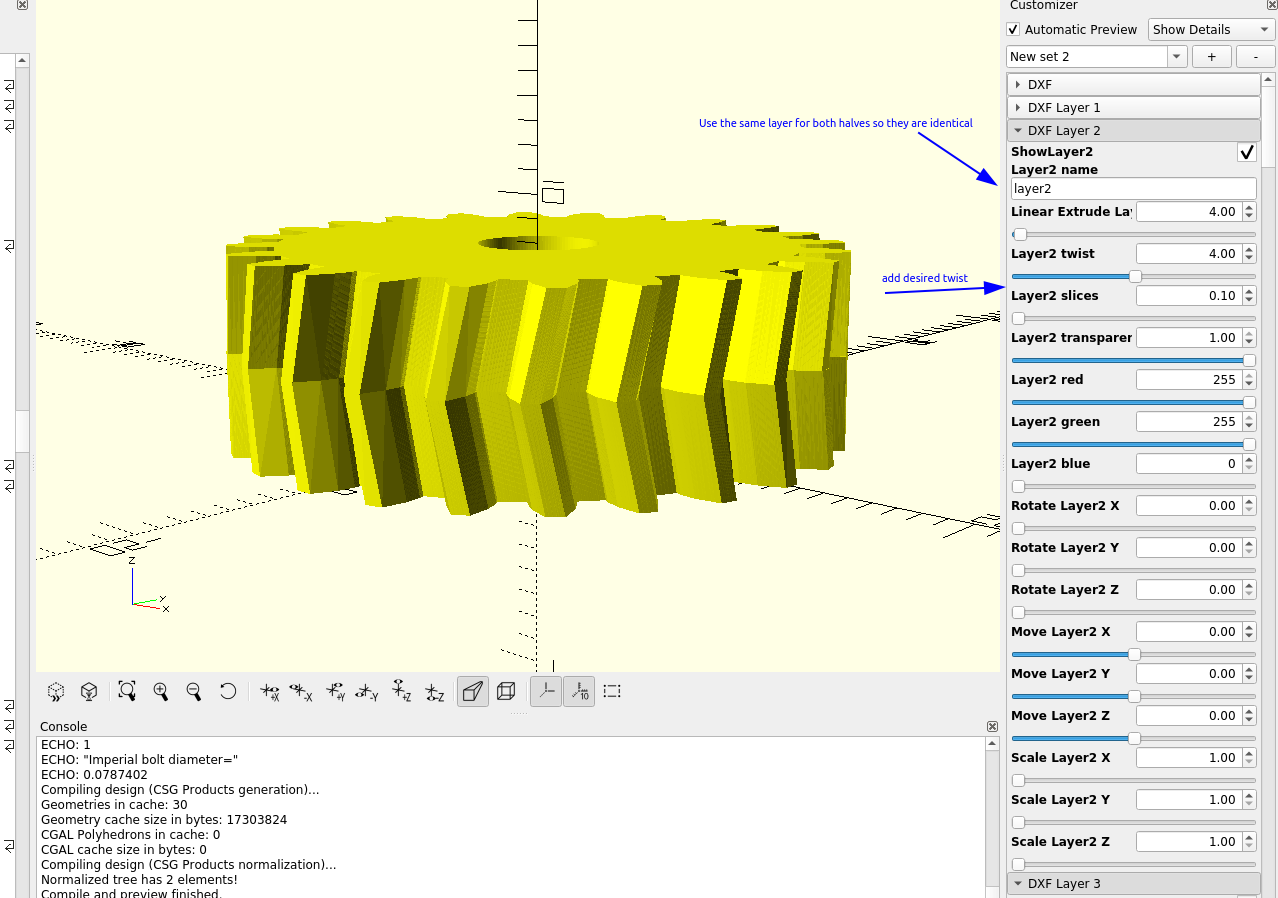
I imported the gear into OpenScad, used the same layer for both halves, added some twist and rotated everything until it was aligned:
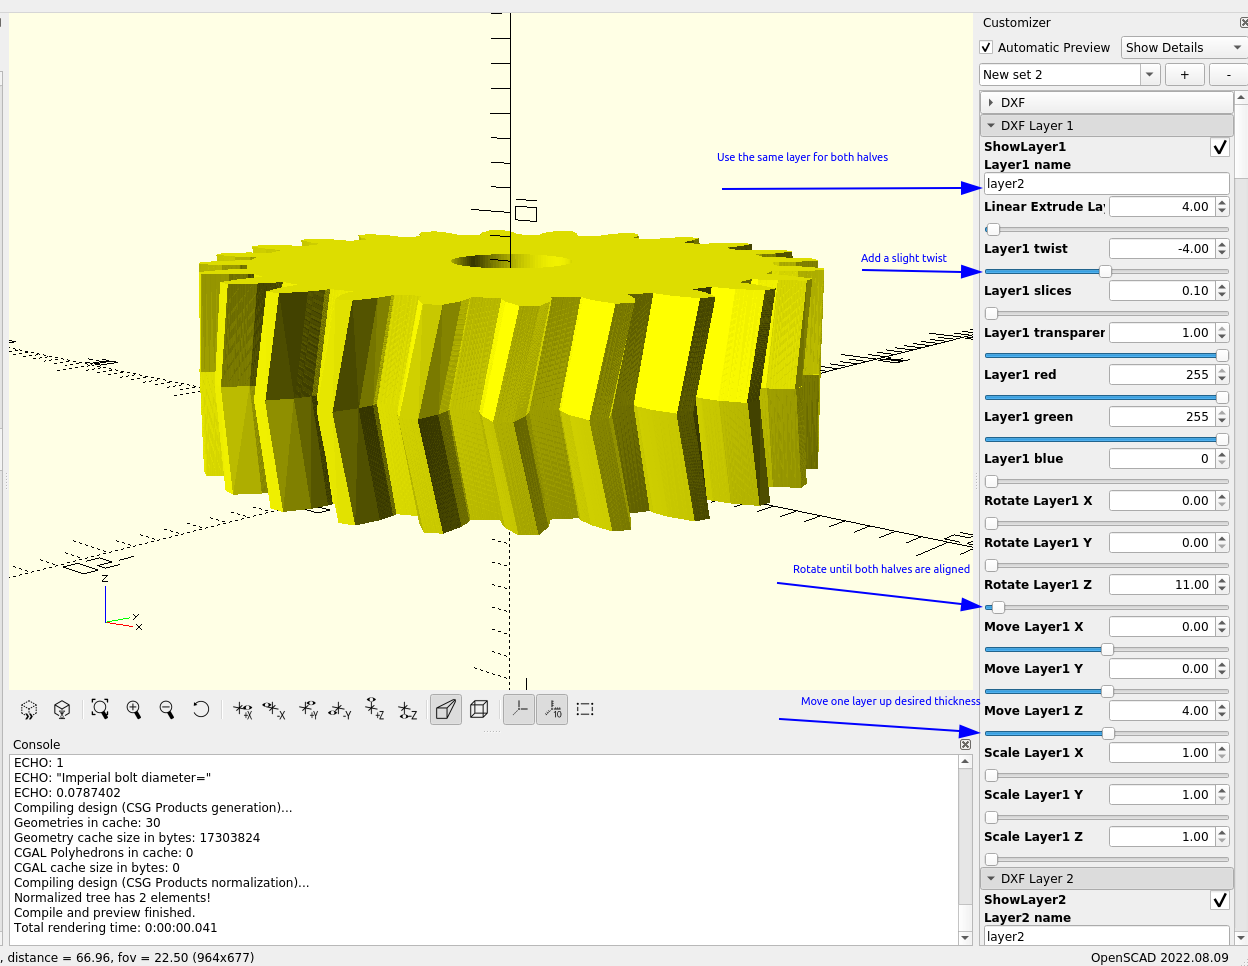

I had to extrude the bottom half .01 mm more than the top so there wasn't a tiny gap between the two halves, OpenScad kept giving me an error saying there was a hole.