
3d Part design with Inkscape and Openscad #28: stackable trays
An easy way to make different shaped trays with Inkscape and OpenScad

Here is an easy way to use rotate extrude to make stack-able trays. Using the bezier and straight line tool in inkscape I made a line the shape that I wanted the outside rim of my tray to be:
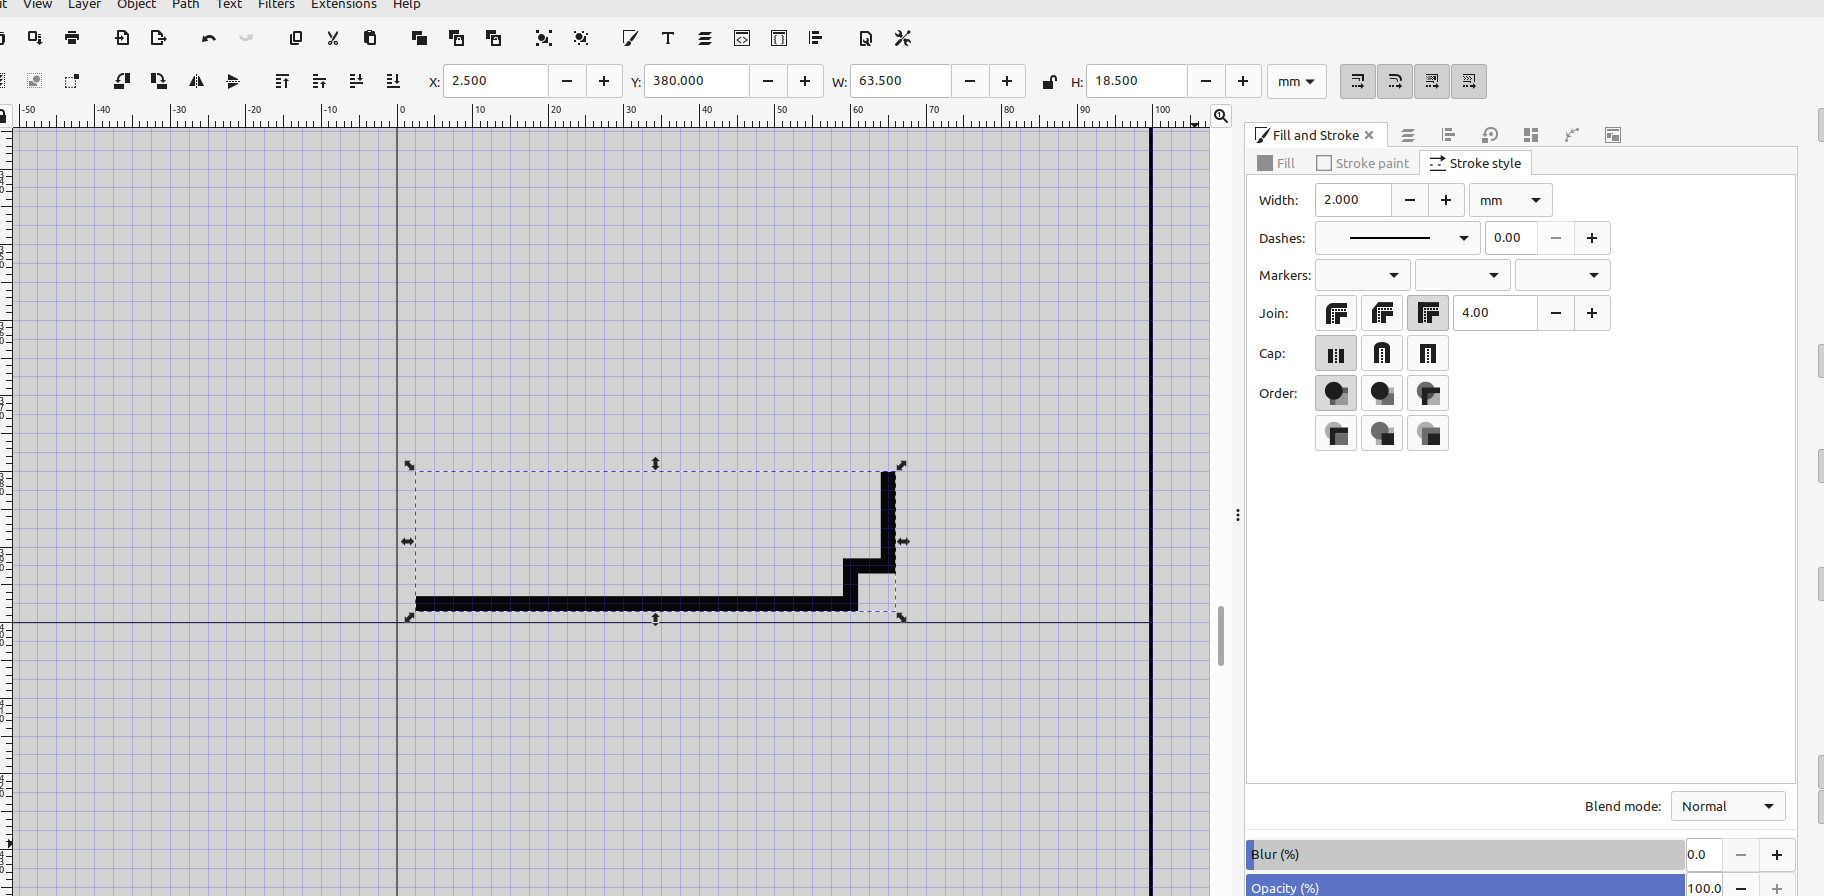
I made sure to position it so that it is all on the x axis and set at zero on my template, so that when I use rotate extrude it will make a solid object. I also set my line thickness to the thickness that I wanted the walls of my tray to be, in this case 2 mm, I also modified one of the nodes so the inside has a slight slope to it:
I then imported the object into openscad and used rotate extrude to make a tray out of it. Using rotate extrude for this is handy because you can easily change the shape of the tray:
I decided to make stacking trays with holes so I could use them as drying trays. I used pattern along a path to make a circle of repeating 2 mm holes, and then copied, pasted and resized it several times to make repeating pattern of holes.
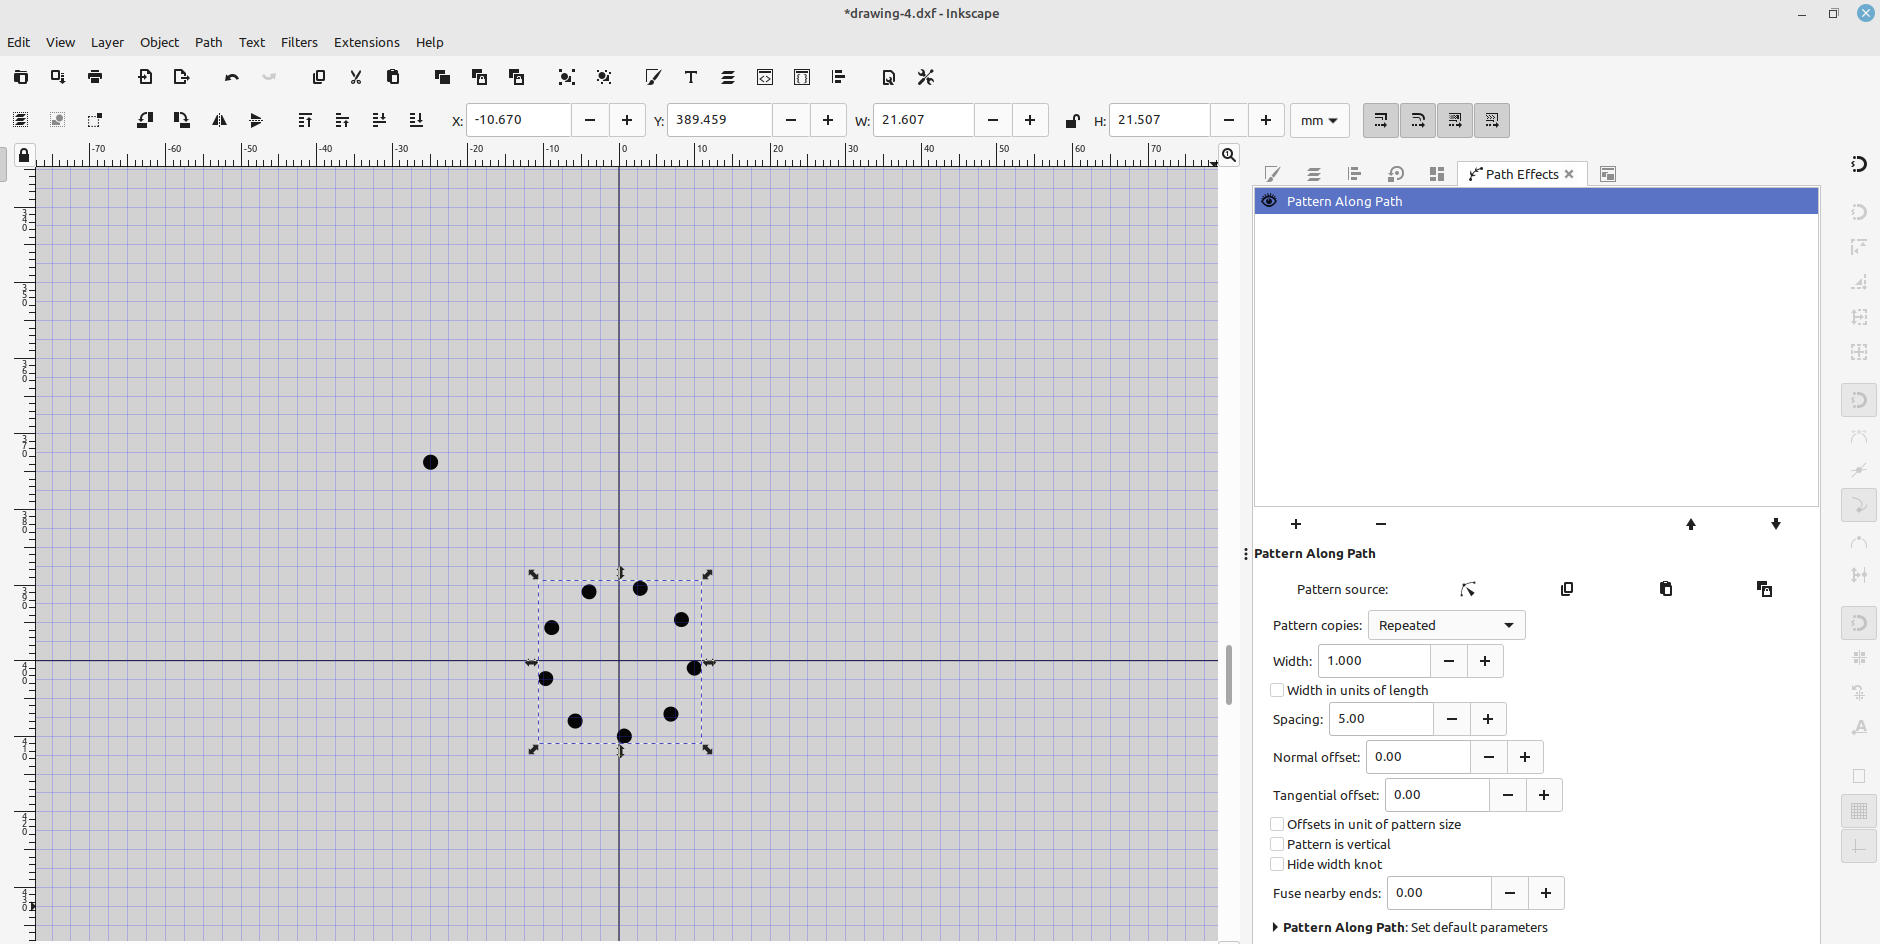
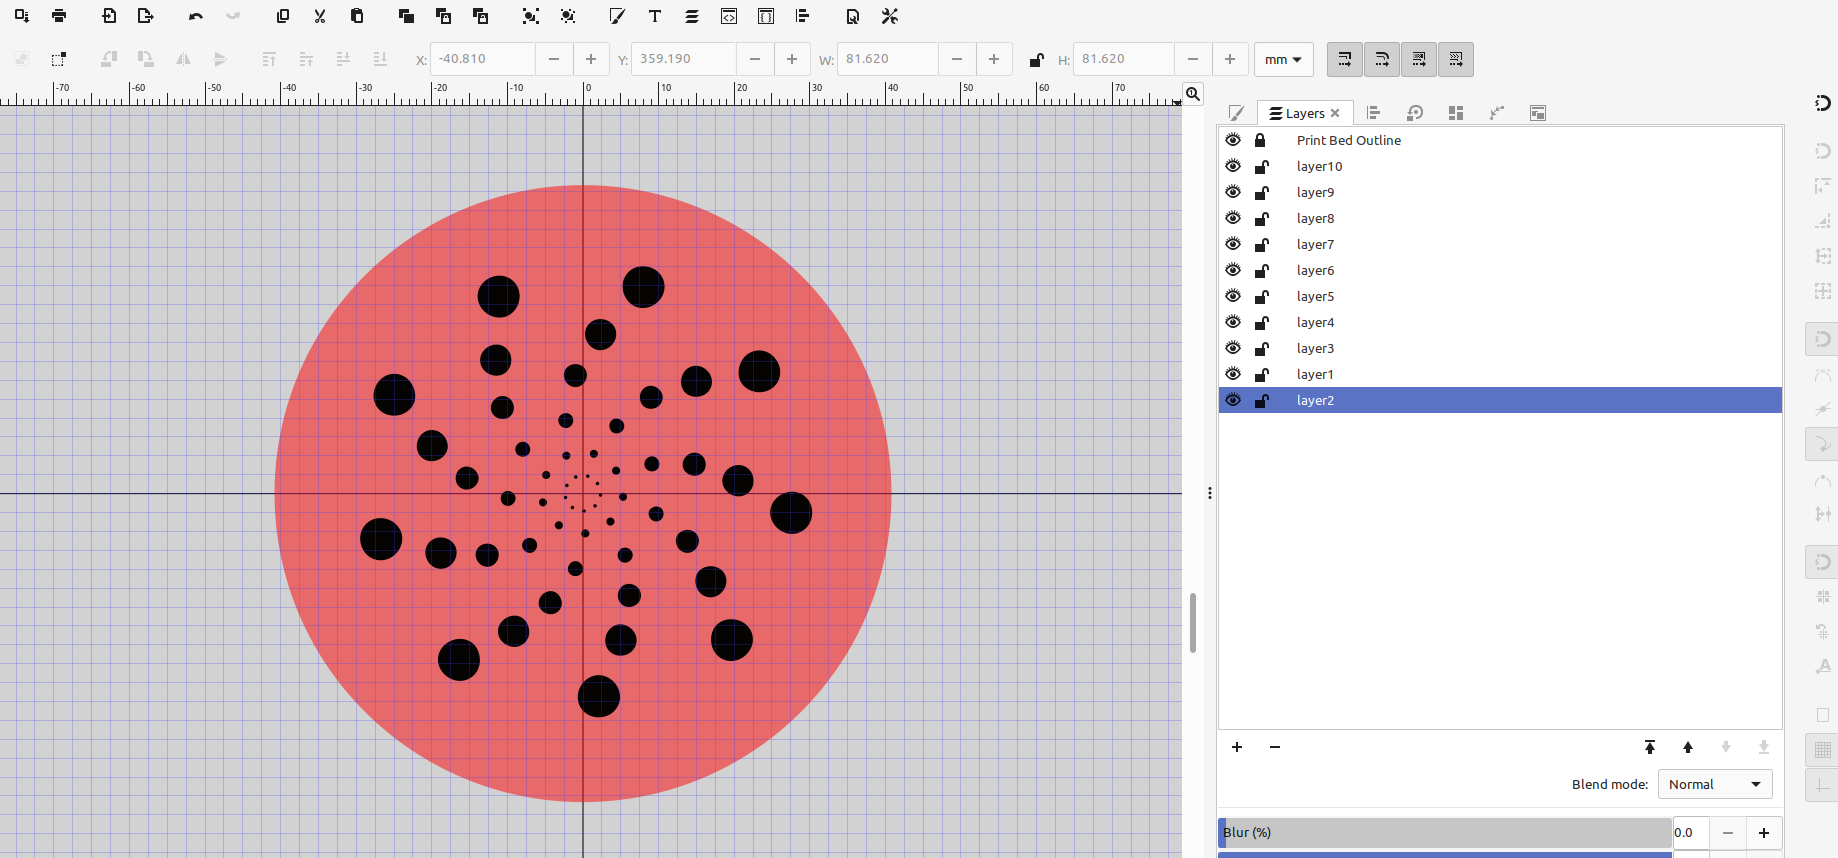
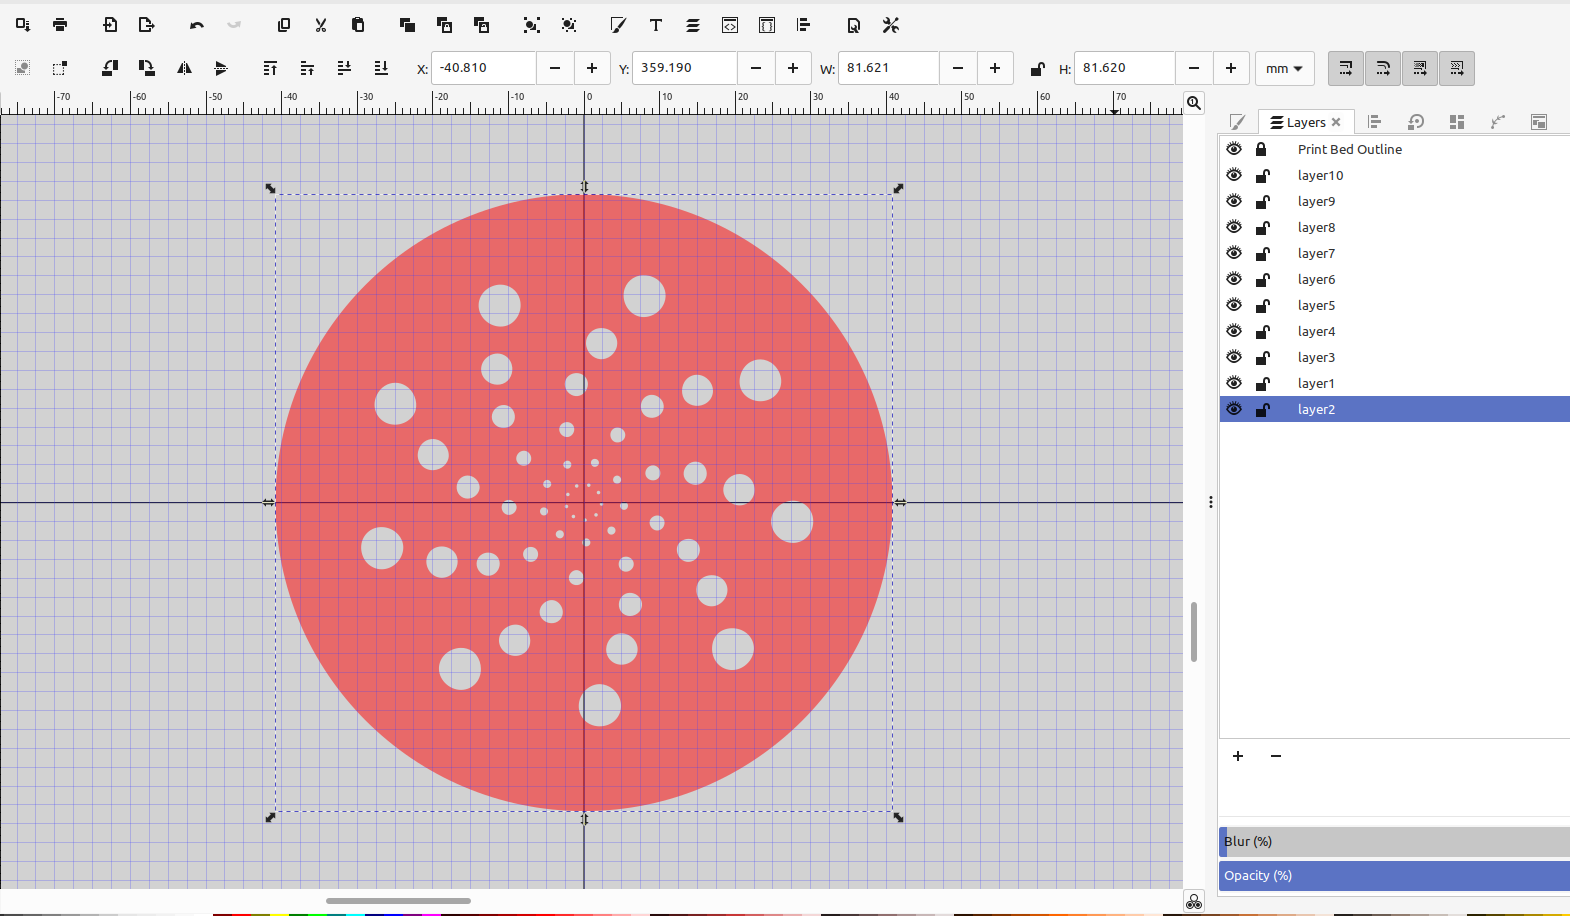
I then made a circle the size that I wanted the bottom of my tray to be and used Path>Difference to cut the holes out of it:
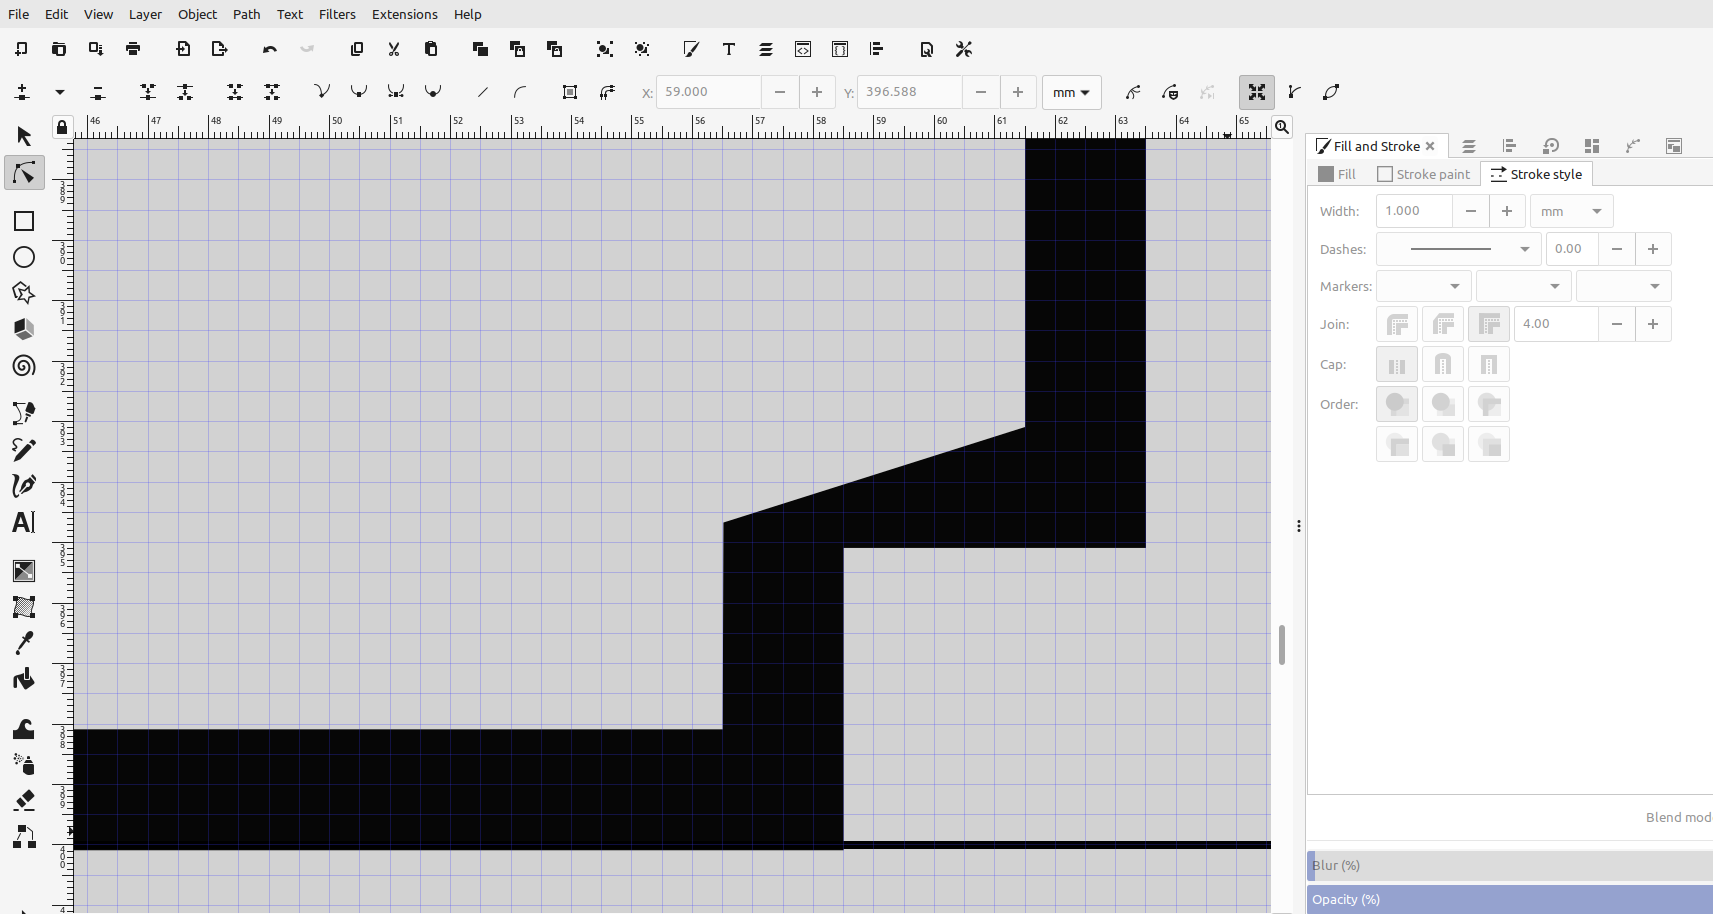
I then made a line the shape I wanted the outside of my tray wall to be on another layer, so when I import it into OpenScad I could change the two layers independently:

I had to specify which layer I wanted to rotate extrude, and made the layer the bottom was on the thickness I wanted it:
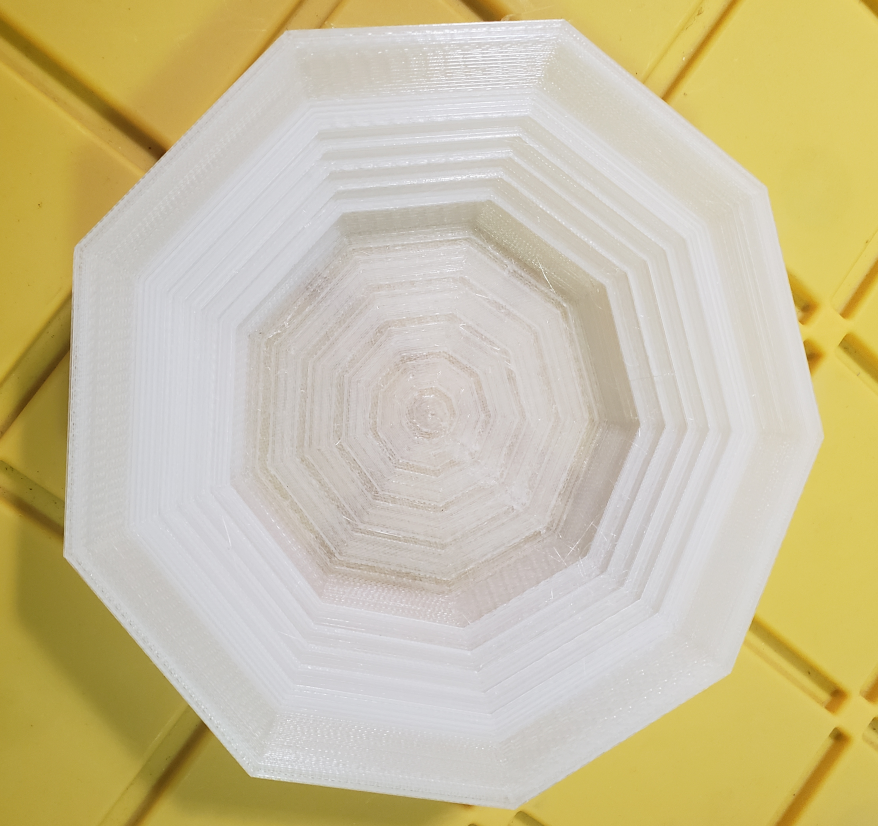
As you can see by this short tutorial it is super easy to make stacking trays this way.