Pvc 3d printer Build guide part 2
Making the slides:
One of the ways to lower costs is to get rid of the steel rods and bearings, you can still use steel rods and lm8u bearings in the pvc frame with a fitting called a cord connector if you want to: http://www.homedepot.com/p/Halex-1-2-in-ACC-Non-Metallic-Strain-Relief-Cord-Connector-27693/202077093
Just adapt it to the pvc and tighten it down on the rods it works great.
I have found that after a few hundred hours of use the bearings and rod start to wear even if you keep them cleaned and lubricated, pretty soon the the motion of the bearings is rough and they need to be replaced, especially the really cheap ones.
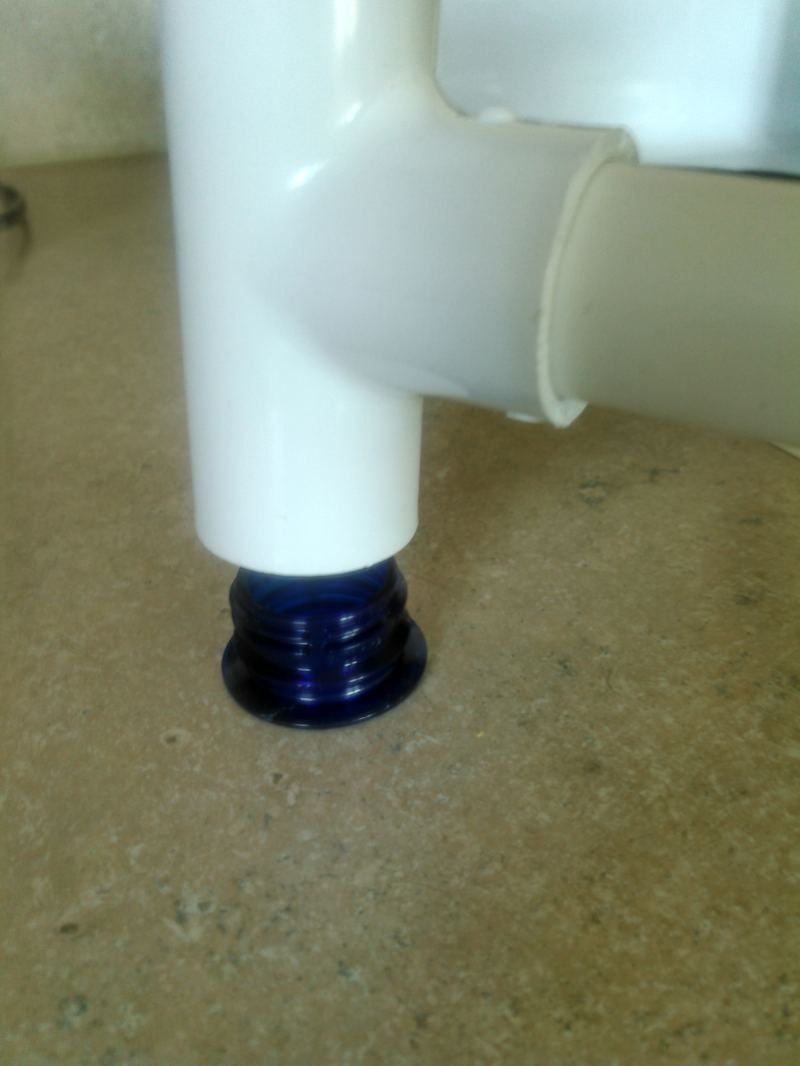
So I opted to use the tops off of bottles for a few reasons.
- they are free if you want to dig them out of the trash
- they fit perfectly over 1/2" pvc
- they snap in and out of the 3/4" fittings easily and can be replaced.
- they wear remarkably well, these "bearings" have little to no load on them they should last a long time, if not it only takes a few minutes to take the printer apart and replace them.
- They work.
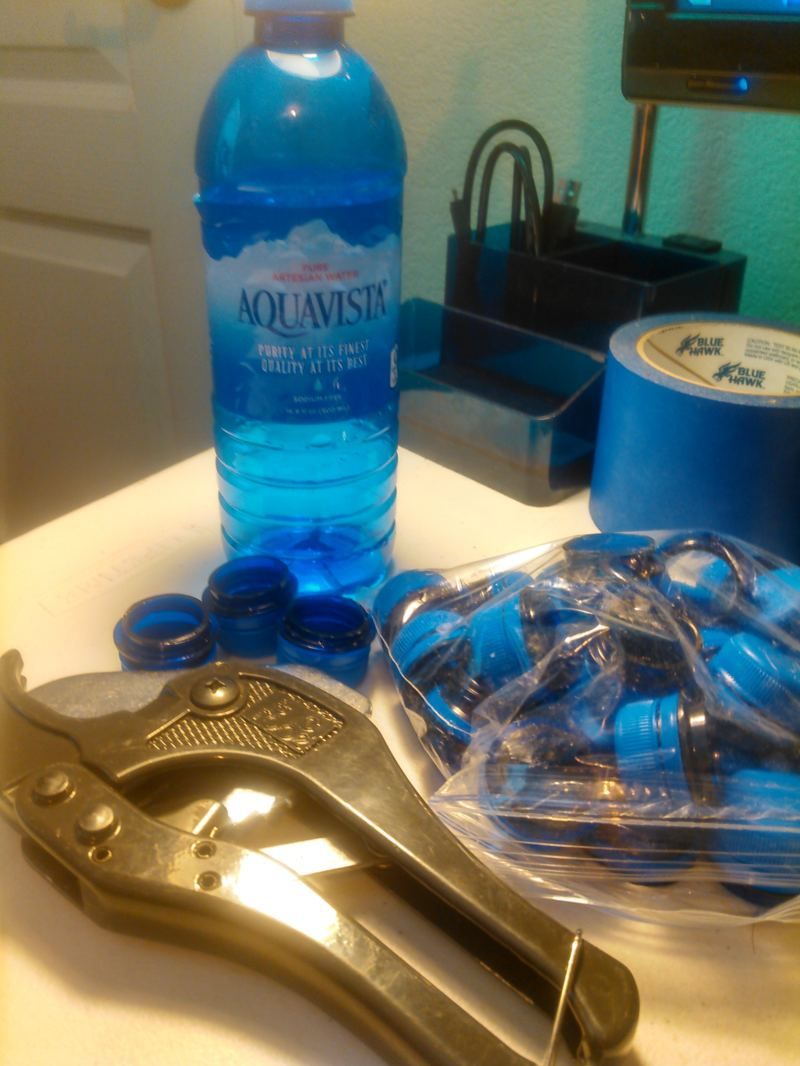
With a pair of cutters and 5 minutes you can have a lifetime supply of plastic bearings for free
Keep in mind not all plastic bottles have tops that are good for this so it pays to take a short piece of 1/2" pvc and slide the top over it to make sure it slides freely and doesn't bind.
Inserting them in the fittings is pretty easy, if you find some that are pretty loose when you fit test them you can probably just tap them into the 3/4" fitting and they will work perfectly, most of the ones I've used I needed to dip the fitting in boiling water for about 30 seconds to get the plastic pliable then pressed the bottle top into it:
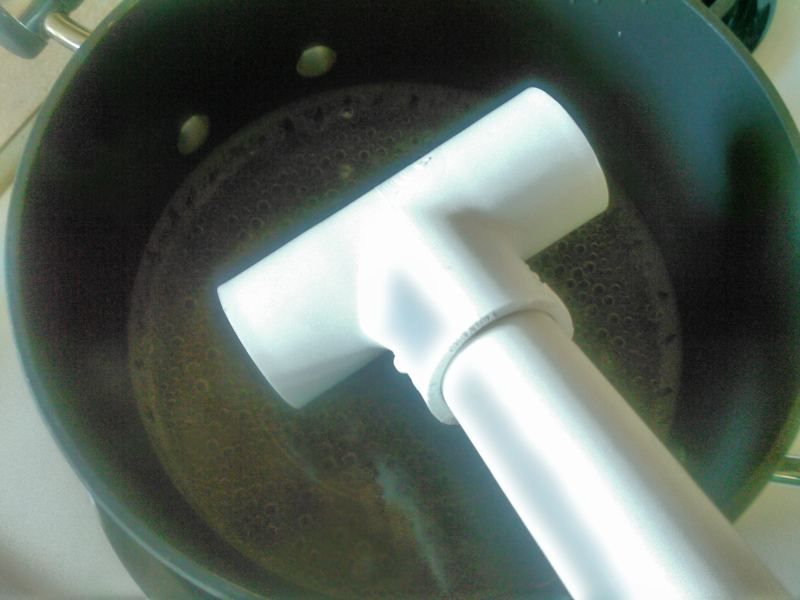
I work close to the sink with cold water running so as soon as I get them pressed in I can cool the fitting down so it doesn't distort the bottle top

Once in a while there will be a stubborn top that doesn't allow the fitting to slide easily over the pvc pipe, I will usually just take a short piece of pipe at an angle so it catches the edge of the bottle top inside the fitting and tap it out, then snap a new one in.
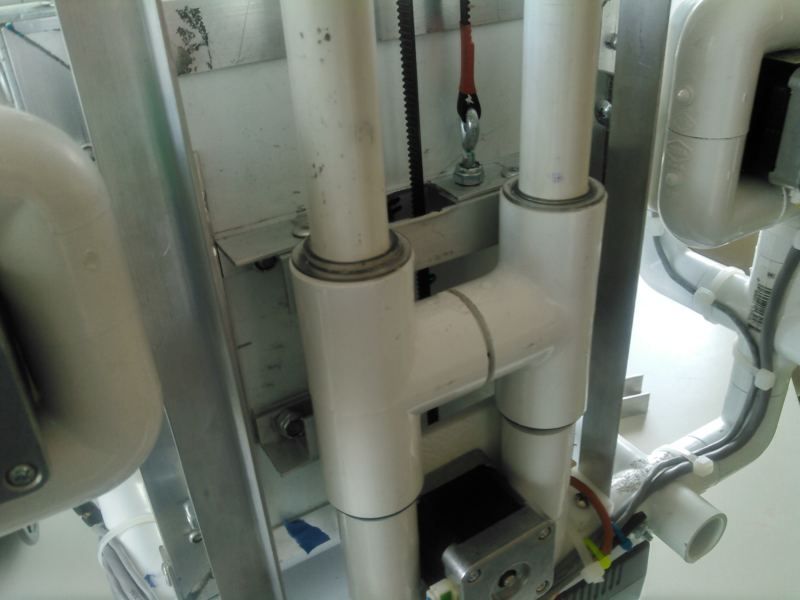
the 3/4" fittings will need to have a small amount trimmed off of them so they will line up with the two 1/2" pipes that they slide on, there is a short piece of 3/4" pipe in between the two, I didn't glue that short piece because the two 3/4" tees need to float freely from each other, which keeps the slide from binding if the pvc is not perfectly straight.

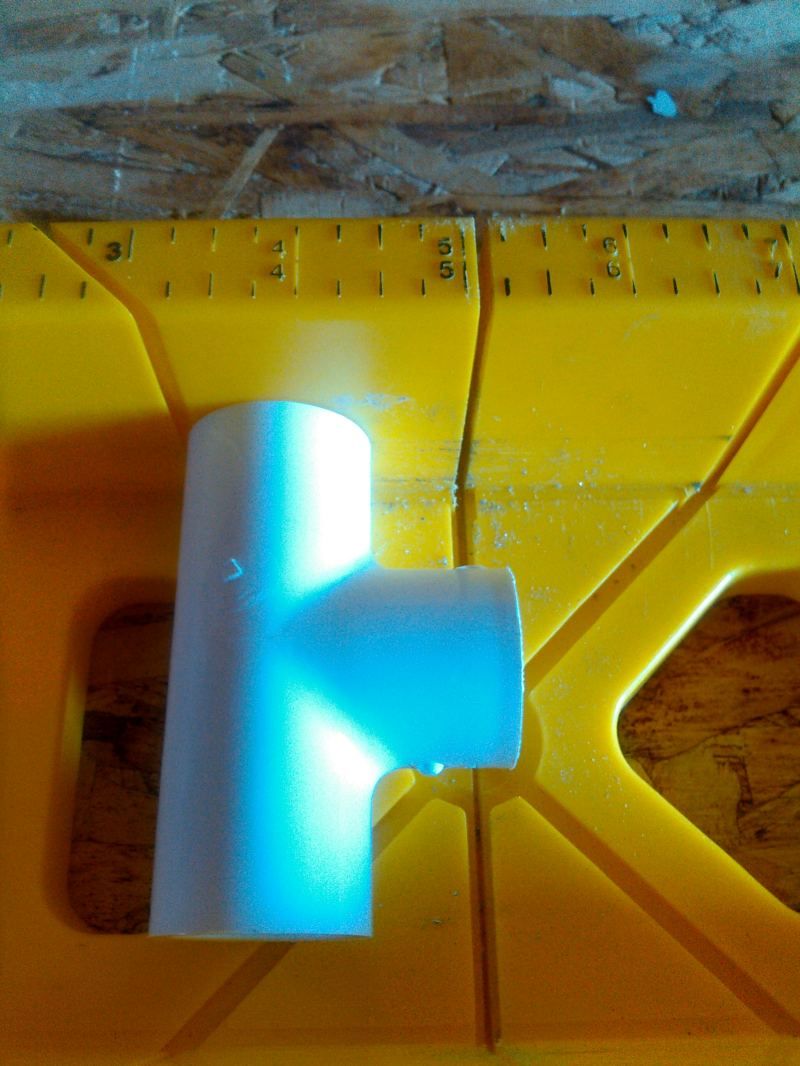
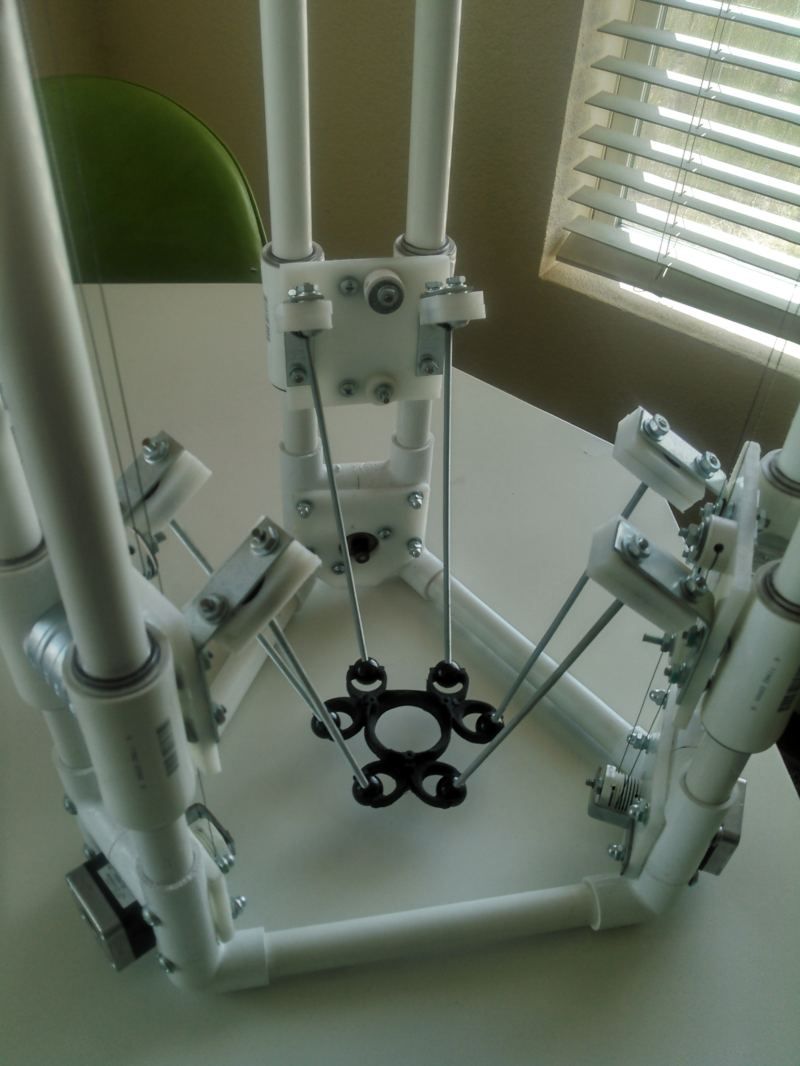
That's all there is to the slides they are pretty easy to make.
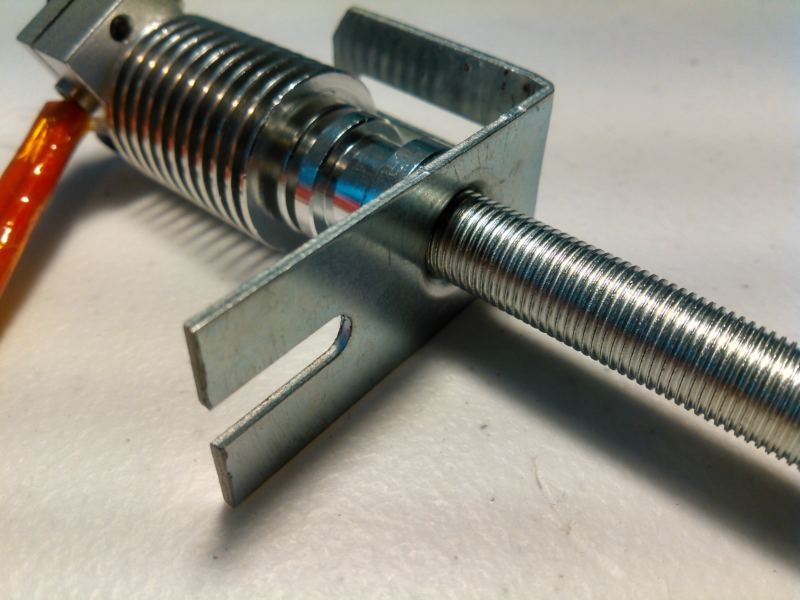
using lamp rod for the linear actuators
In my quest to find all of the parts for this printer at the local hardware store several options were available, like 5/16" threaded rod, but all of the rods have the issue of being bent, and no matter how hard you try you can't get them perfectly straight. Lamp rod is pretty straight because of how it's made, and you can buy it in really long lengths:
http://www.antiquelampsupply.com/product/2103_36-seamless-all-thread-pipe
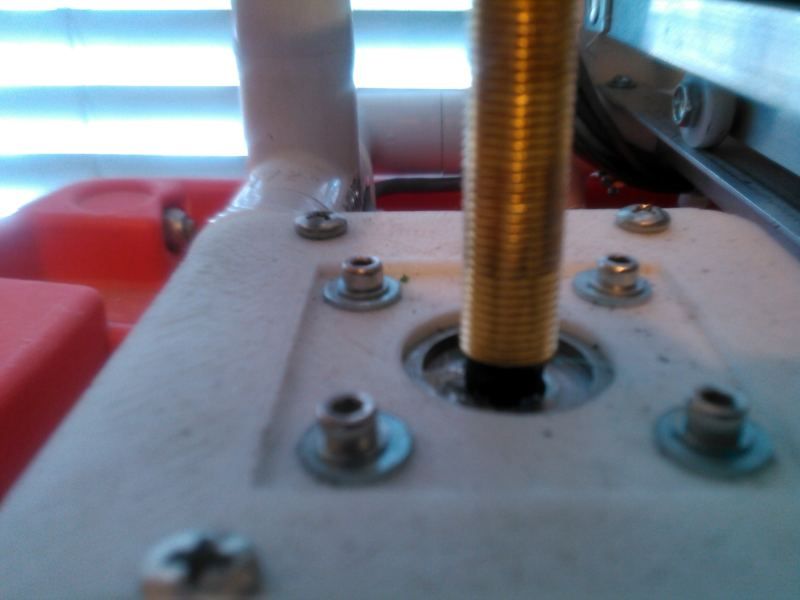
There is a ton of different fittings for it and it just happens to have a thread pitch that is the same as aluminum hot ends (close enough anyway):
The brackets can easily be attached to the frame for the z axis:
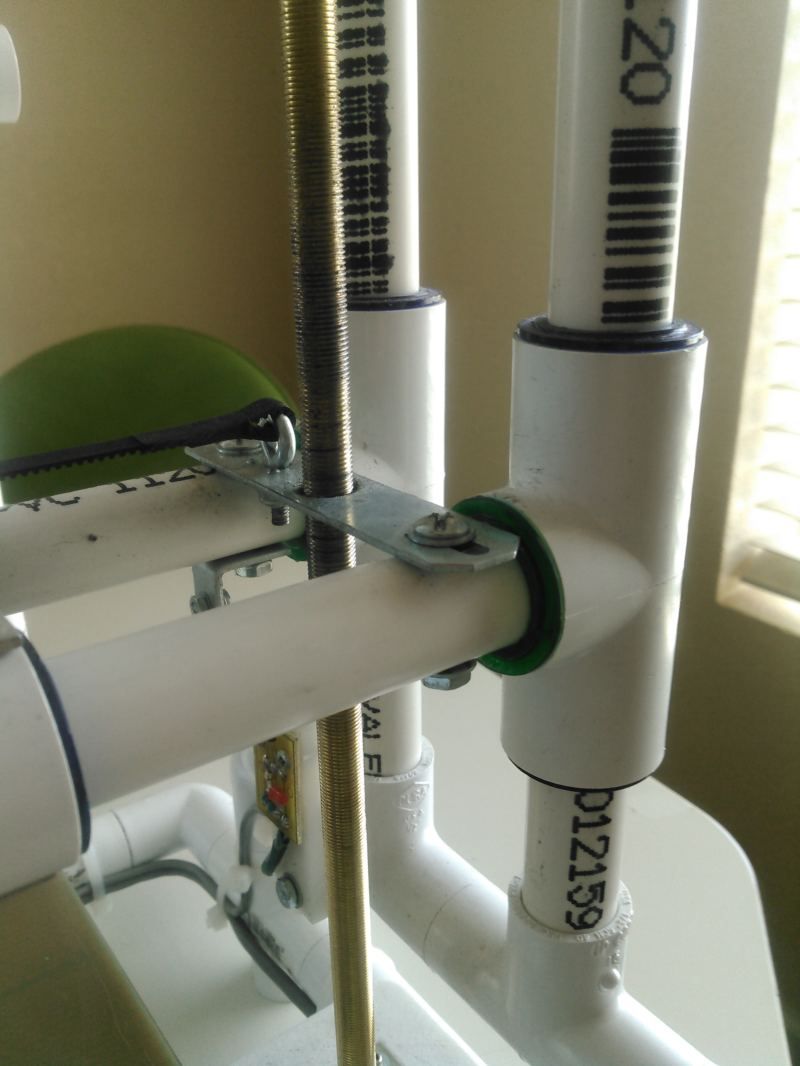
And can be modified to make a bed sensor or fan mount:
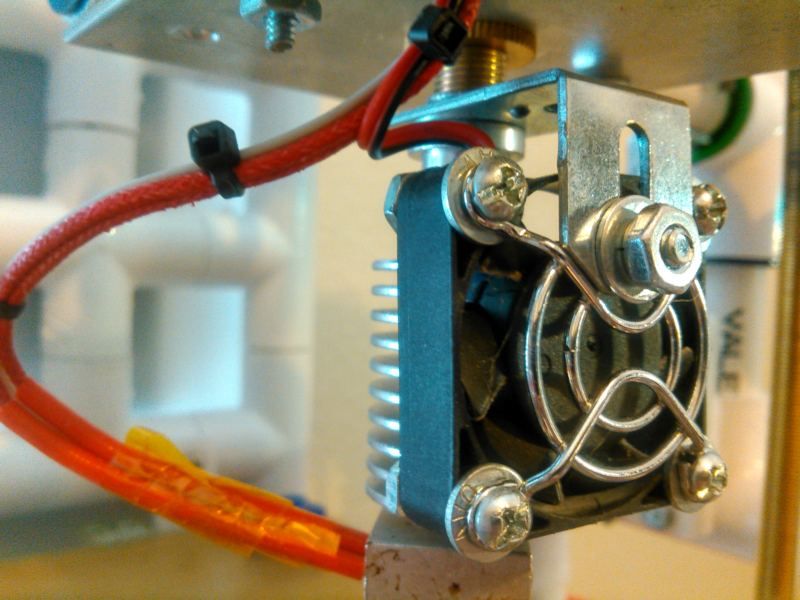
Additionally that yellow coating on the rods is zinc and has self lubricating properties.
The final bonus is that with a short piece of fish tank air line tubing and some heat shrink, the rod can be pressed on to the stepper motor shaft completely eliminating the need for a coupler from the motor to the lamp rod. The only reason flexible couplings are used is to compensate for misalignment that causes the rod to bind and with the lamp rod perfectly centered on the shaft due to the tubing and heat shrink there is good alignment but it still allows a small amount of wiggle room from side to side, it doesn't slip on the shaft and the motors will torque out before it slips.
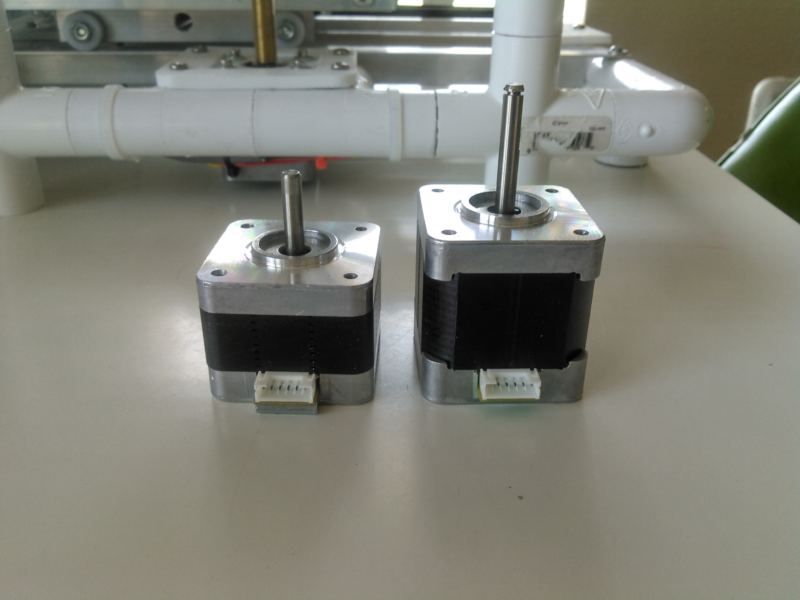
*not all steppers are equal
Stepper motors are one of the most expensive parts of the build and one thing to definitely keep in mind is the size of your steppers, I would recommend at least 76 oz/in or larger which may cost a couple of bucks extra but the smaller steppers will torque out and give you problems.
That little bit of extra torque is definitely important.
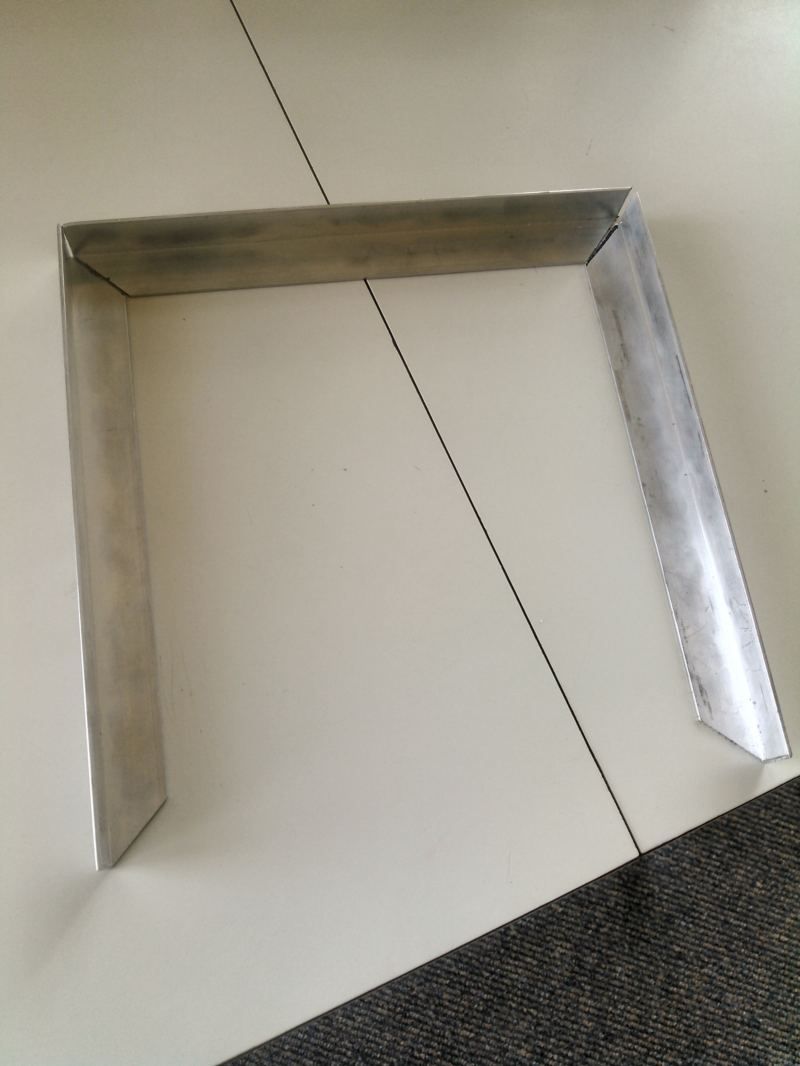
the heatbed
The bed is an 8" square piece of aluminum sign blank with a frame around it made out of 1/2" aluminum angle, and is a work in progress. Initially I wanted to make a self leveling bed with some brackets on the 4 corners, and I may still do that but currently I am working on a whole new design that will use fewer pvc fittings and have a conveyor belt type of bed. So while this bed definitely works I am going to change a few things.
http://www.homedepot.com/p/Everbilt-1-2-in-x-96-in-Aluminum-Angle-Bar-with-1-20-in-Thick-802677/204273980

I used 4 shower door rollers and a couple of pieces of angle to give the bed more stability on the sides, and some spring loaded manual leveling adjusters. This design works well enough I probably won't be making any more changes to this particular printer. Additionally I probably didn't need the angle frame around the sides, I was going to put insualtion under the heated bed but I haven't even needed the heated bed since using painters tape and watered down modpodge, warping is minimal.


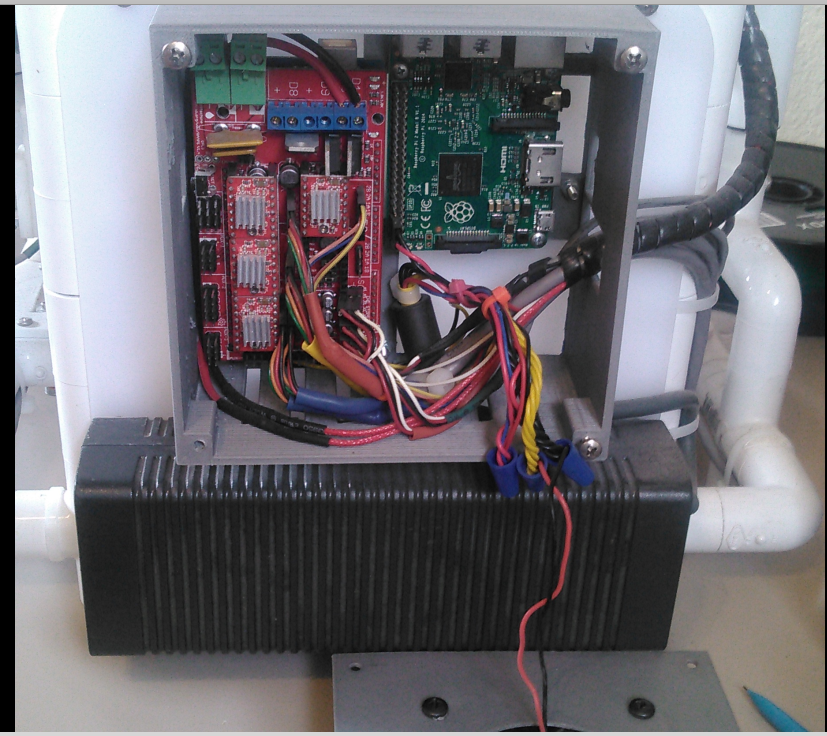
That's pretty much it for the mechanical build, in the next part I will cover the electronics and software