
3D part design with OpenSCAD #62 : High quality Lithophanes
An example of how to make a high quality lithophane with OpenScad.
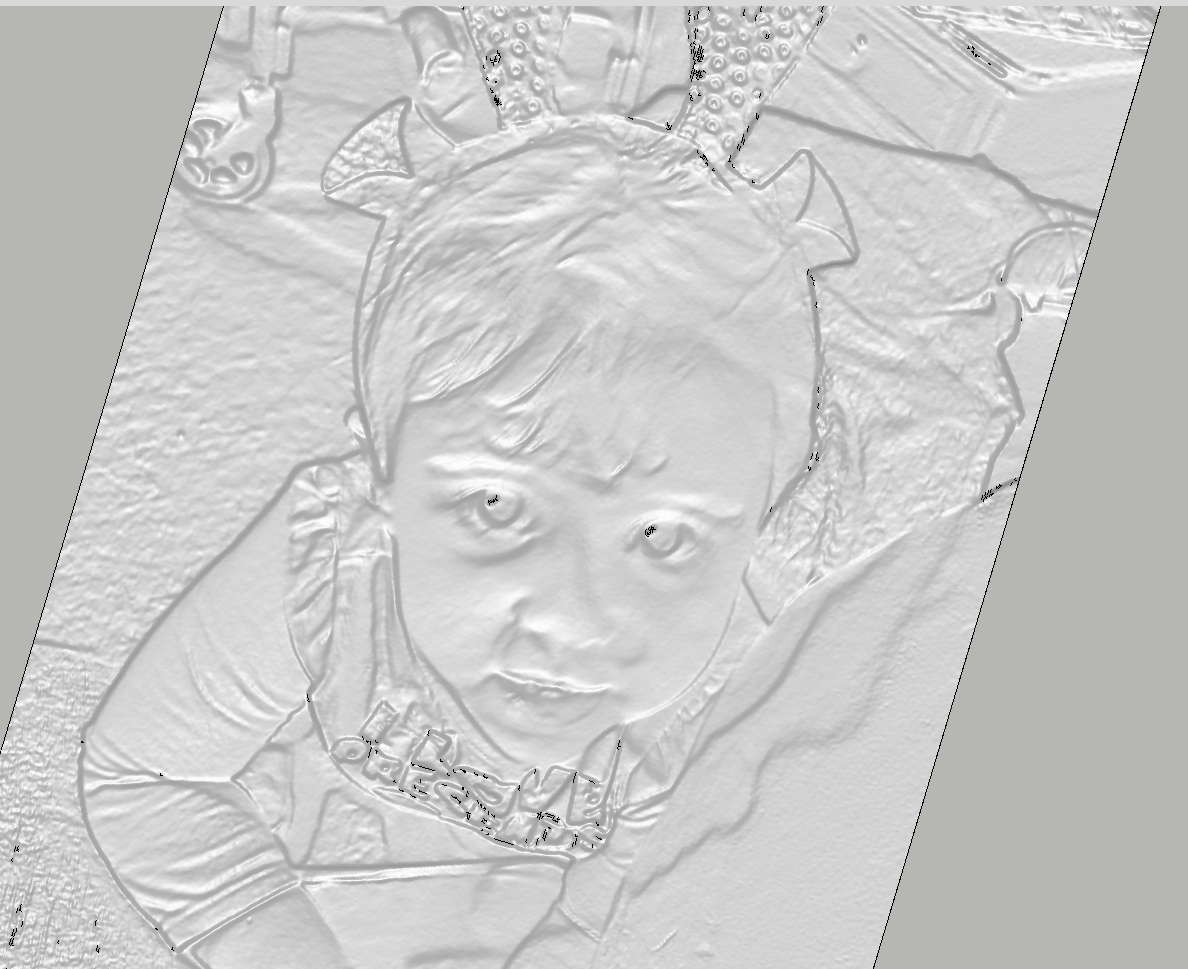
I was experimenting with different ways to make a lithophane using surface and wasn't getting very good results, it turns out all I needed to do was scale the X-axis a small amount and leave the png image as is.
Here's the code:
/*[Lithophane]*/

Path_to_PNG_File="";
Invert=false;
depth = .03; // [0.001:.01:1]
scale_x = .169; //[0:.001:1]
scale_y = .169; //[0:.001:1]


module lithophane(){
scale([scale_x,scale_y,depth])
if(Invert)
surface(file=Path_to_PNG_File,center=true,invert=false);
else{
surface(file=Path_to_PNG_File,center=true,invert=true);
}}

lithophane();
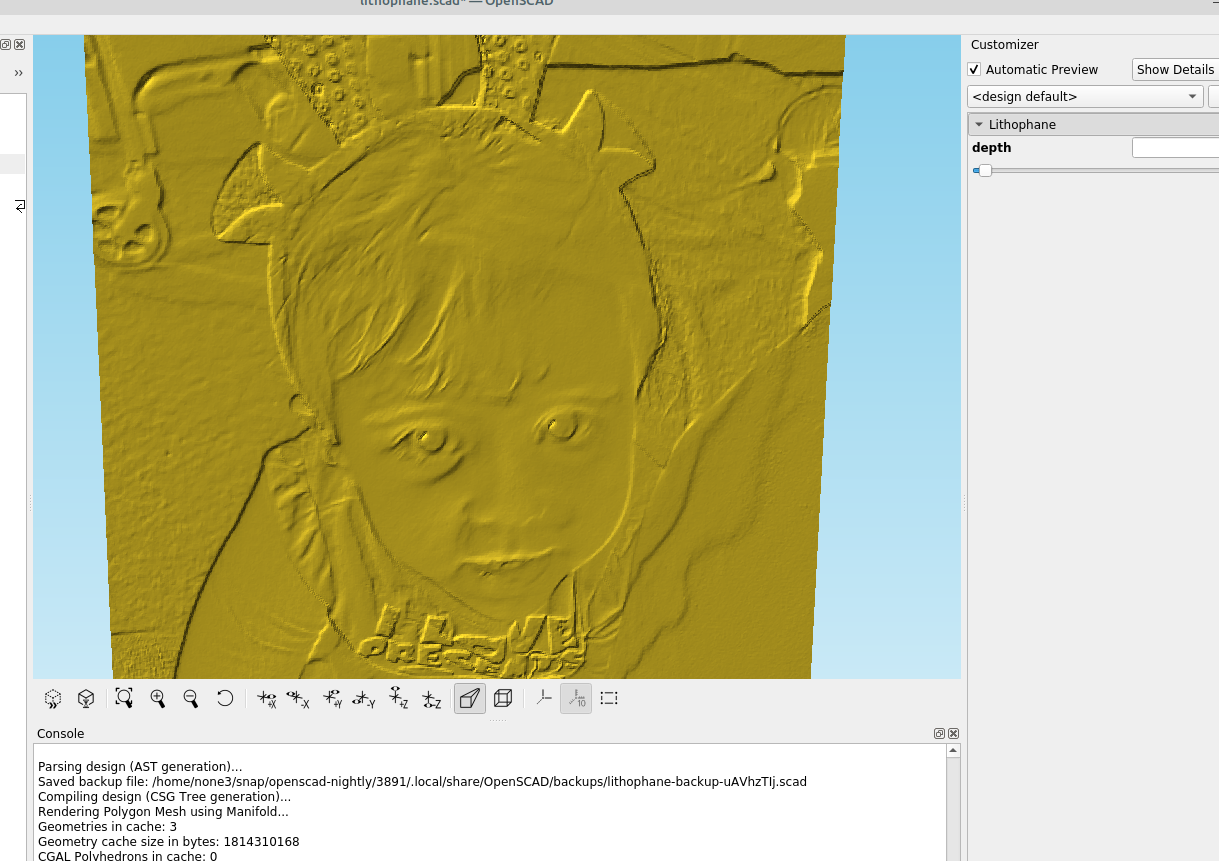
And that's all there is to it, select your png file and set the depth, .169 on the scaling of X and Y makes the import pretty close to the right size if the png file is 300dpi, be aware that high resolution files take a while to render and the scaling will need to be adjusted based on the dpi.
I will be adding capabilities to this as time allows like adding a custom frame, color layers and other upgrades.