
3D part design with Inkscape and OpenSCAD #63: making a custom shaped lithophane.
An example of how to make a custom shaped lithophane using Inkscape and OpenScad.
After experimenting with ways to make a custom frame for a lithophane I found out it wasn't exactly a straight forward process, here is an easy way using Inkscape and openscad to make a custom shaped lithophane that can be used to make ornaments or incorporate into a design that will look cool when there is a light behind it,
The first step is to import your picture and design the shape you want it to be:
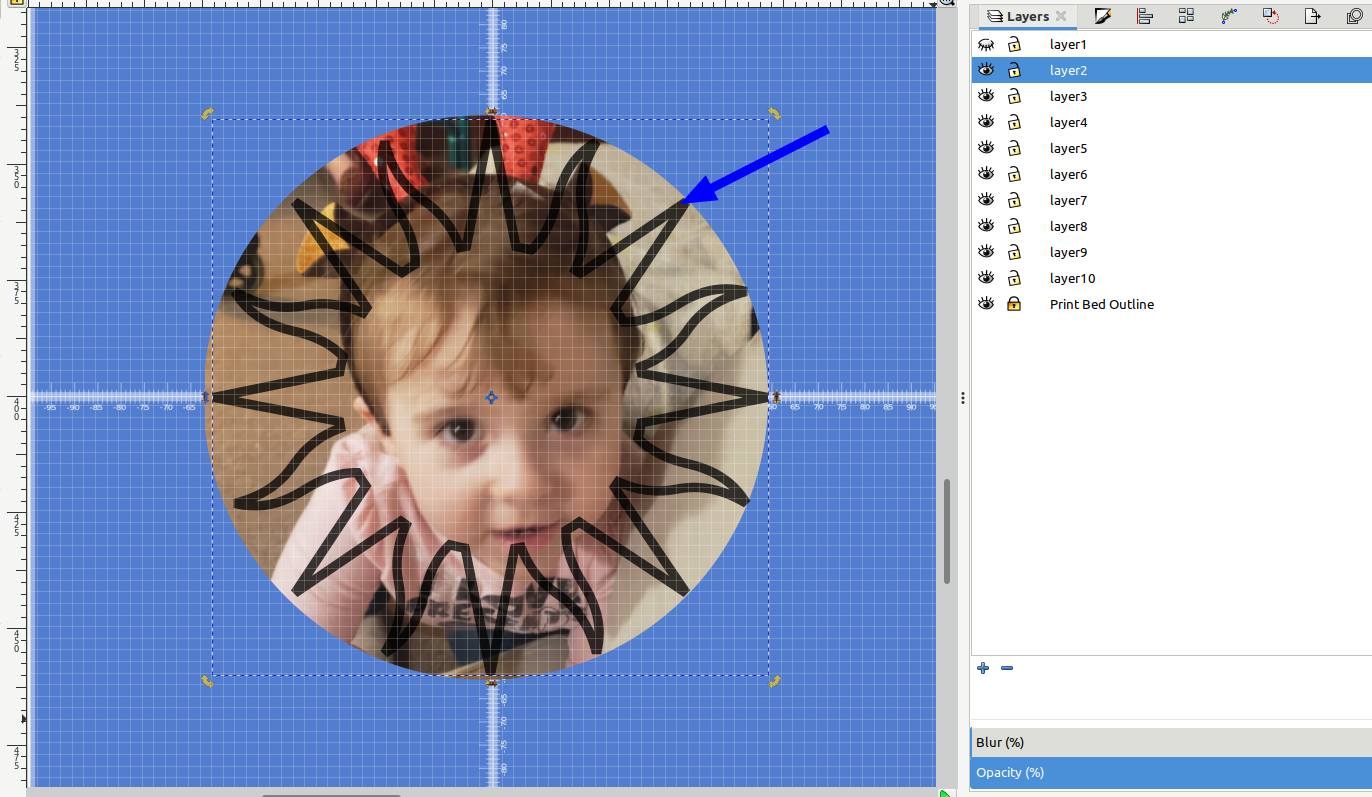
In the example above I imported the picture and used Clip>Set with a circle to crop it, then I made a sun shape and put it on layer 2. It's important that the frame shape you want is smaller than the picture because when we use intersection in OpenScad it won't cut out the shape correctly if any part of the picture is smaller than your cut out shape.
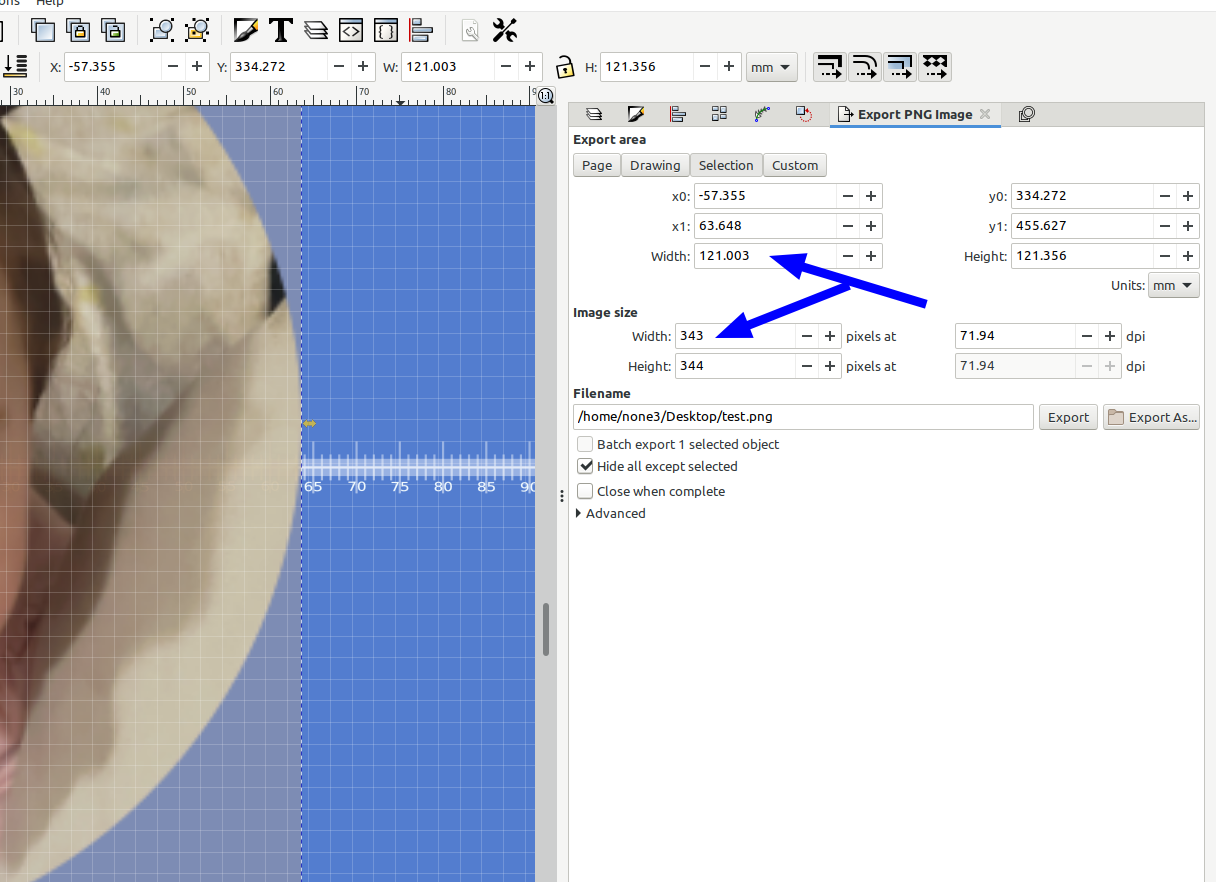
Next you have to export your picture as a png file and make the lithophane.
Note: scaling is important based on the dpi to mm conversion because this will also cause the shape to not cut out properly:
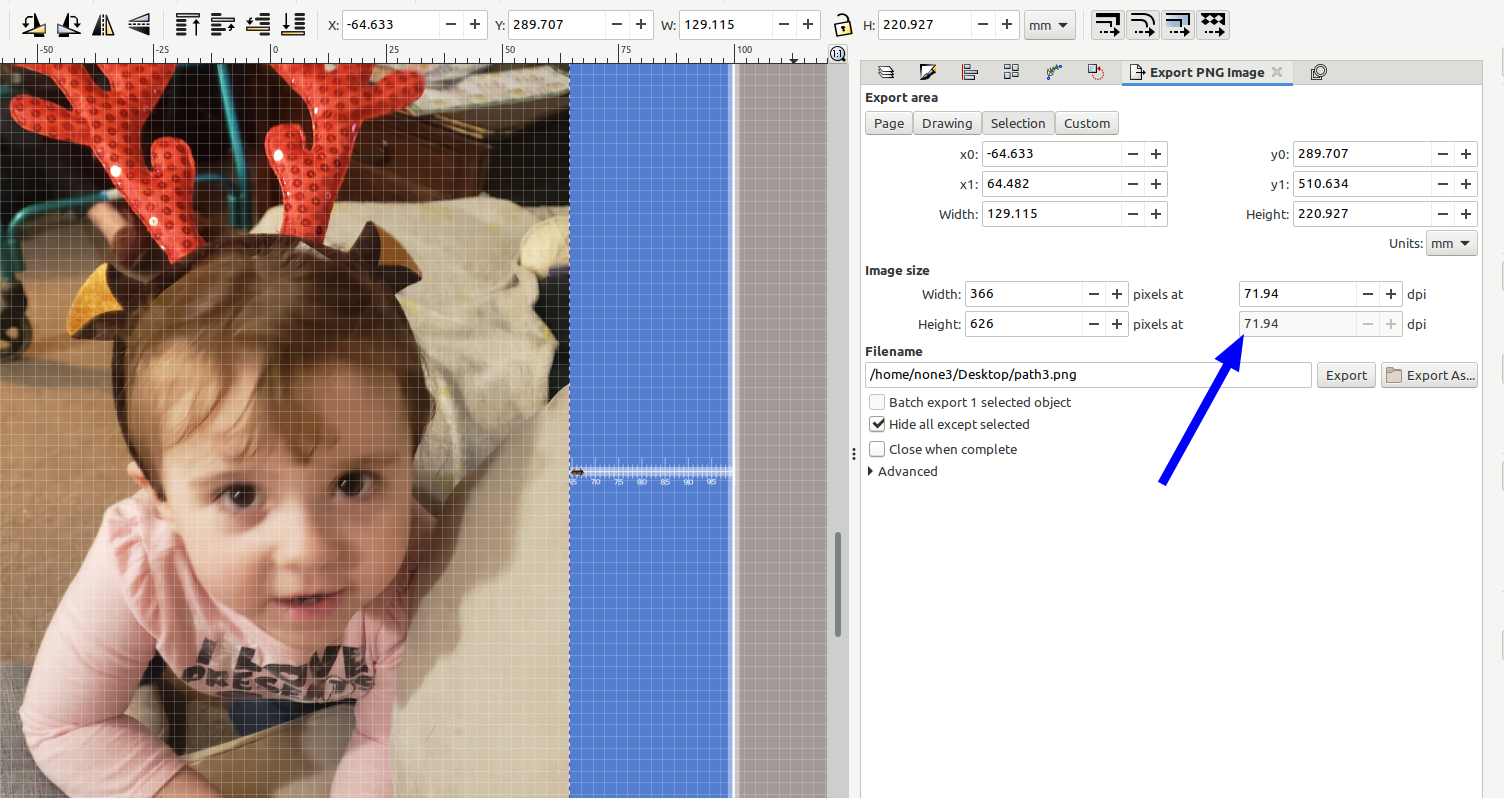
The conversion of DPI to mm will cause the size to change and the picture and the frame will not overlap correctly, I added a scale calculator to calculate what the scale factor needs to be set at for the imported picture to be the right size, I used the echo command to print the value out to the console:
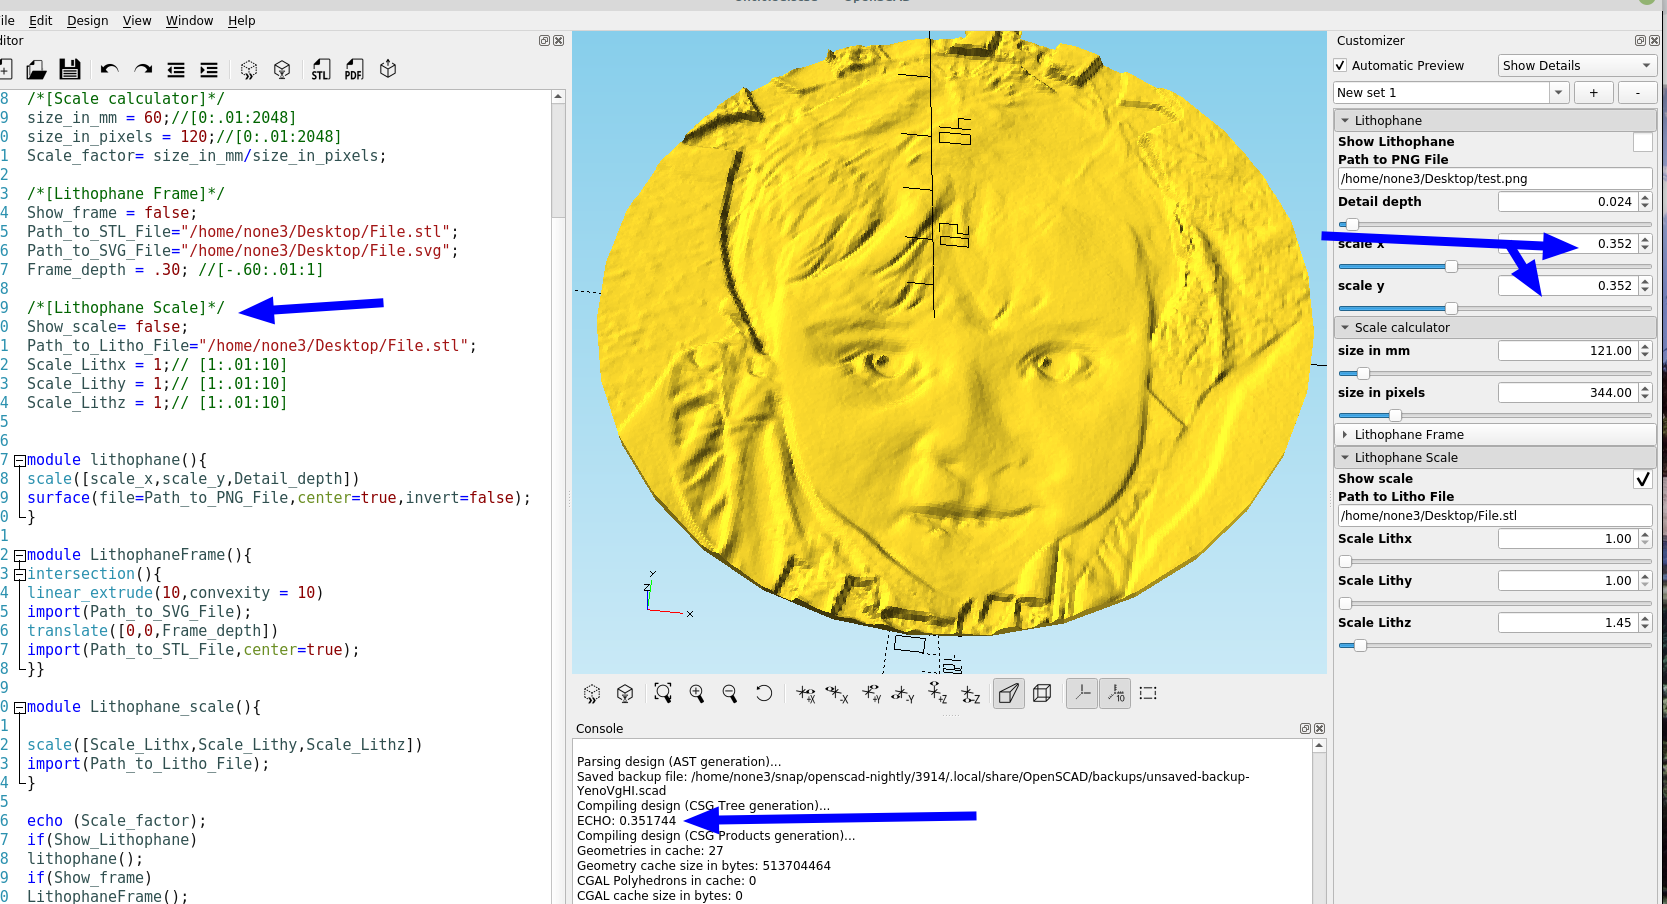
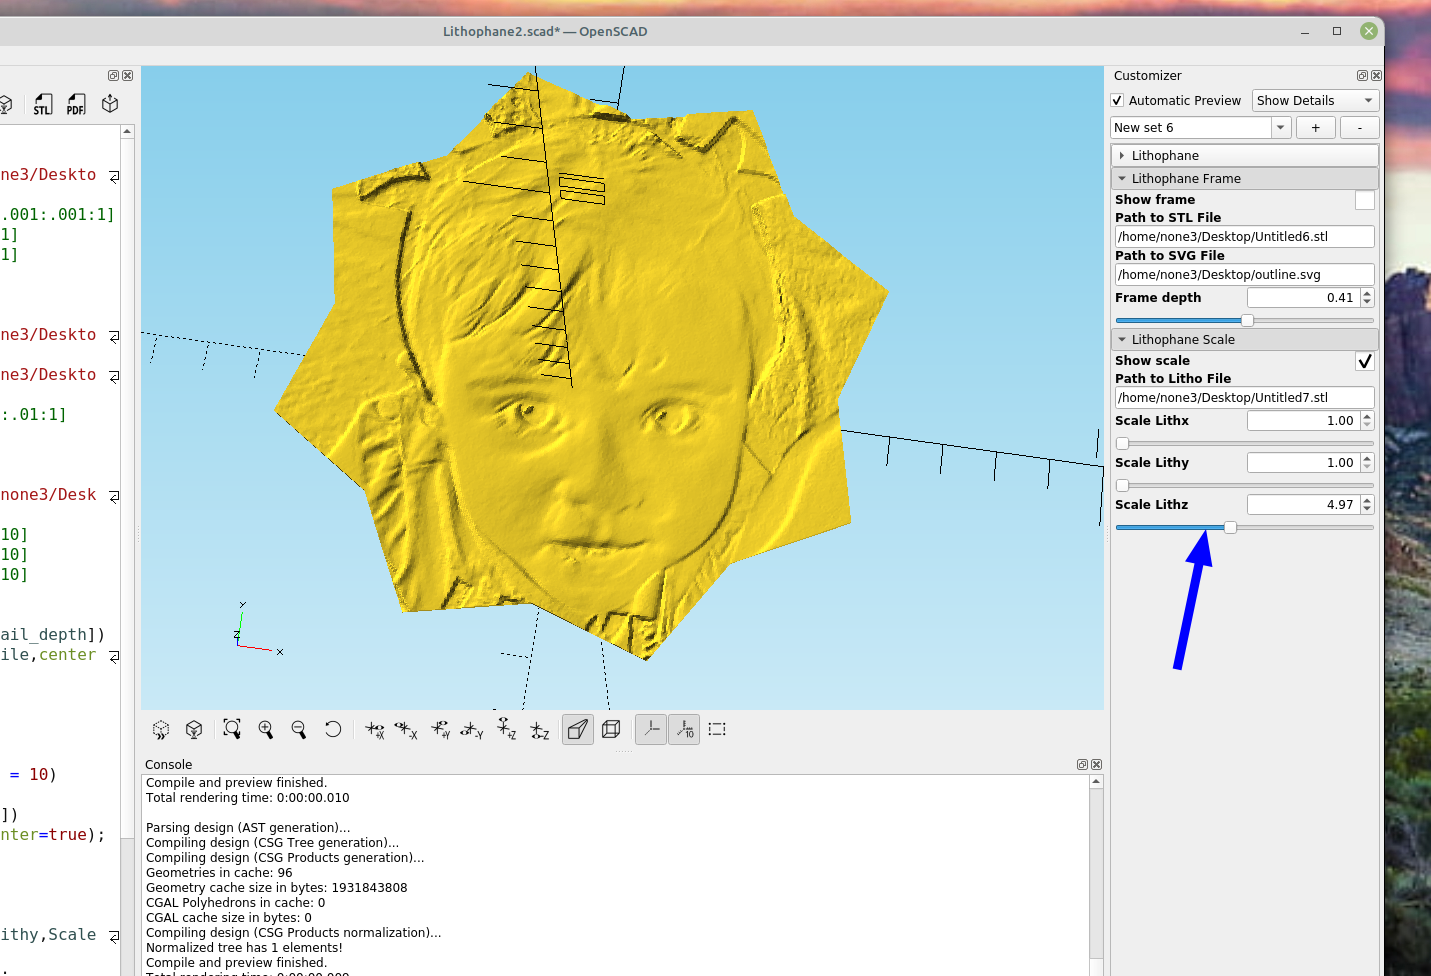
After adjusting the lithophane and saving it to an .stl file I exported the frame shape to an svg file and imported both into my OpenSCAD module to cut the shape out:
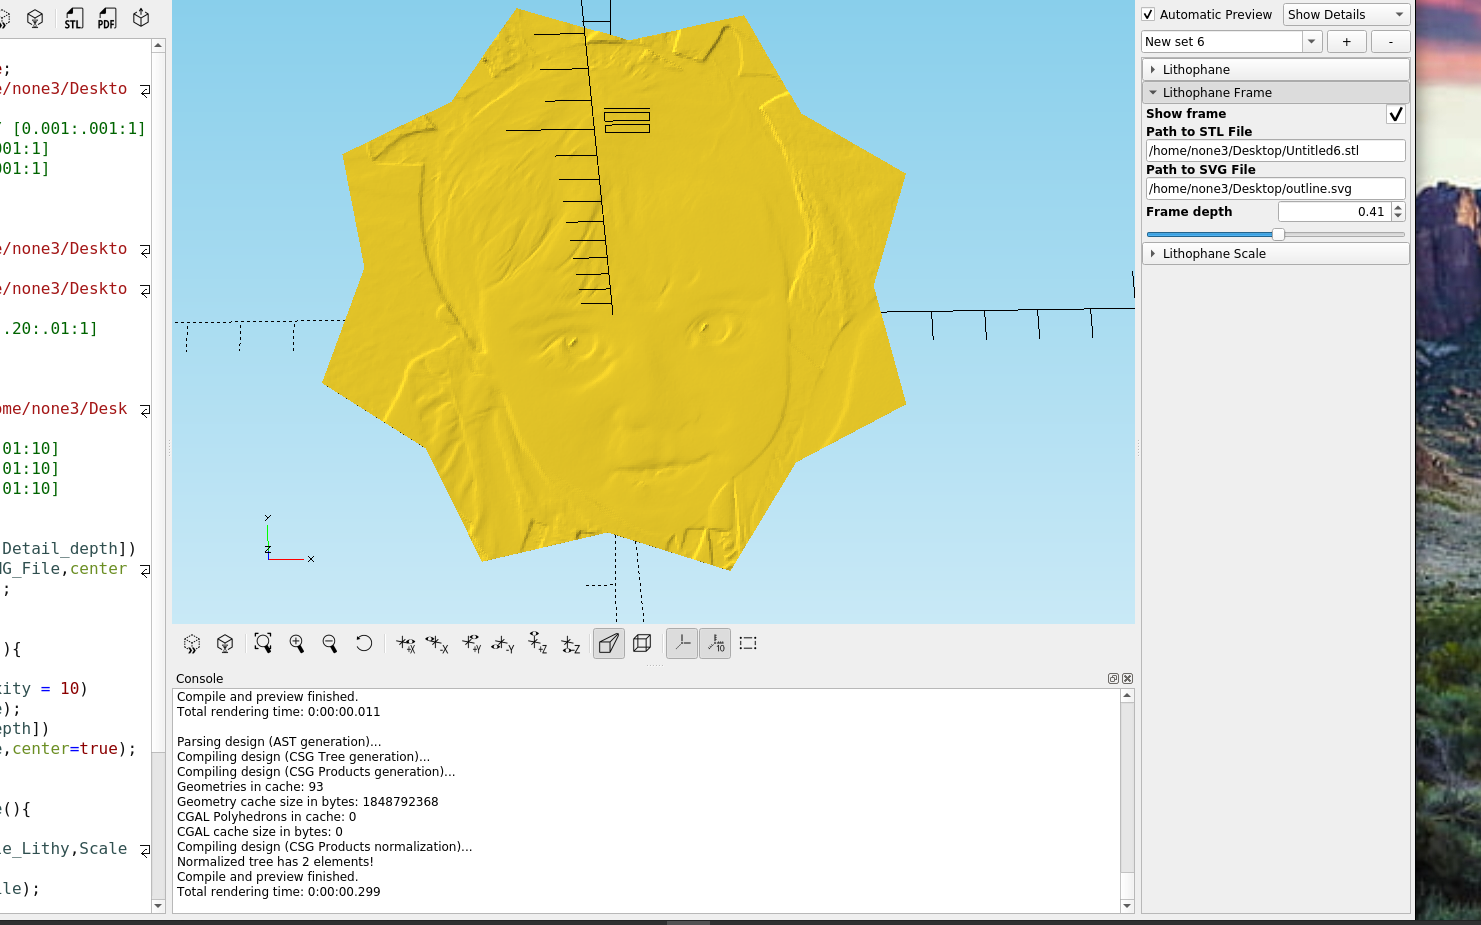
You'll notice I used a different shape just to show you can use any shape you want, you can also add holes or hanging rings pretty easily, I wanted a custom shape because I would like to be able to add a lithophane or a picture to an existing design and this way I can make it custom fit.
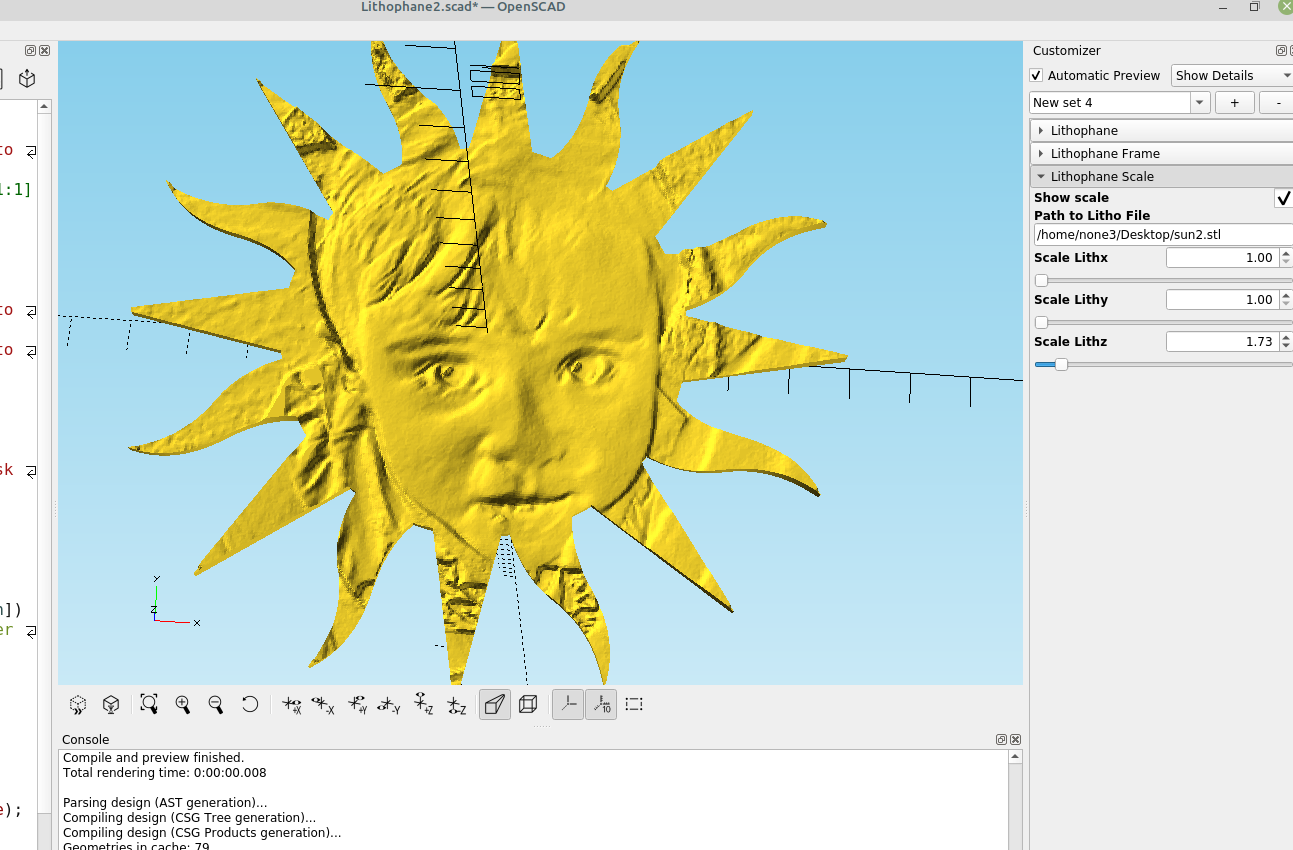
I also added a section to scale the resulting shape, because sometimes you have to make the z axis a bit deeper to get it to print properly, eventually I will improve the code to be able to move and rotate the design and even generate gcode, I just haven't decided how I want the flow to work yet.
Here is the code:
/*[Lithophane]*/
Show_Lithophane = false;
Path_to_PNG_File="/home/none3/Desktop/path2.png";
Detail_depth = .005; // [0.001:.001:1]
scale_x = .169; //[0:.001:1]
scale_y = .169; //[0:.001:1]

/*[Scale calculator]*/
size_in_mm = 60;//[0:.01:2048]
size_in_pixels = 120;//[0:.01:2048]
Scale_factor= size_in_mm/size_in_pixels;

/*[Lithophane Frame]*/
Show_frame = false;
Path_to_STL_File="/home/none3/Desktop/File.stl";
Path_to_SVG_File="/home/none3/Desktop/File.svg";
Frame_depth = .30; //[-.60:.01:1]

/*[Lithophane Scale]*/
Show_scale= false;
Path_to_Litho_File="/home/none3/Desktop/File.stl";
Scale_Lithx = 1;// [1:.01:10]
Scale_Lithy = 1;// [1:.01:10]
Scale_Lithz = 1;// [1:.01:10]

module lithophane(){
scale([scale_x,scale_y,Detail_depth])
surface(file=Path_to_PNG_File,center=true,invert=false);
}

module LithophaneFrame(){
intersection(){
linear_extrude(1,convexity = 10)
import(Path_to_SVG_File);
translate([0,0,Frame_depth])
import(Path_to_STL_File,center=true);
}}

module Lithophane_scale(){

scale([Scale_Lithx,Scale_Lithy,Scale_Lithz])
import(Path_to_Litho_File);
}

echo (Scale_factor);
if(Show_Lithophane)
lithophane();
if(Show_frame)
LithophaneFrame();
if (Show_scale)
Lithophane_scale();