
3d part design with Inkscape and Openscad part 3: working with layers

In the animation above I have objects on 4 layers, A "main" layer and then layers 1,2 and 3. You will notice that on the main layer the other layers appear as holes , this is because they overlap each other in the design:

Here I have a black square with rounded corners on "layer1" and a red star on "layer2". Each layer can be turned off and on independently in Openscad, or the "mainlayer" can be turned on and anything overlapping layer1 will be subtracted on "Main layer" :
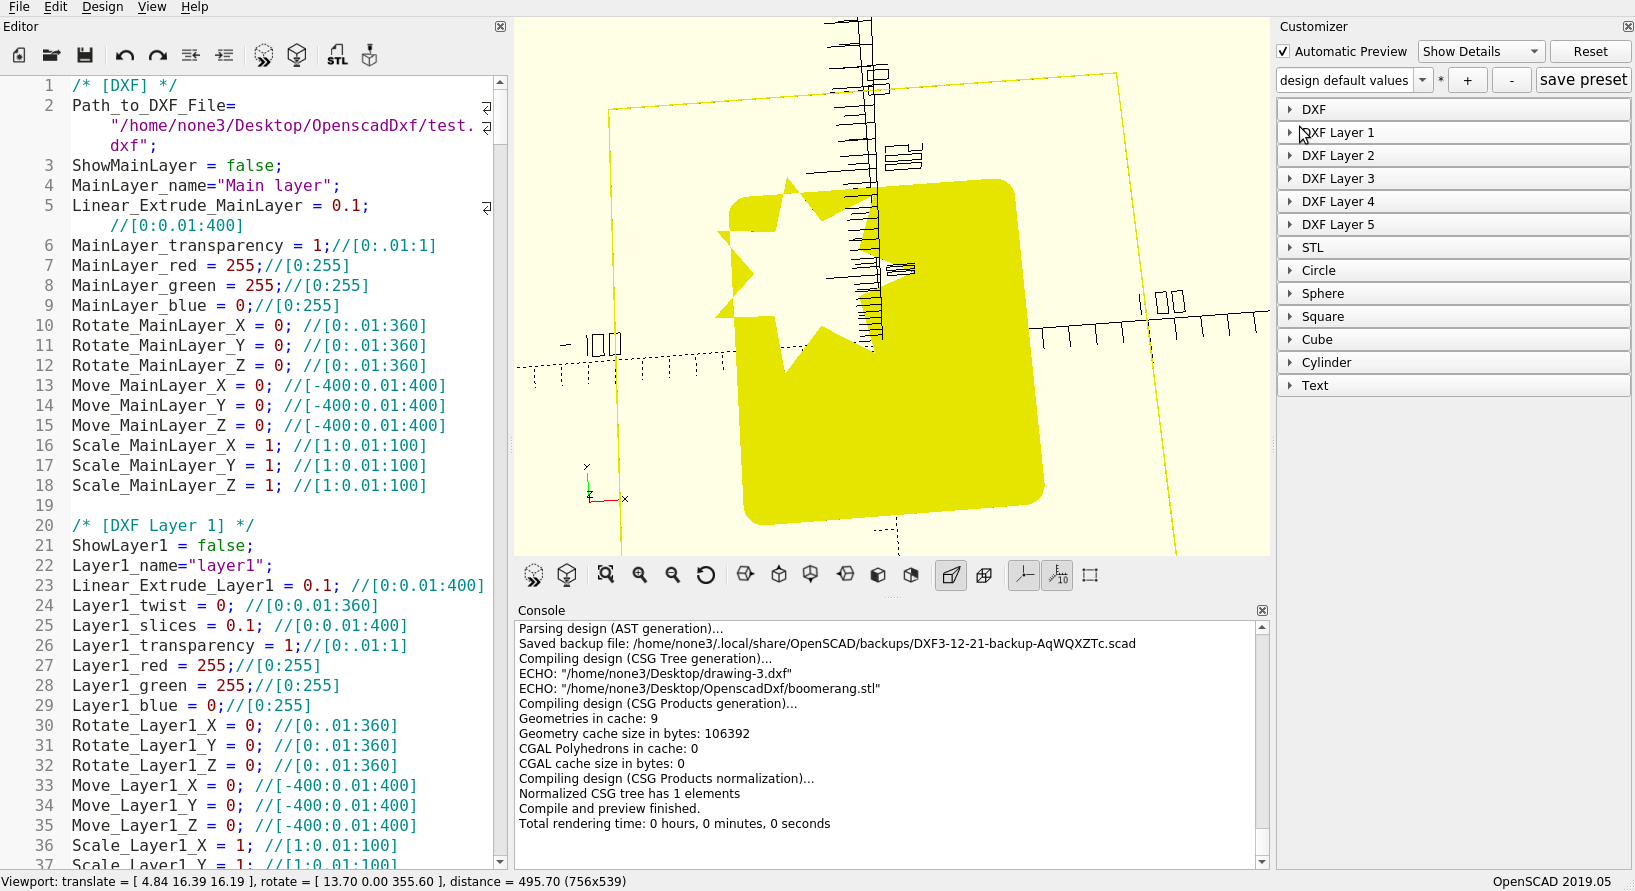
You will notice that I forgot to hide the "bedoutline" layer before I exported the file, resulting in a thin square around the design. I actually did that to show what happens when you don't hide that layer before you export the design.
As you can see in the above animation, by designing a 2d object in Inkscape using layers, you can create very complex designs rather quickly, and by having each object on a different layer you can move, rotate, scale....etc. If you have two screens you can make changes in Inkscape on the fly, save the dxf file, and see the changes automatically in Openscad.