If you are just starting to use Inkscape there are a ton of features that aren't obvious at first, here is an example of how to use guidelines to space holes or other objects evenly and make the center of the objects perfectly spaced.
To add the guidelines is easy, just place your mouse on one of the rulers that are around the canvas then press and hold the left mouse button and drag the line onto your object:
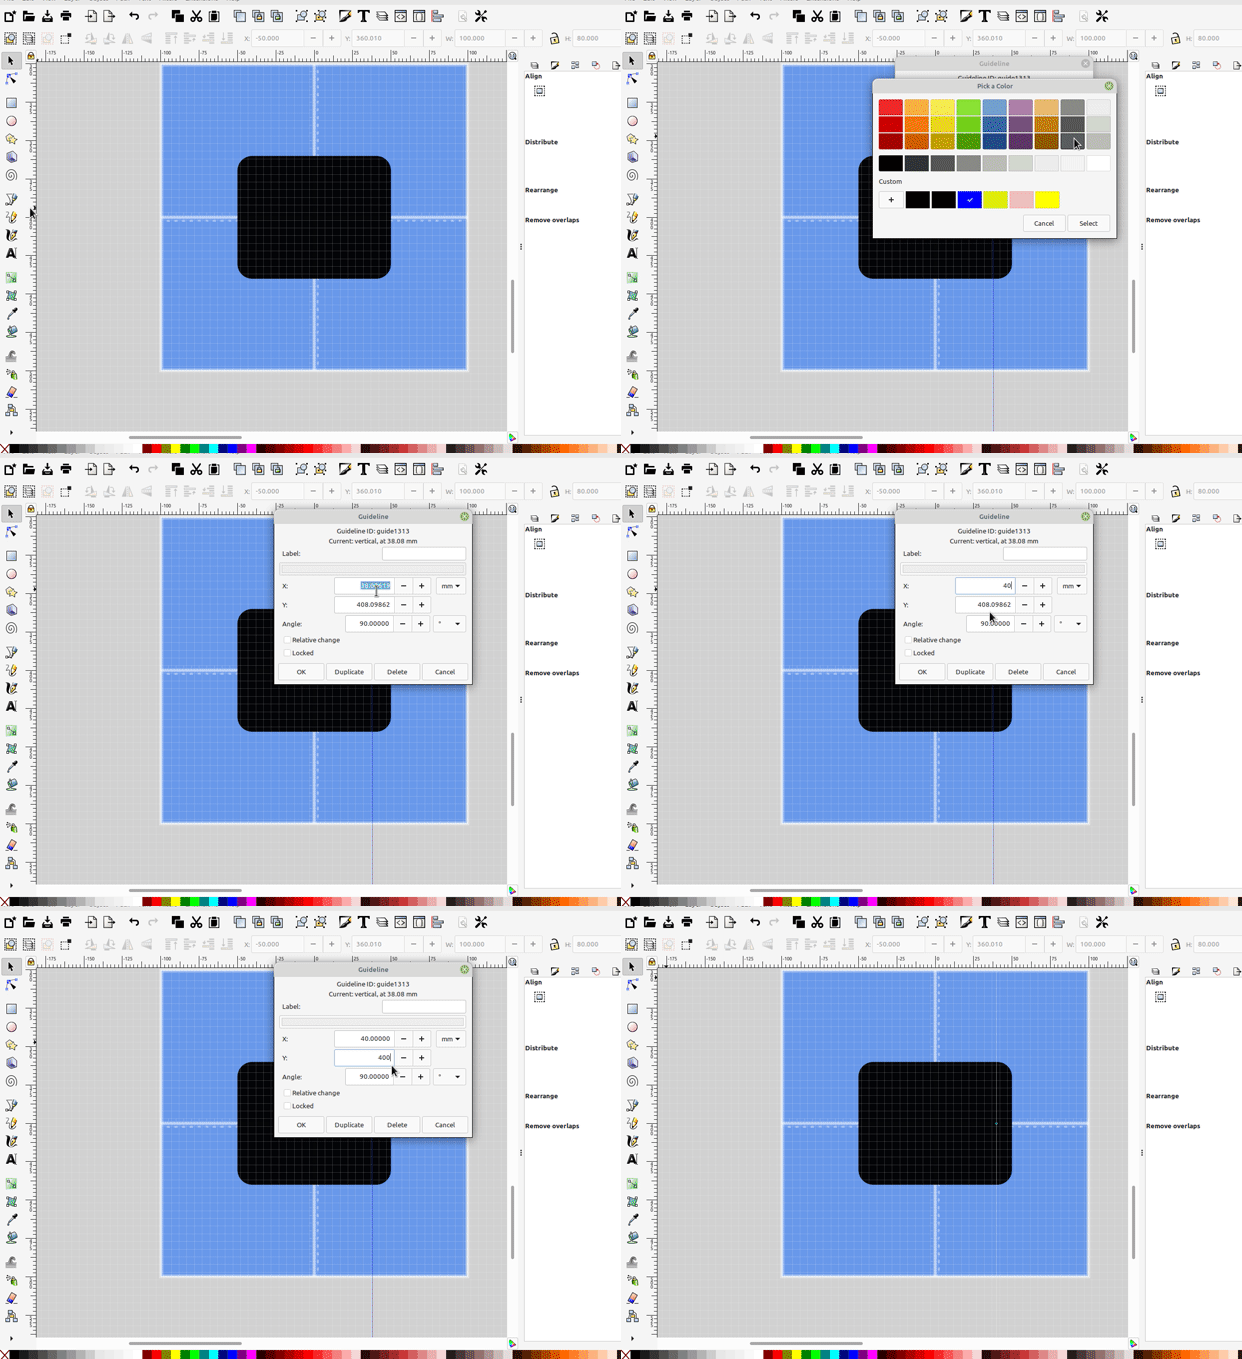
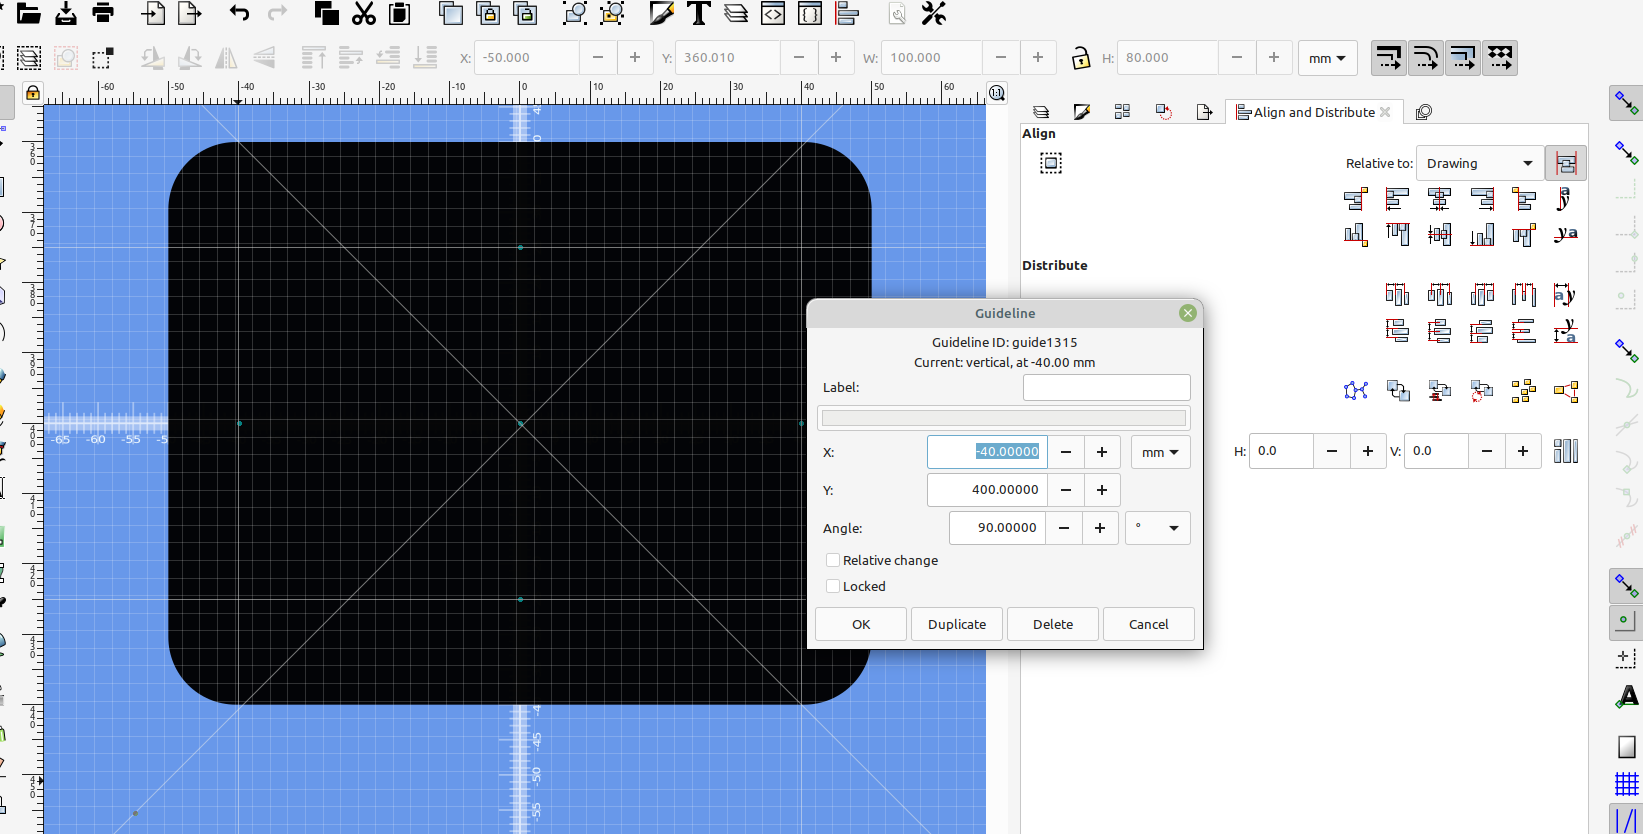
If you double click on the line a dialog will popup that will allow you to set the coordinates of the line, the angle and the color:
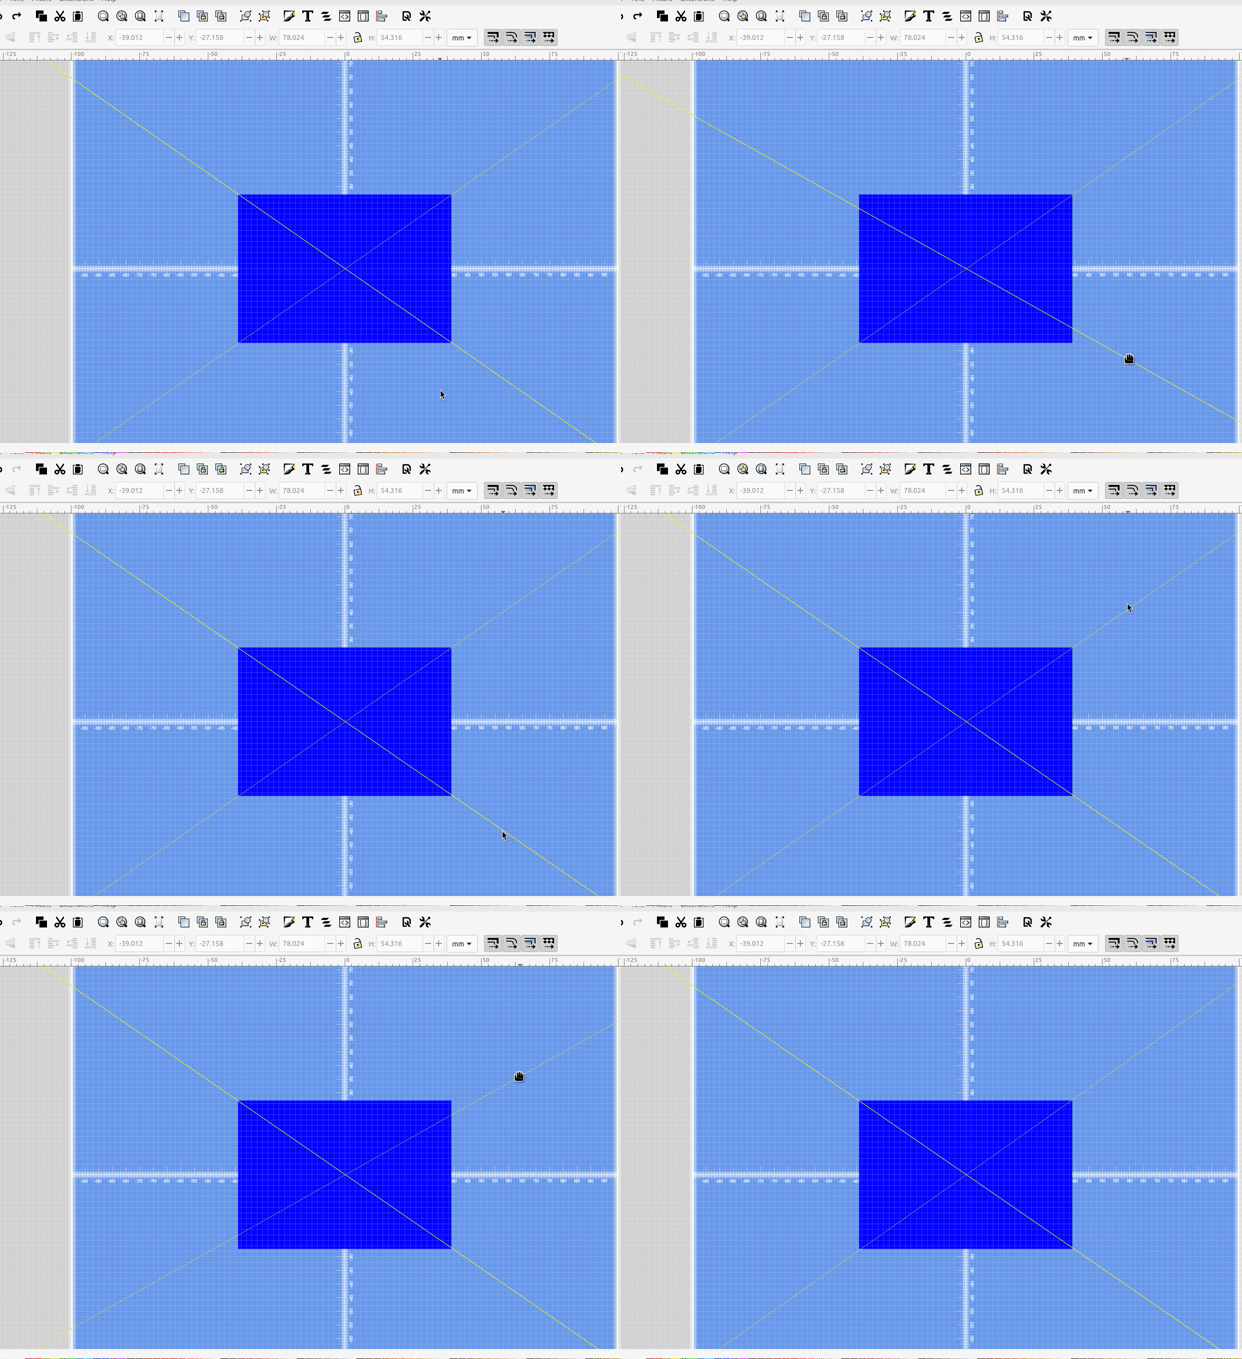
You can also rotate the guidelines by holding down shift:
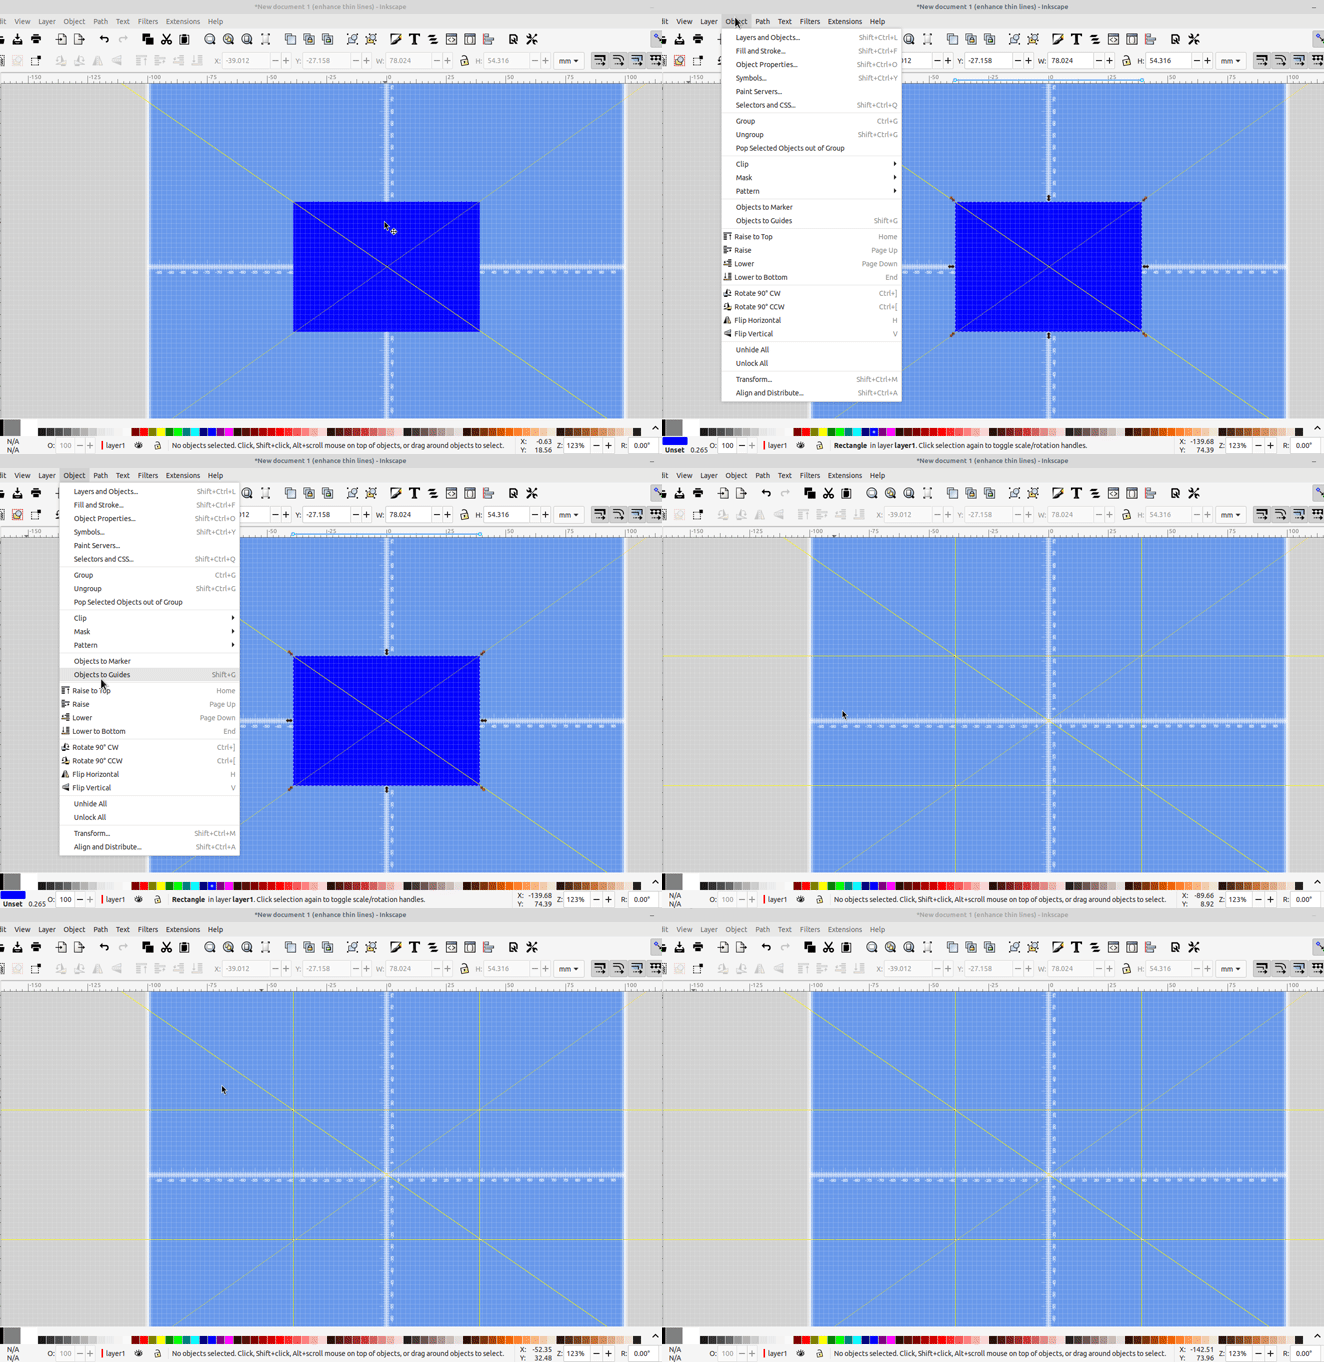
Or convert an object to guidelines:
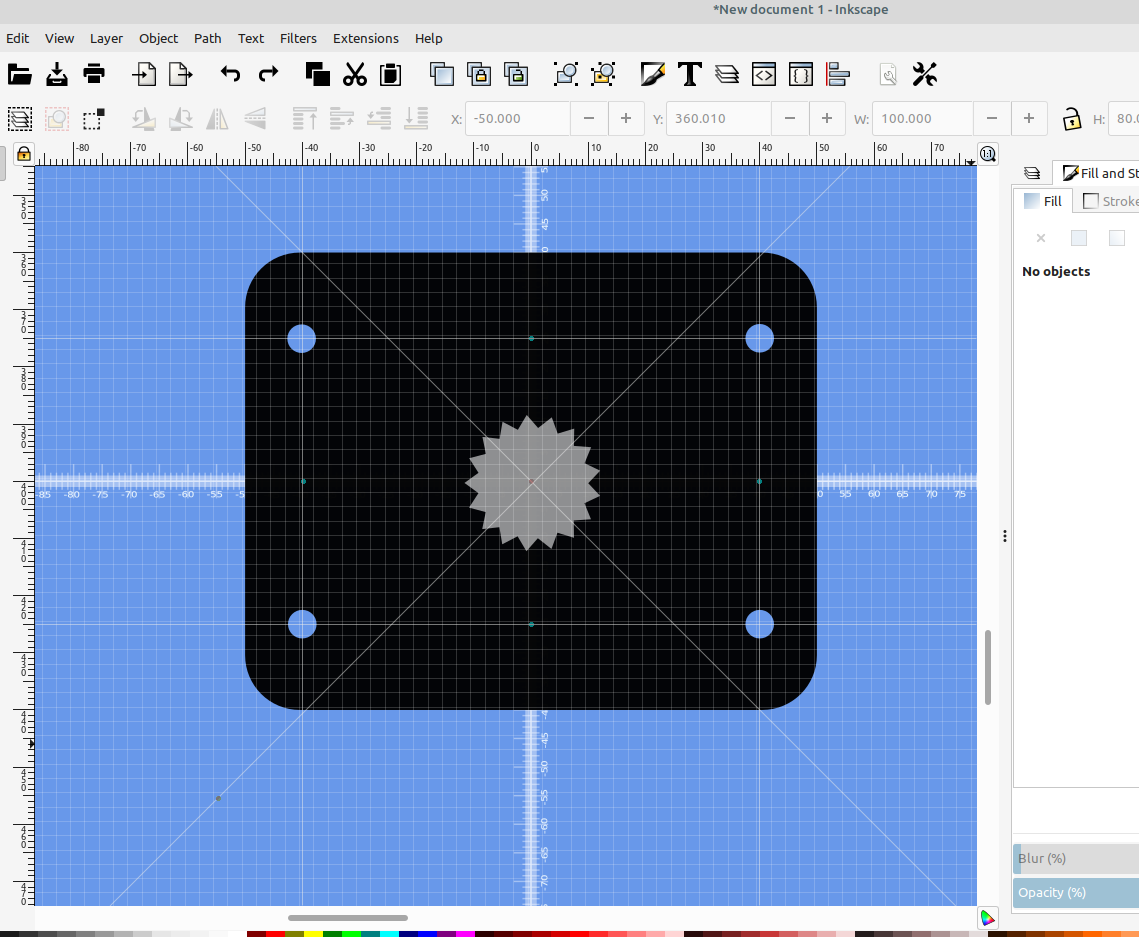
If you enable snap to guidelines and snap to center of objects you can drag your object over the line and it will indicate when the center of your object is on the intersection of the guidelines:
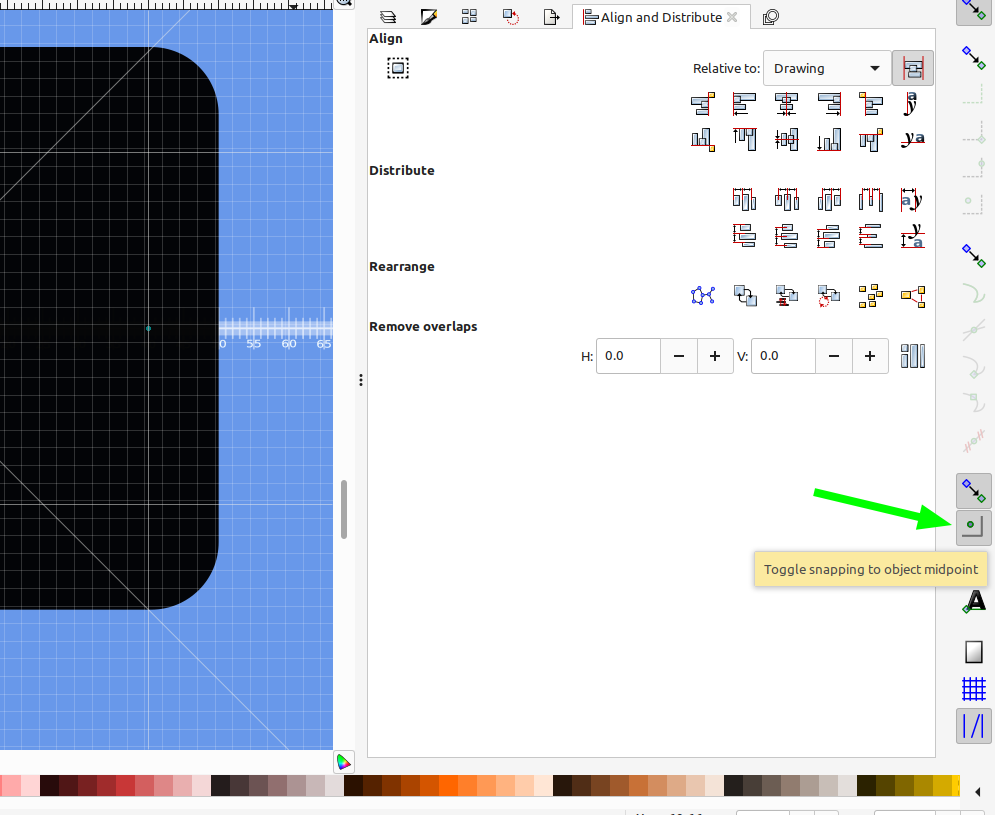
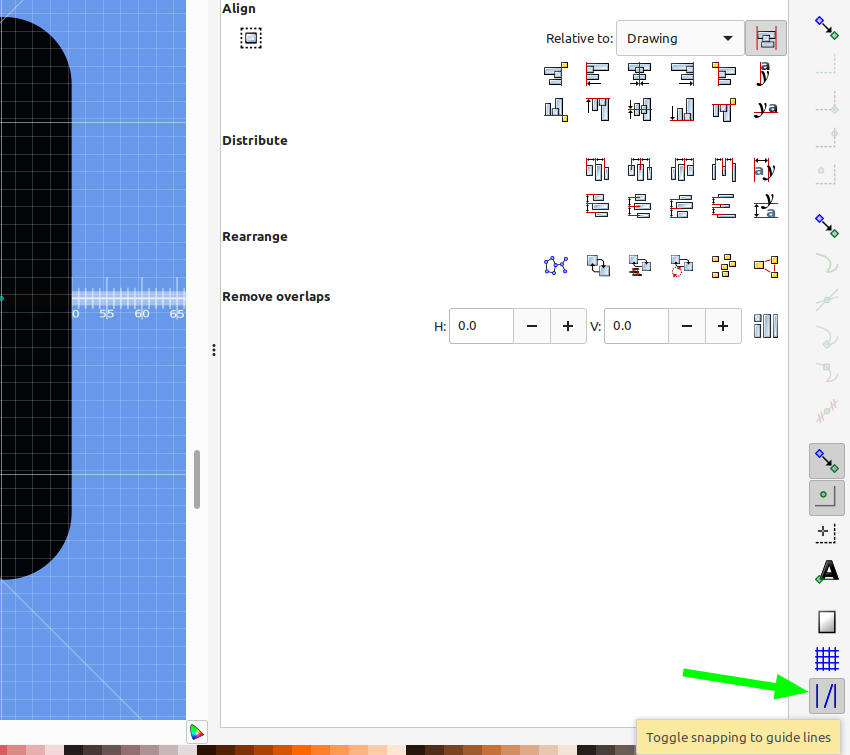
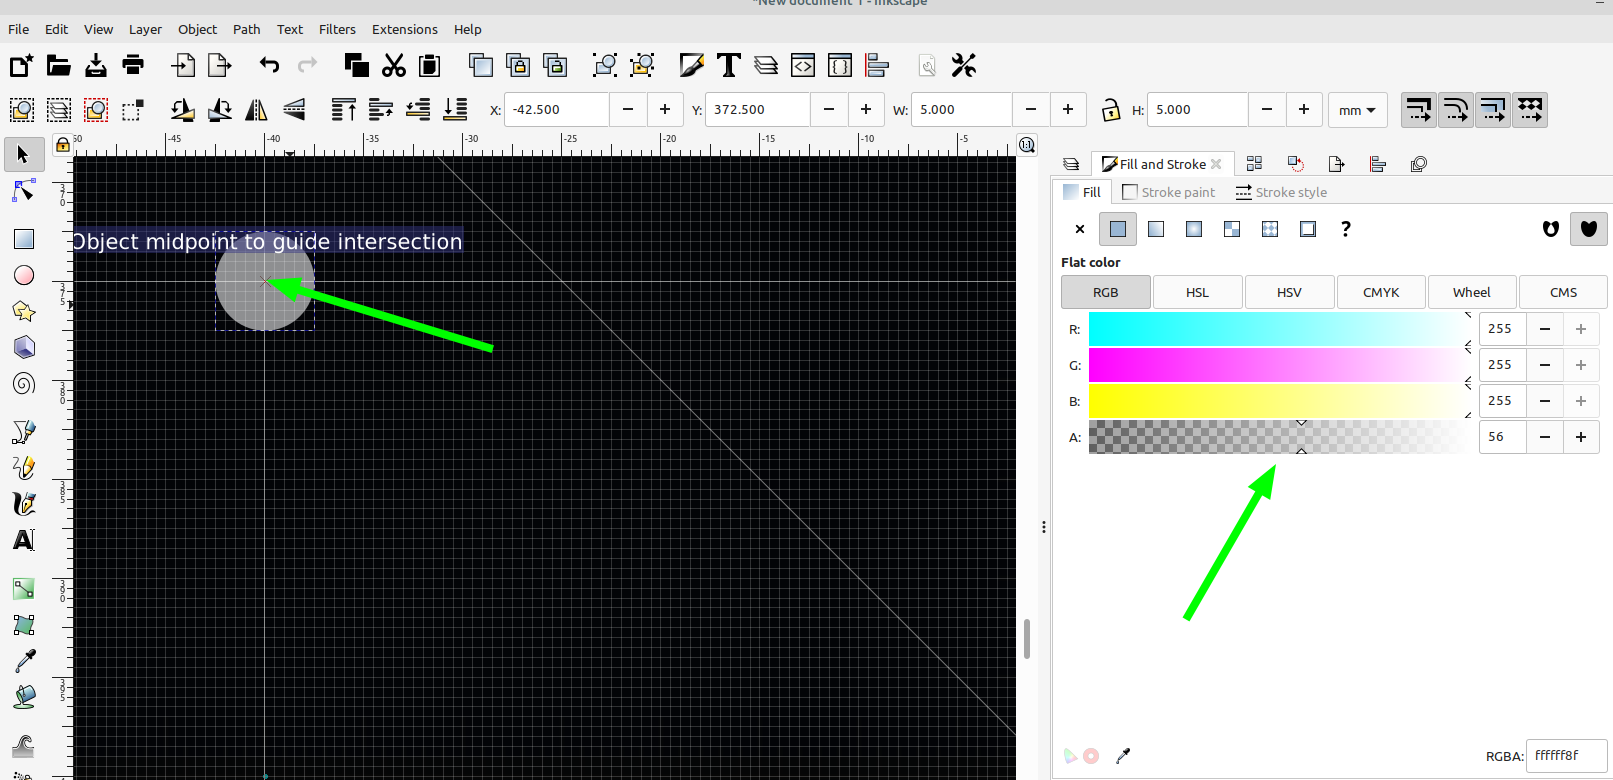
Sometimes it helps to set the opacity of the objects in the fill and stroke settings so you can see where the guidelines intersect.
This also helps to position something exactly center of another object if you need them to be balanced if they spin etc.
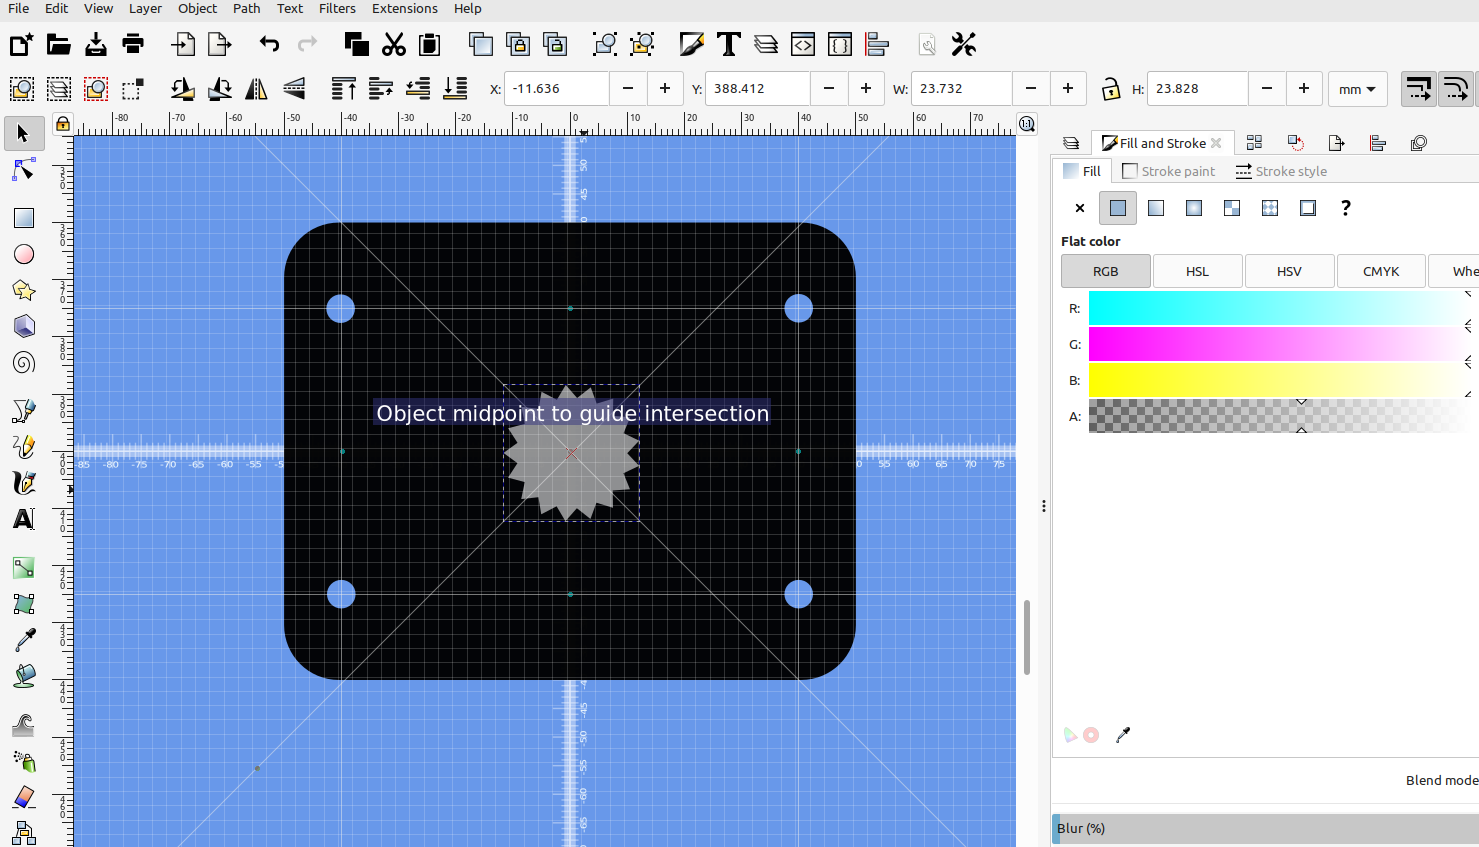
To delete the guide lines just drag them back to the ruler or hover your mouse over them and when the hand appears press delete on the keyboard.
Using guidelines definitely helps a part look more professional and fit better because it is more precise, and using them in Inkscape is pretty easy.
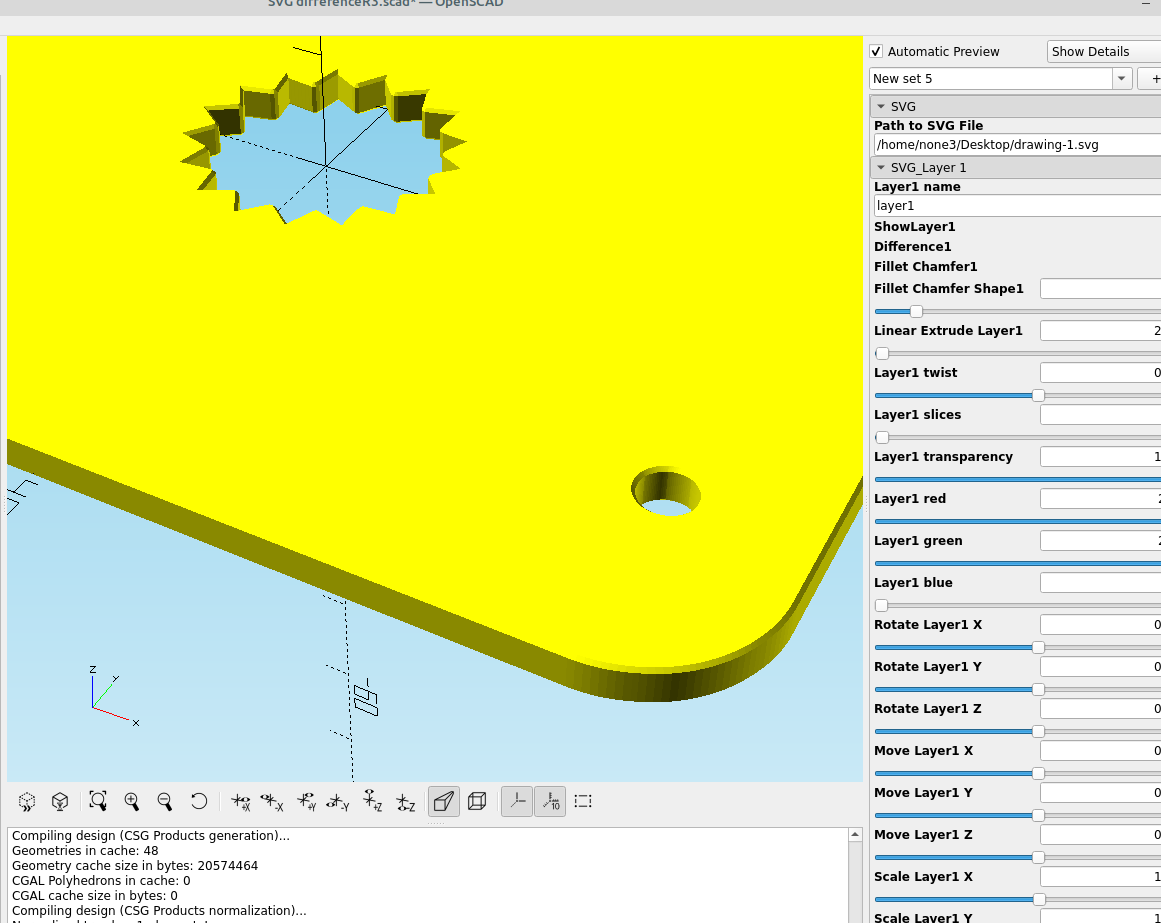
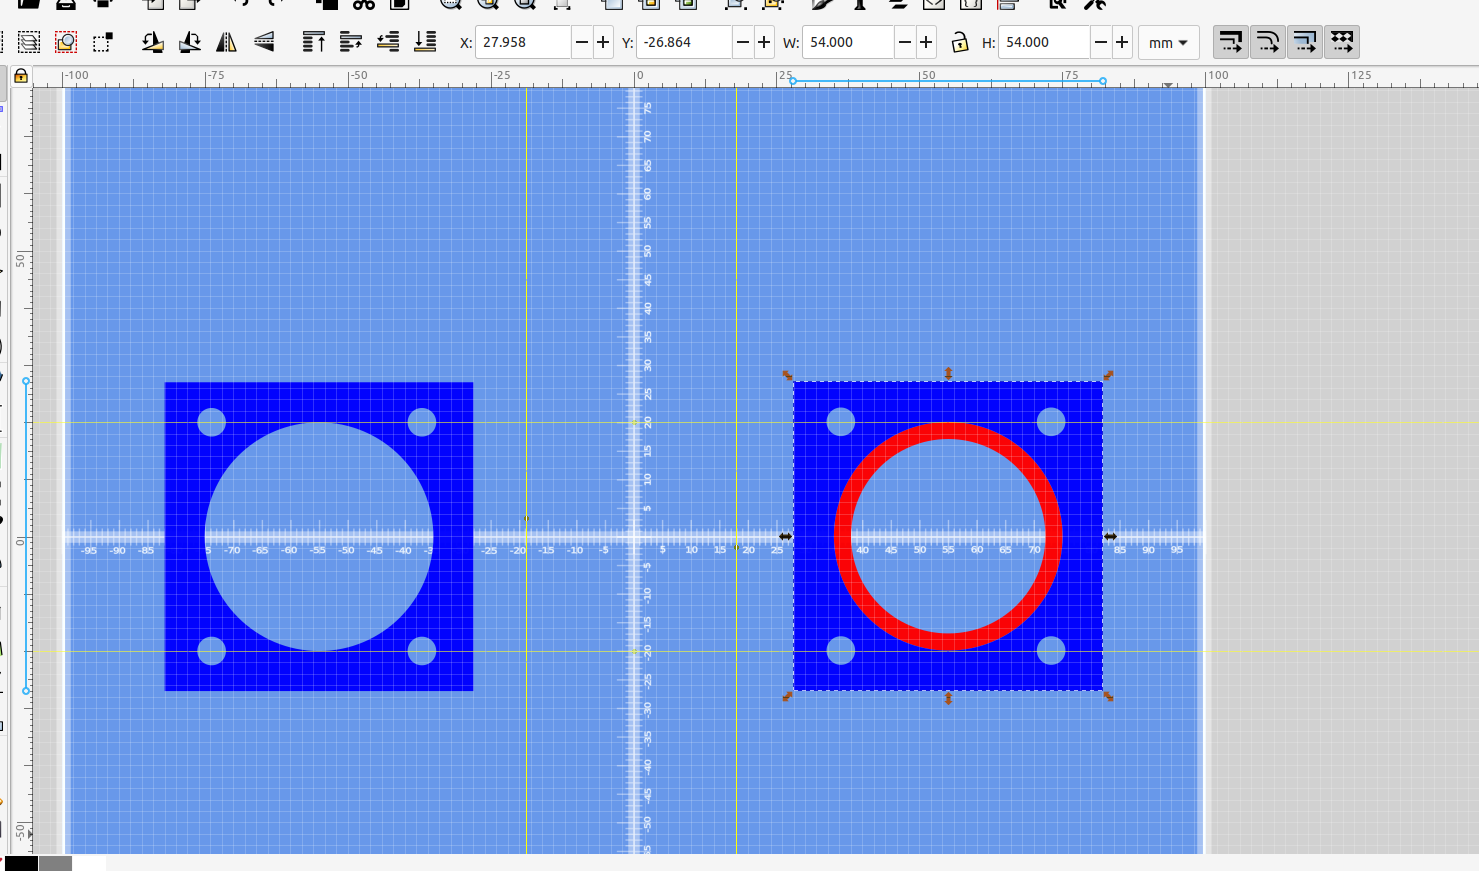
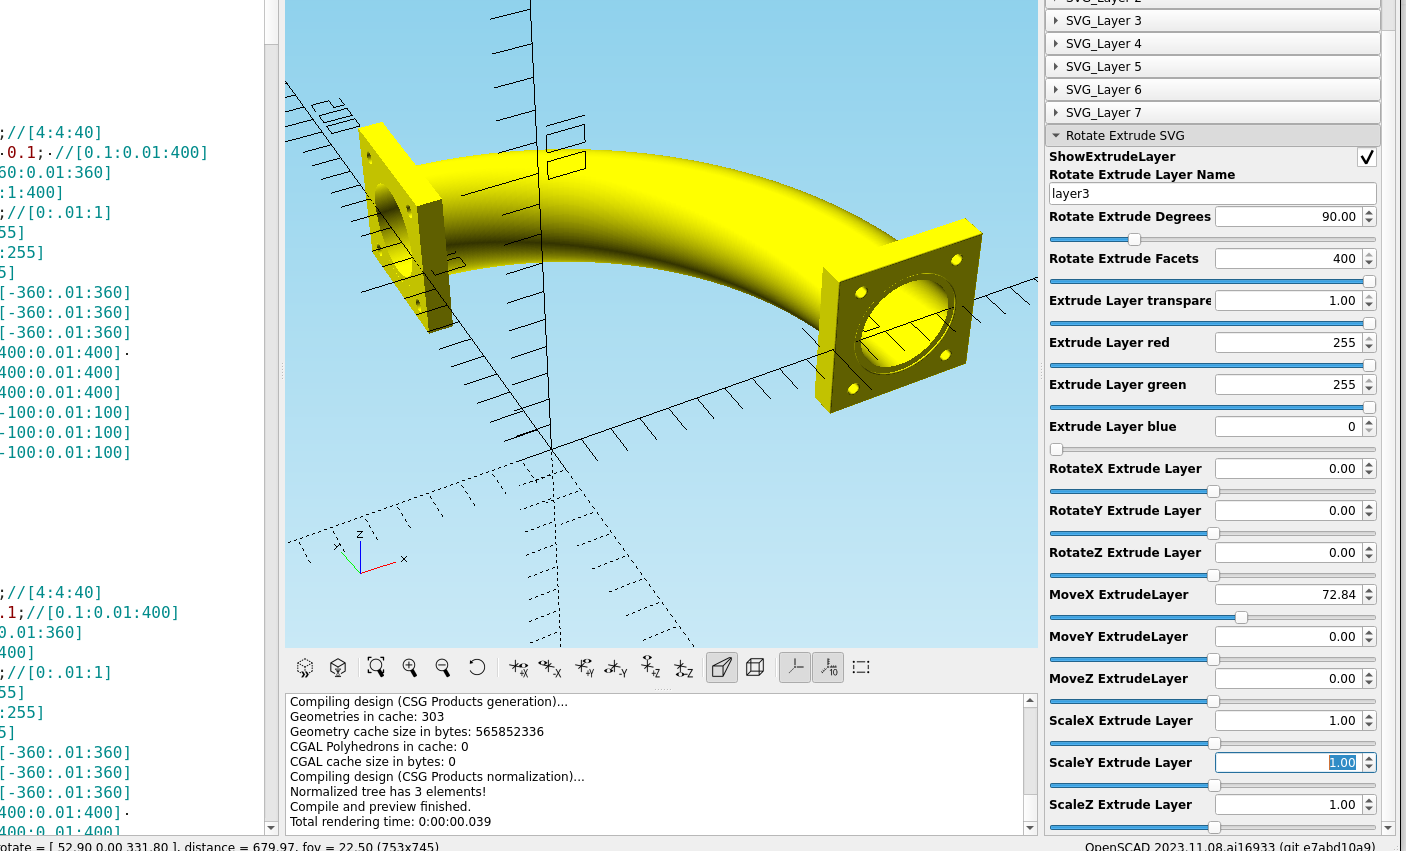
Another thing that is helpful when you first use Inkscape to make 3D parts with OpenSCAD is to set the origin (0,0) to the bottom left corner of the page. Go to Edit>Preferences>Interface and un-check the box that says origin at upper left:
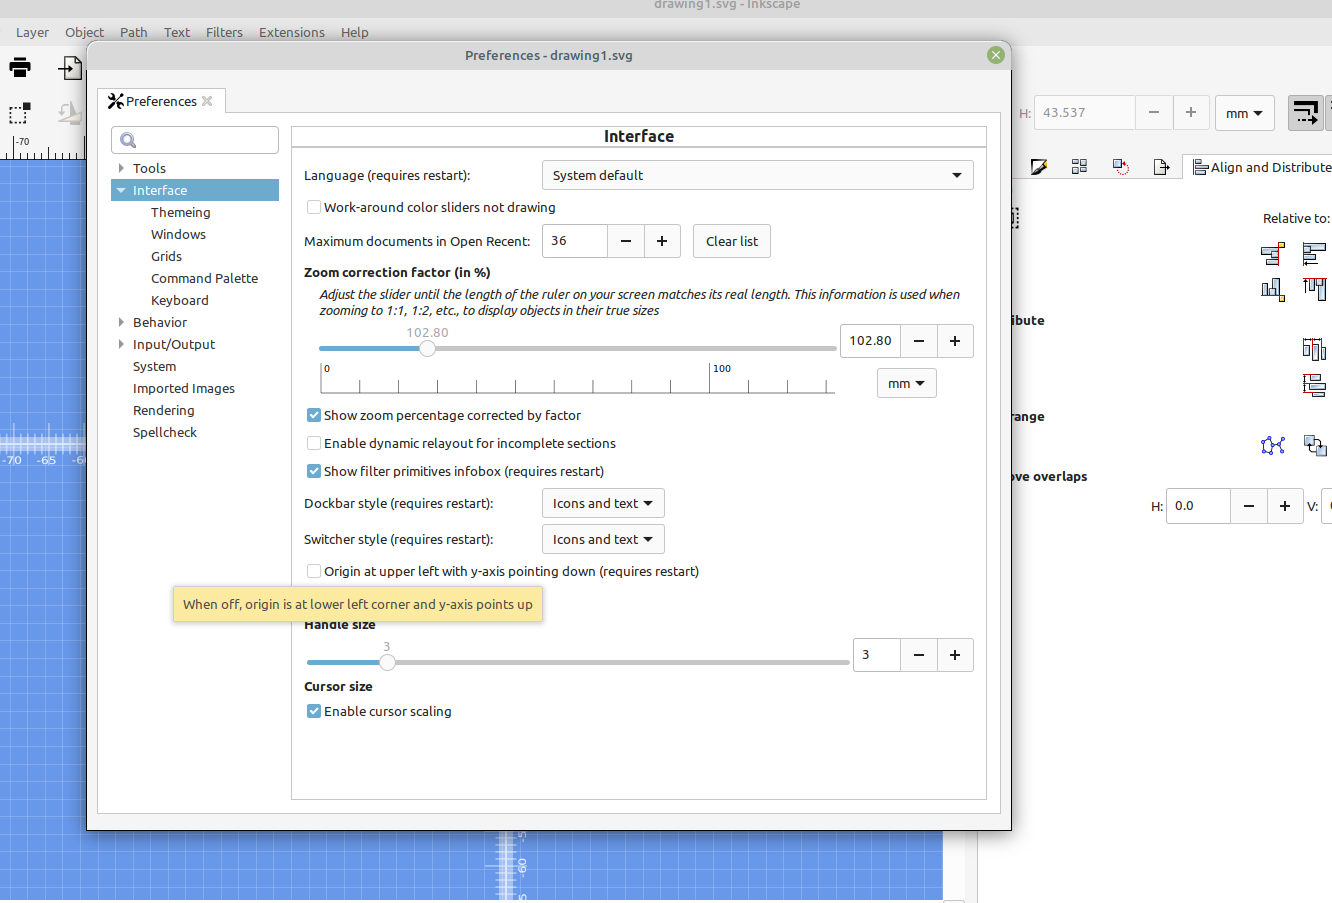
Now the origin of your template will correspond with the origin in OpenSCAD.
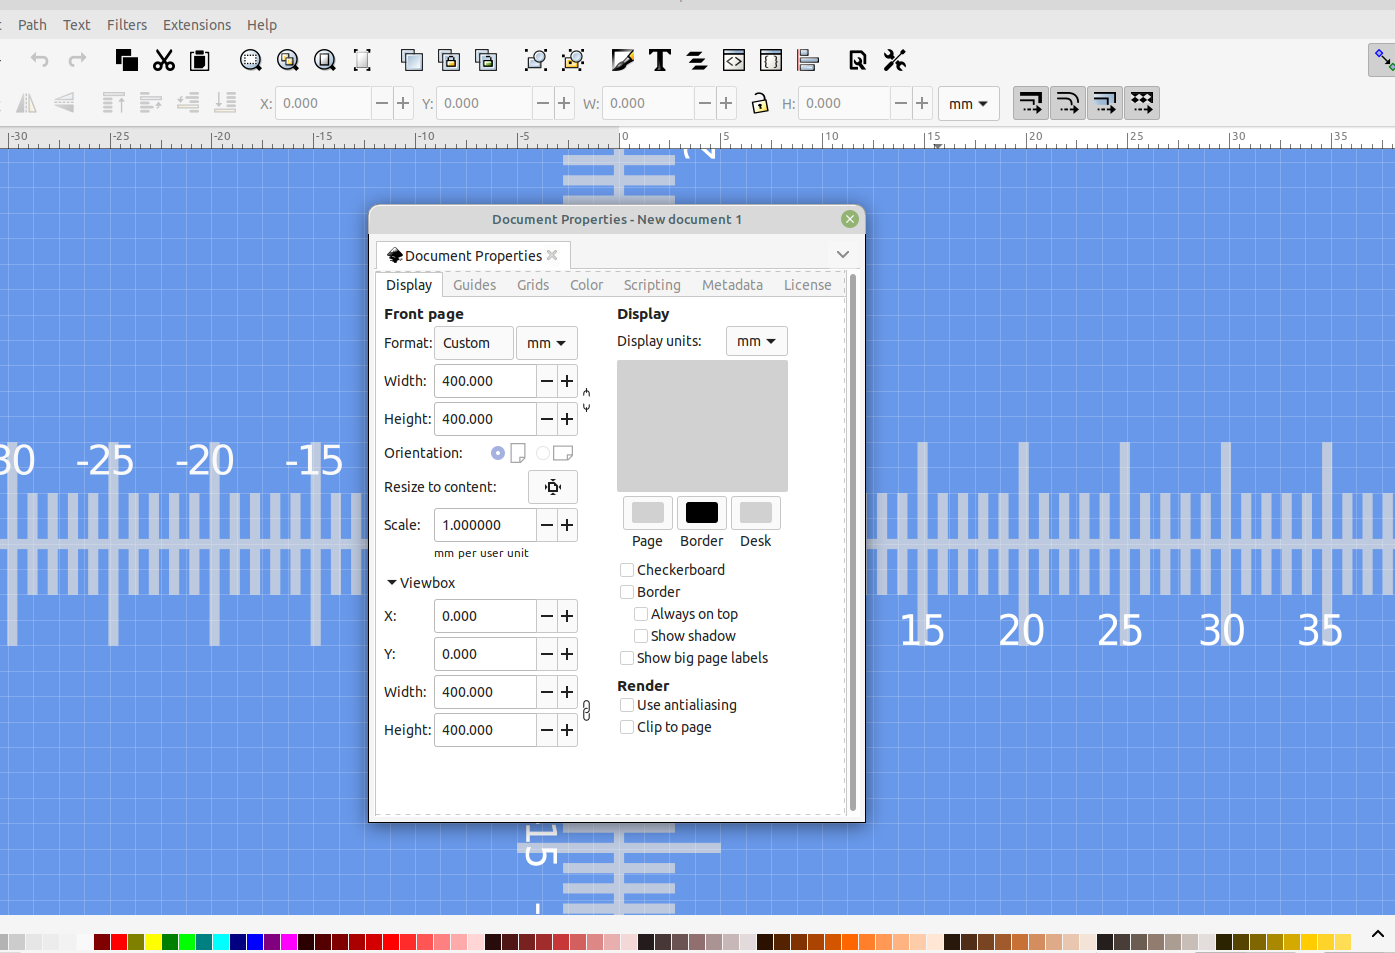
Additionally you can set front page and viewbox width and height to your print bed size, and the view box X: and Y: to zero, then save your file as the default template and every time you start Inkscape the view will be centered on your bed outline:
