
3D part design #157: How to add colors to a .step file in FreeCAD.

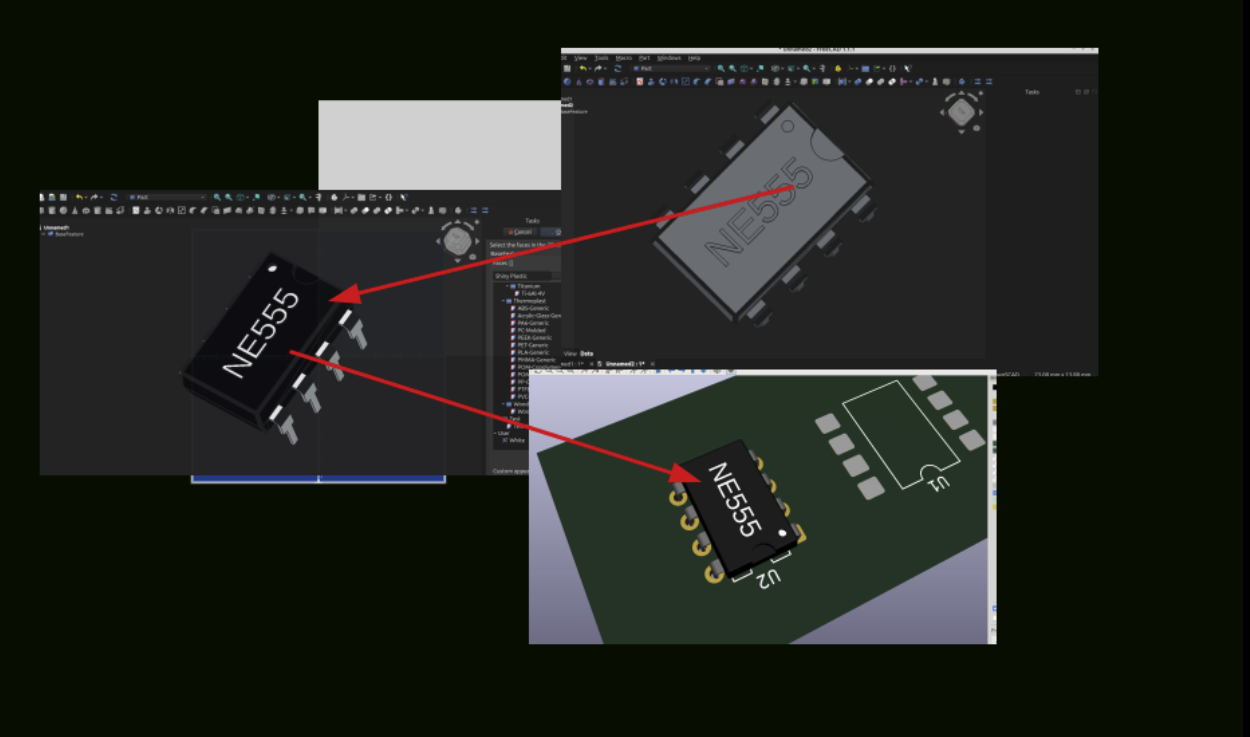
In the last post I imported an .stl that was made with the OpenSCAD component generator code I had made into FreeCAD to convert it to a .step file.
This works great but the file that gets generated is just grey and since I am trying to make a 3D rendering of the component that looks good I want it to have realistic colors.
Here is how to do that.
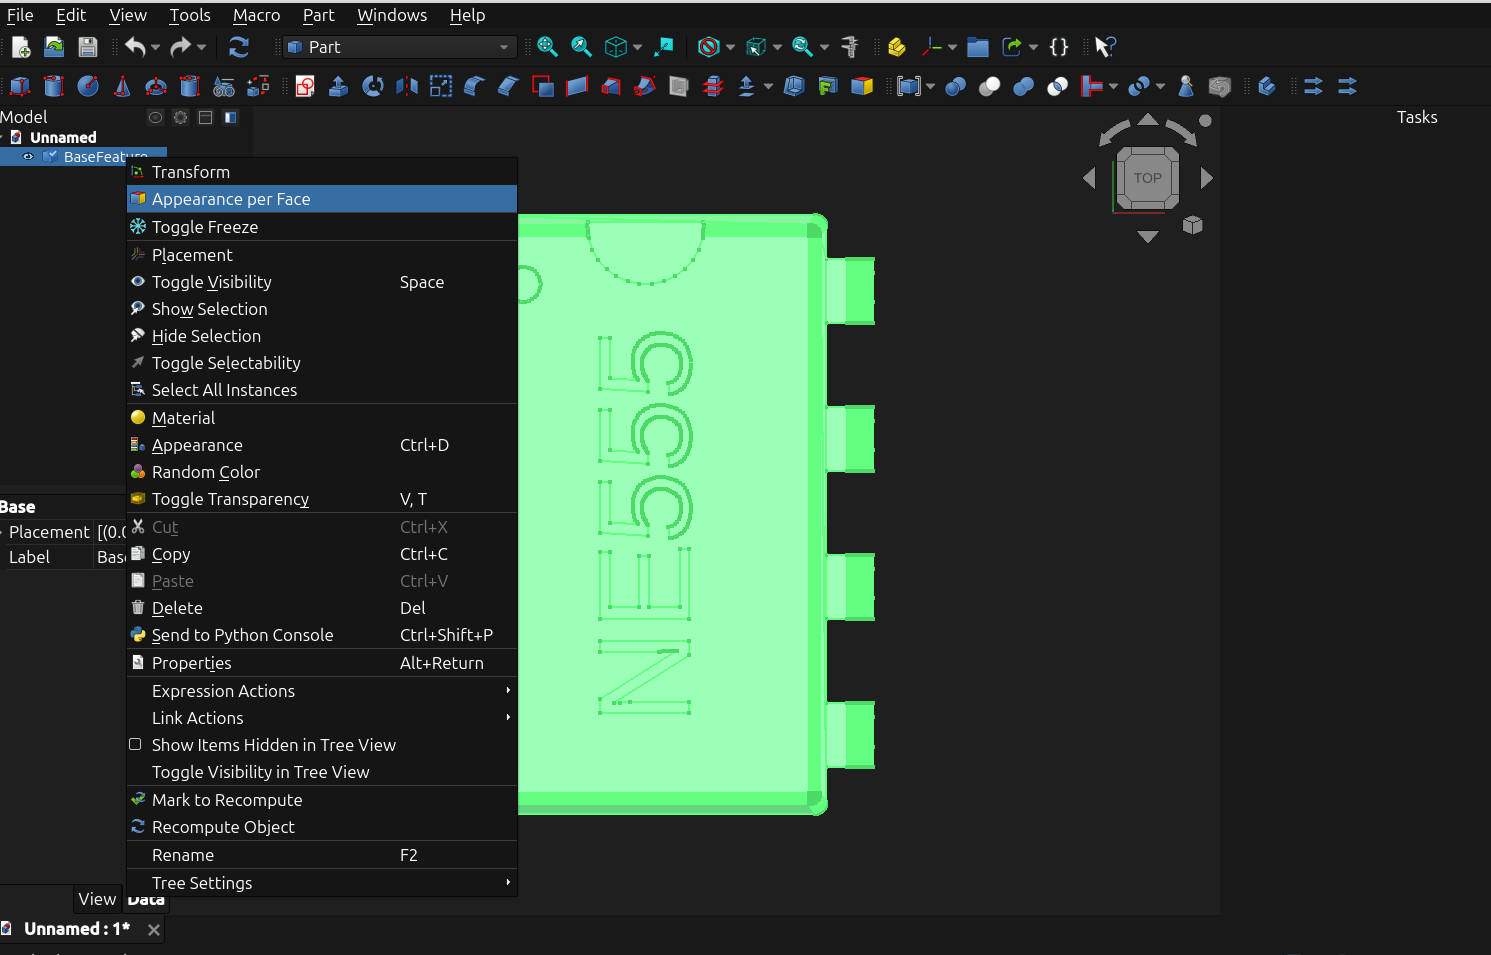
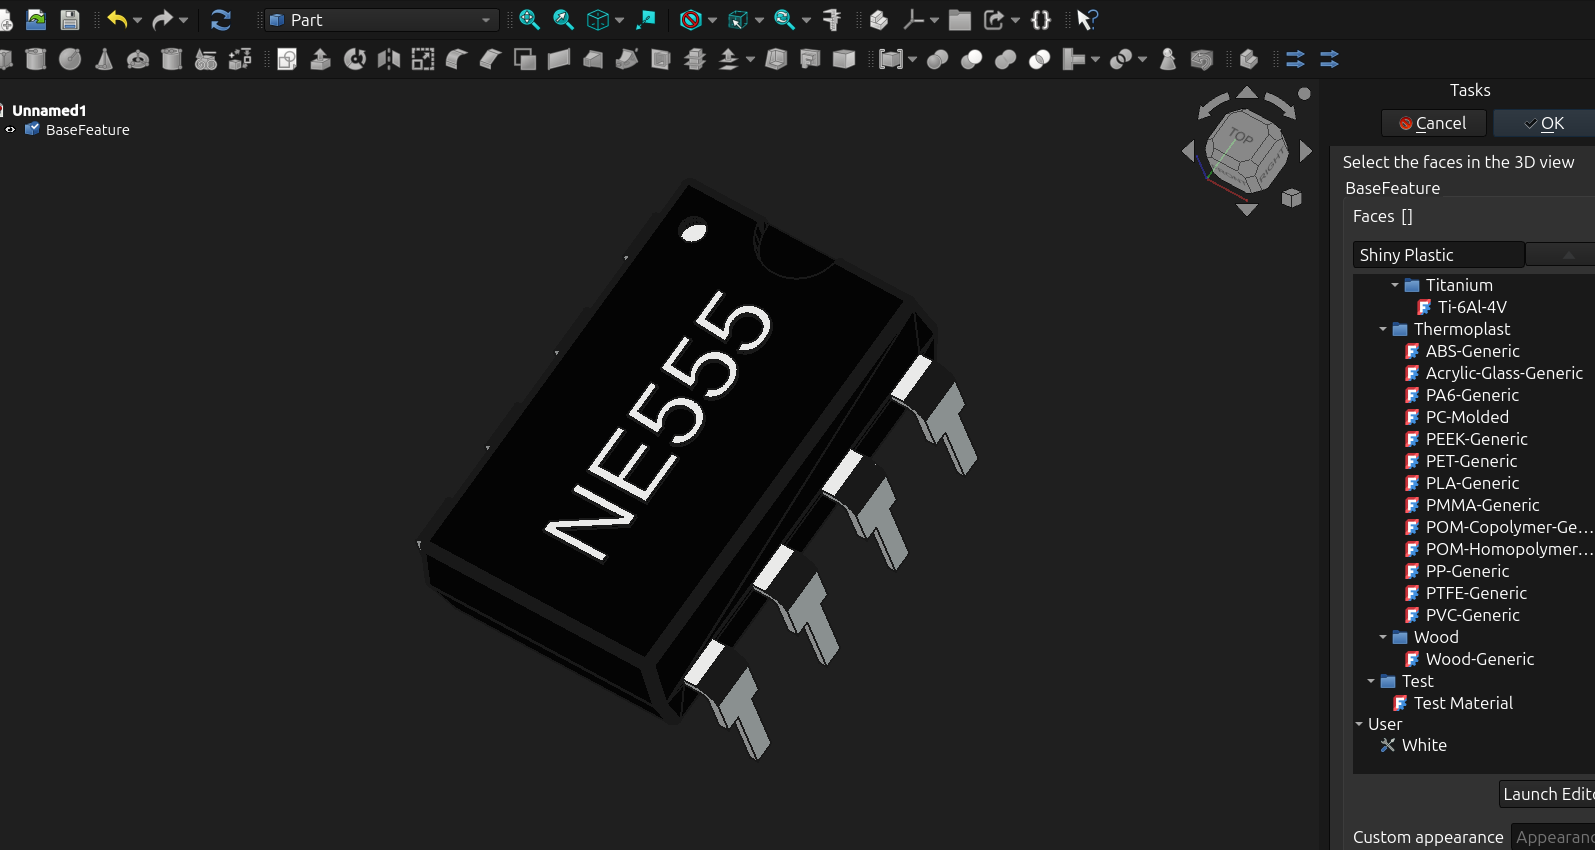
Once the file has been imported into FreeCAD select it in the tree, right click on it and select "Appearance per Face" :
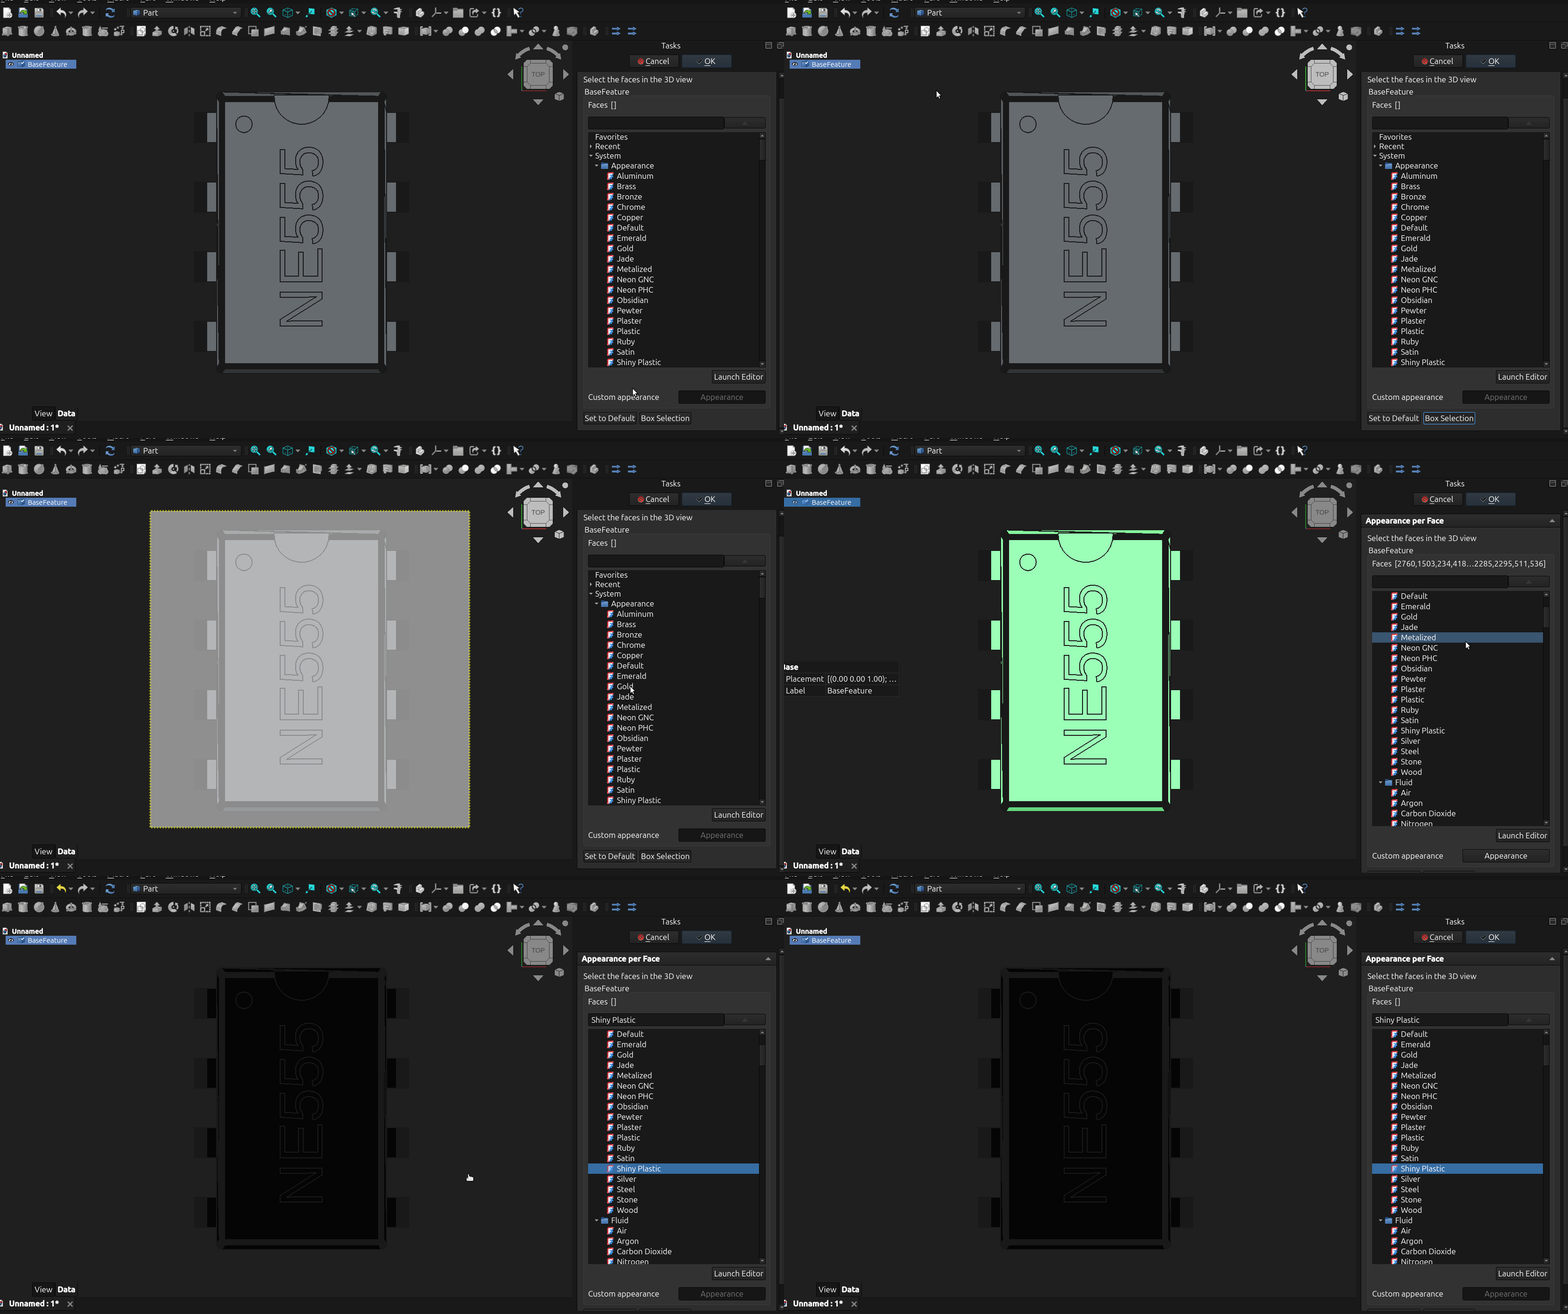
The next step is best shown with a gif, it might take it a second to load.
In the task window scroll down to the bottom until you see the "box selection" button, select it then click the "shift" button on the keyboard and drag the selection box over the whole model with the mouse, then select the color you want to use for the main body, I used "shiny plastic":
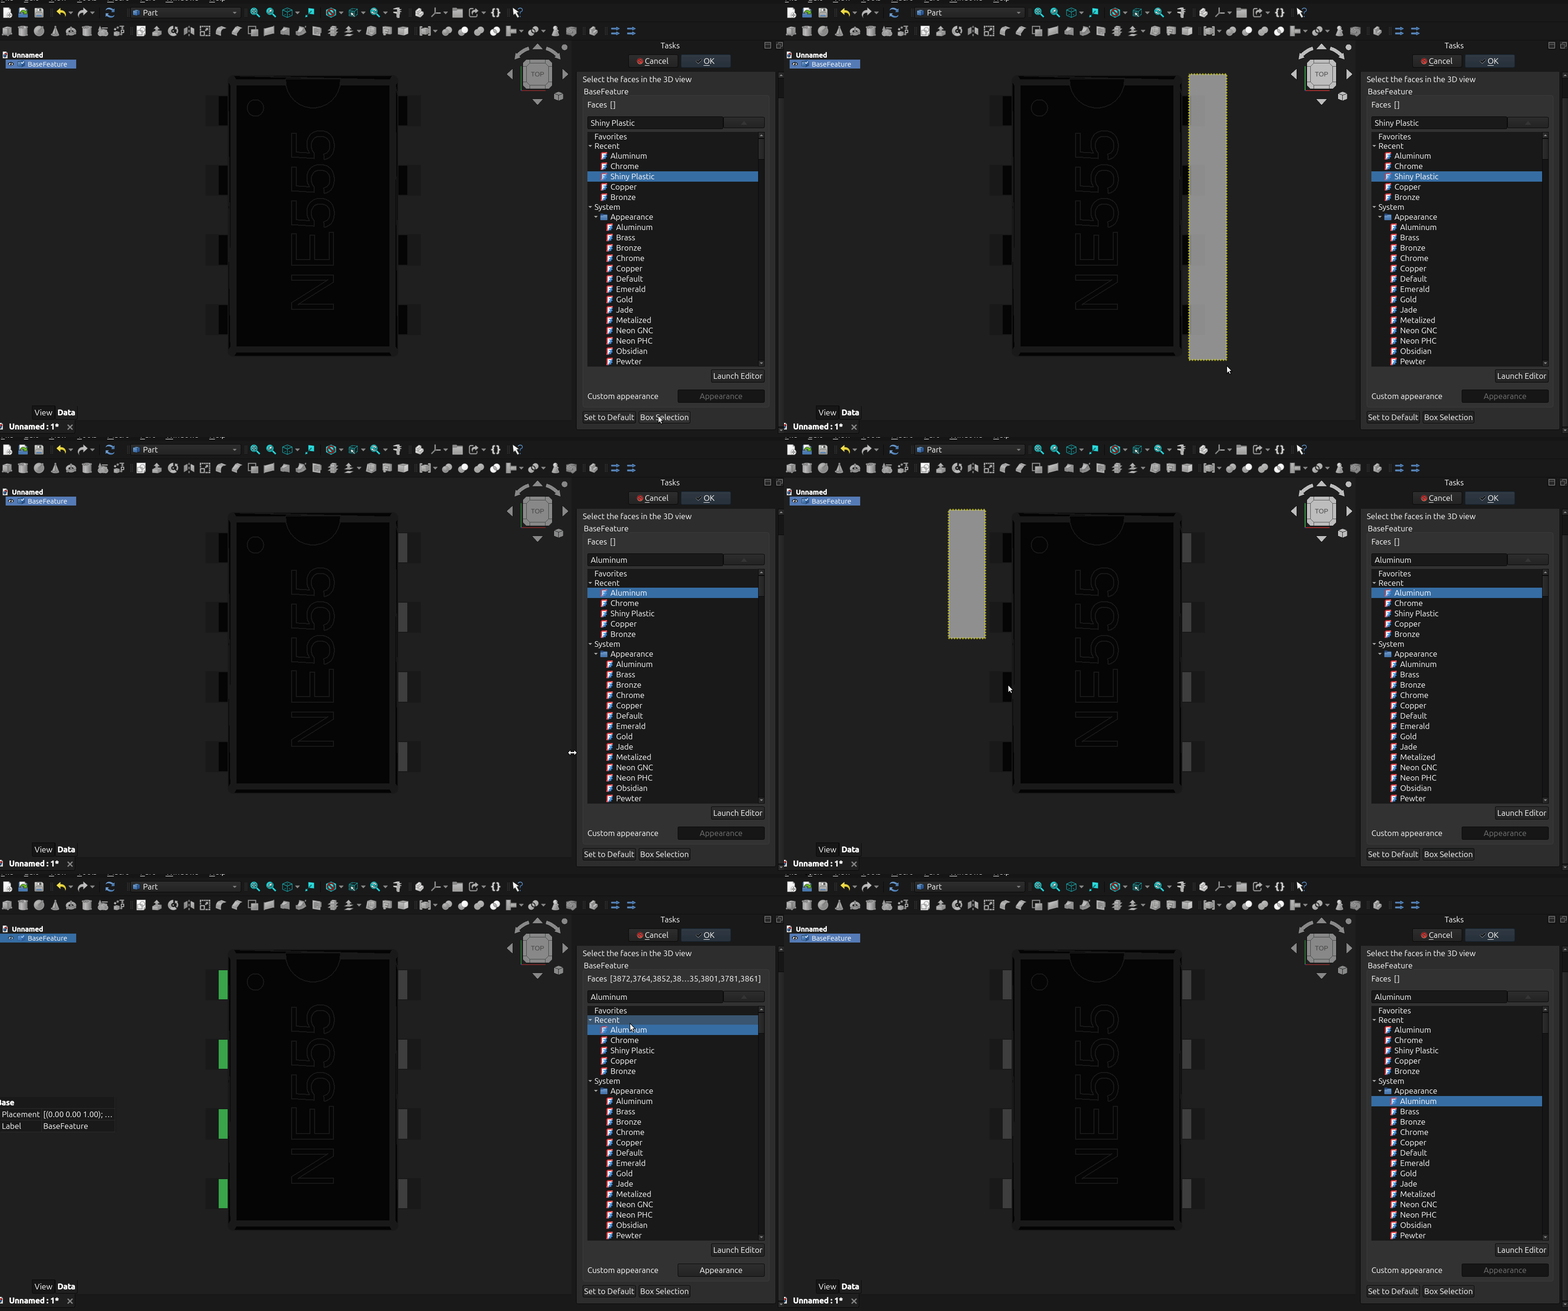
Now do the same to select the pins and select the color you want them to be. I used "aluminum" for this example, you will need to click on "box selection" again to do the same to the pins on the other side:
Note: you have to be careful not to select any of the faces you don't want to change the color of by letting the selection box touch them.
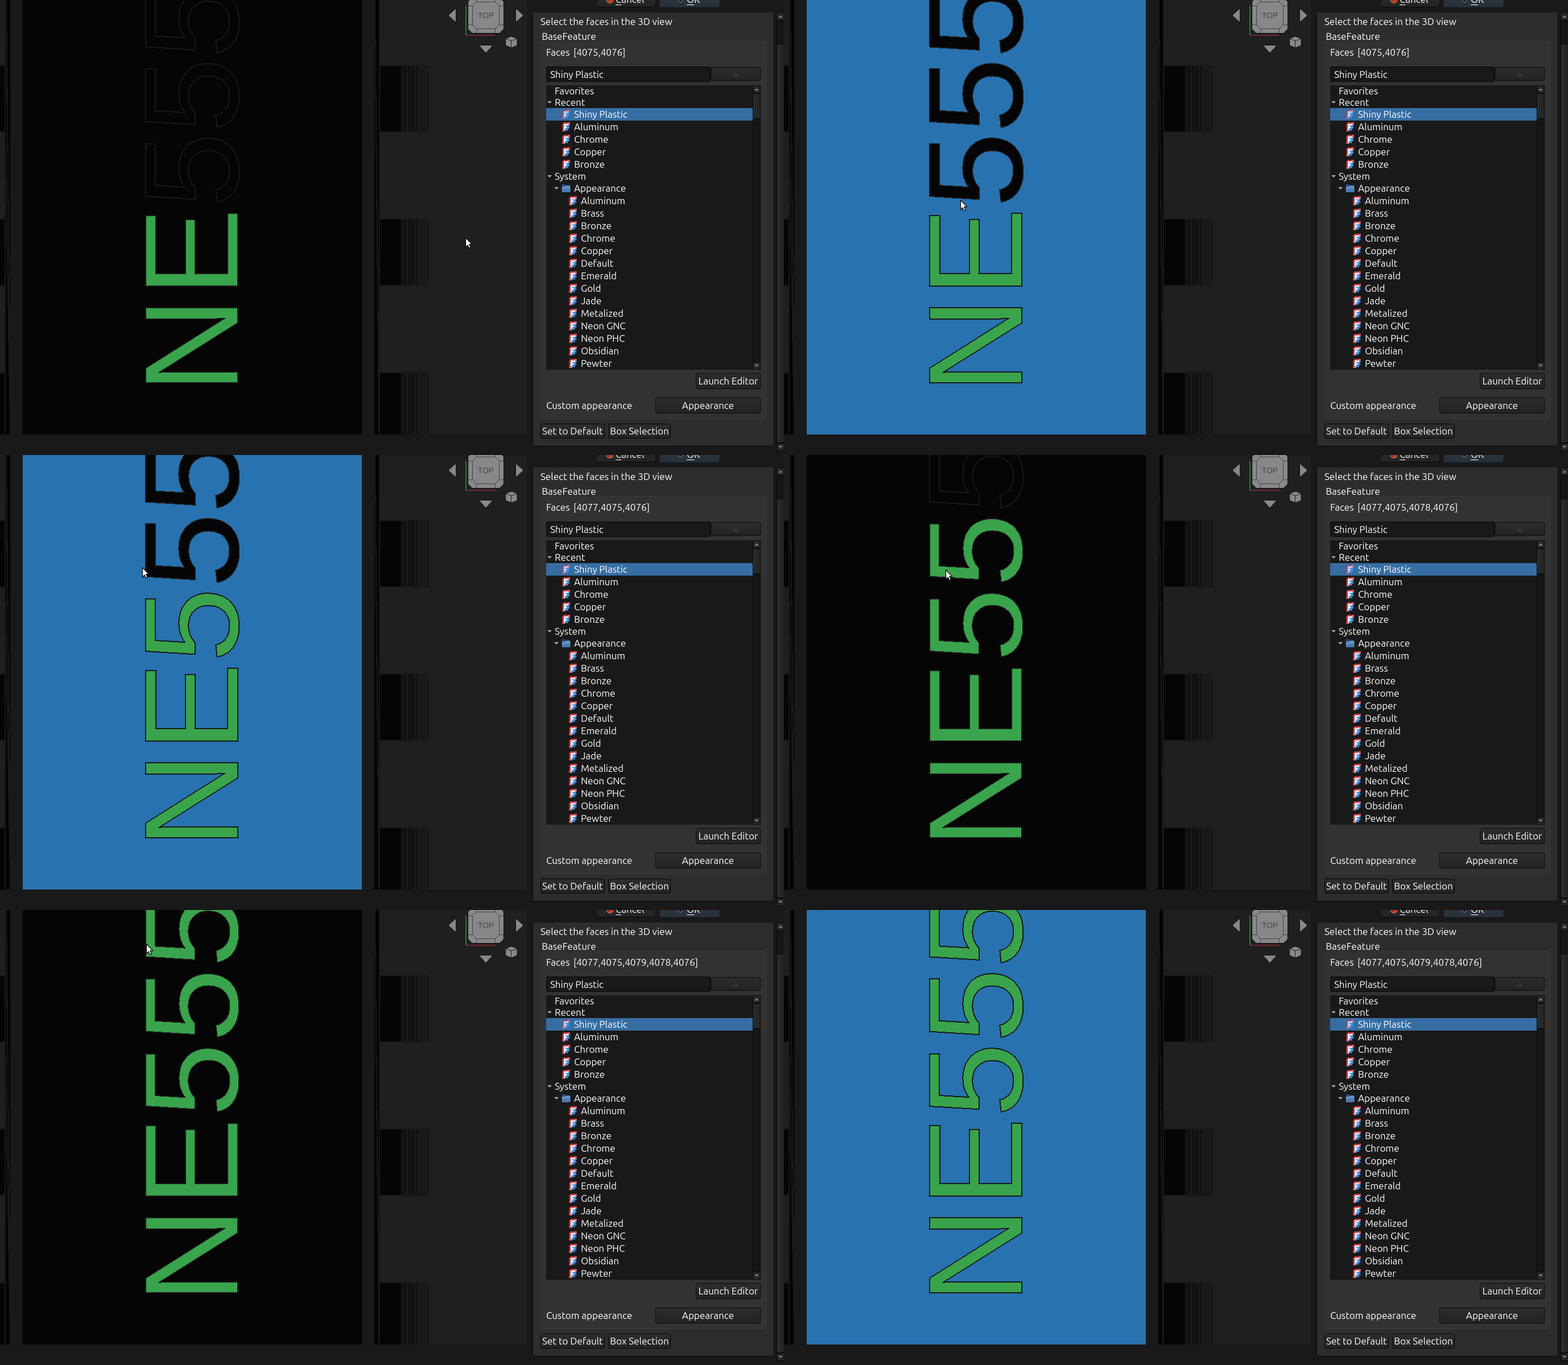
Next to select the text hover the mouse over each letter and it will turn blue, hold down control on the keyboard and click on the letter and it will turn green indication it has been selected:
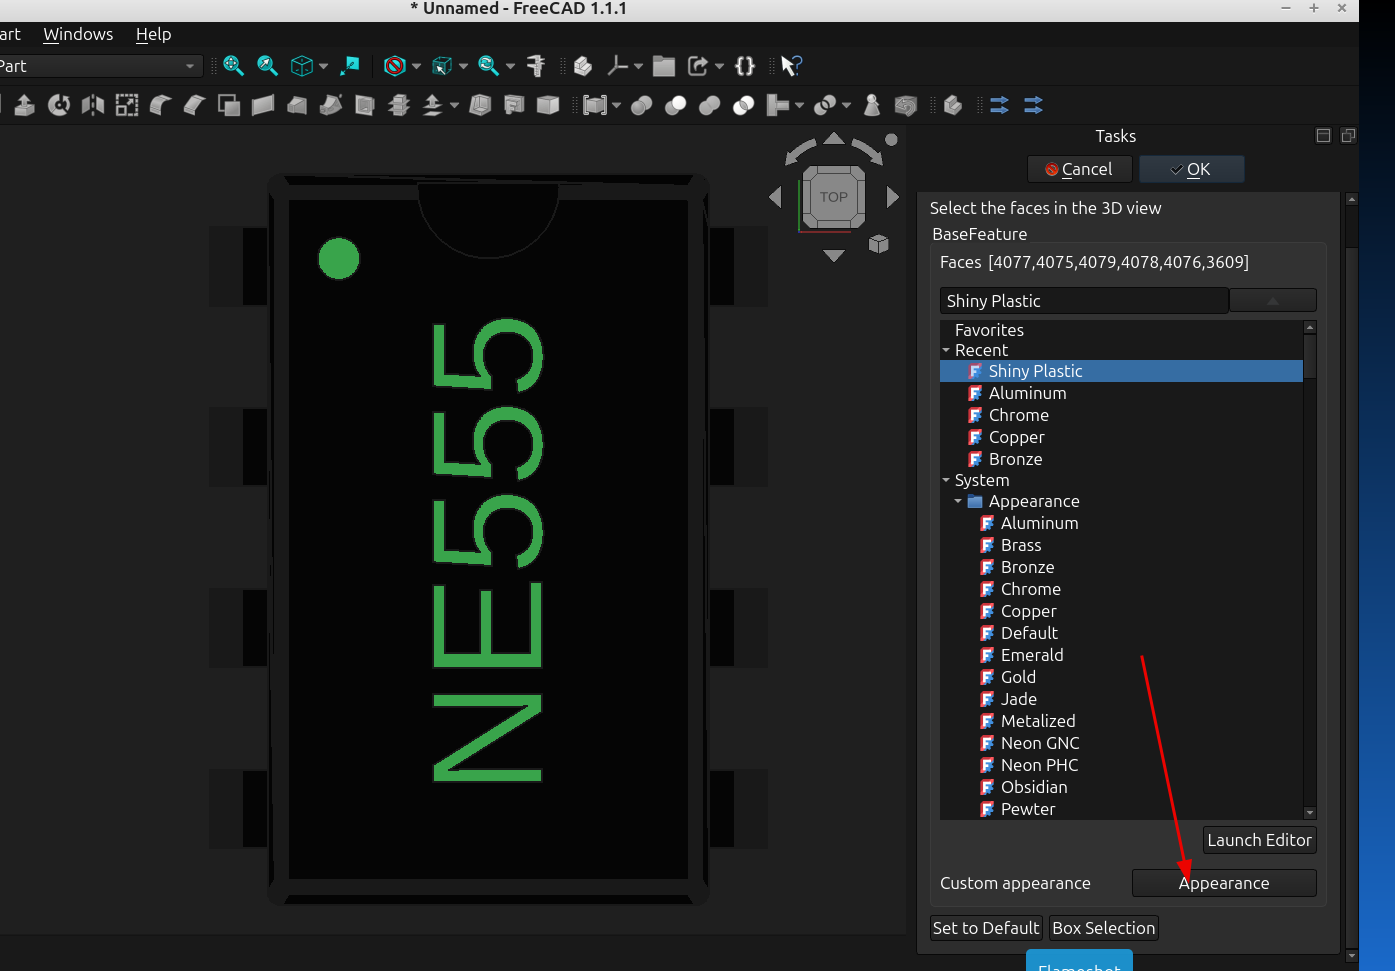
Once all of the I items you want are selected click on "Appearance"
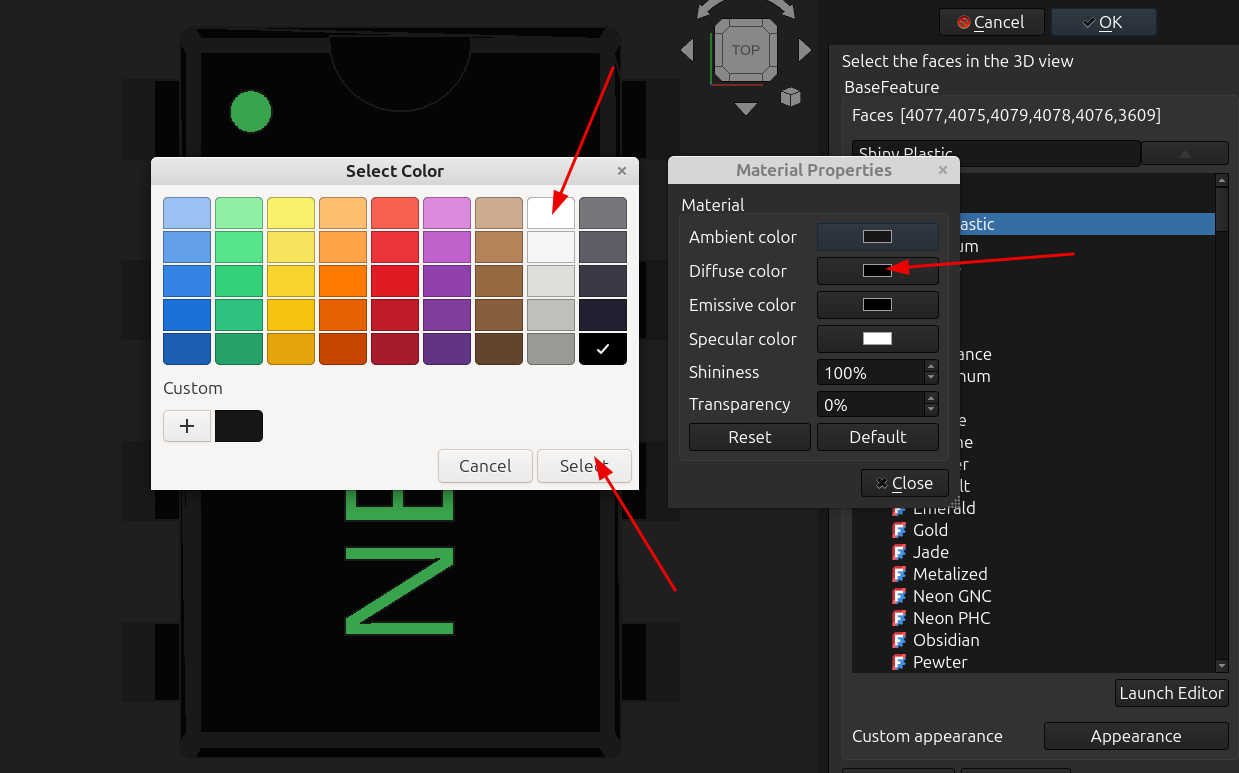
In the Materials Properties box click "Diffuse Color" select white and click on "select"
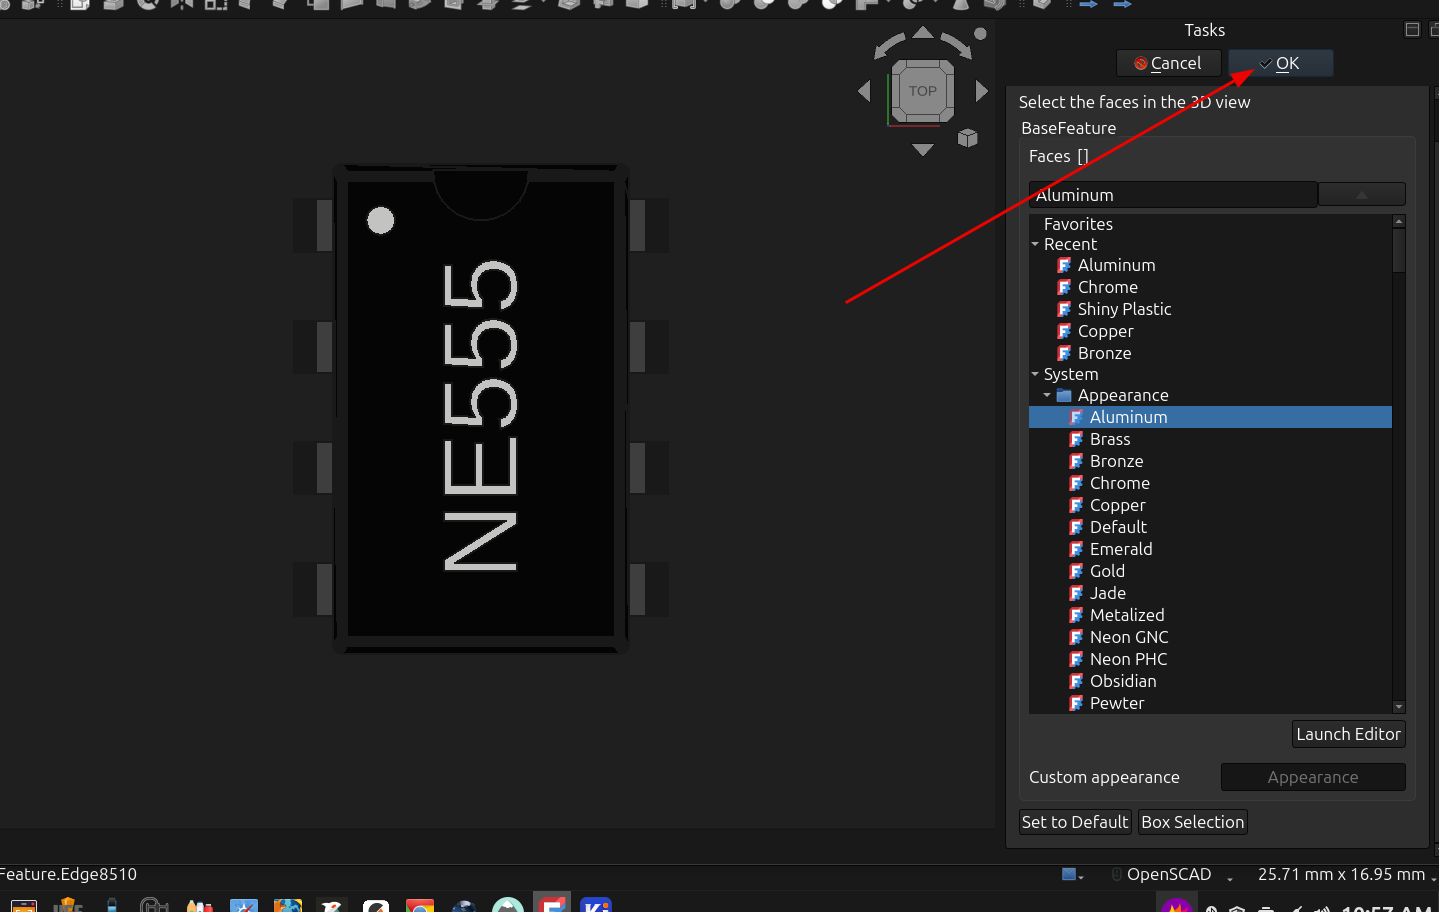
Once everything is the color you want it to be click "OK" at the top of the task box
Now you can export the step file and import it into the Ecad program of your choice.
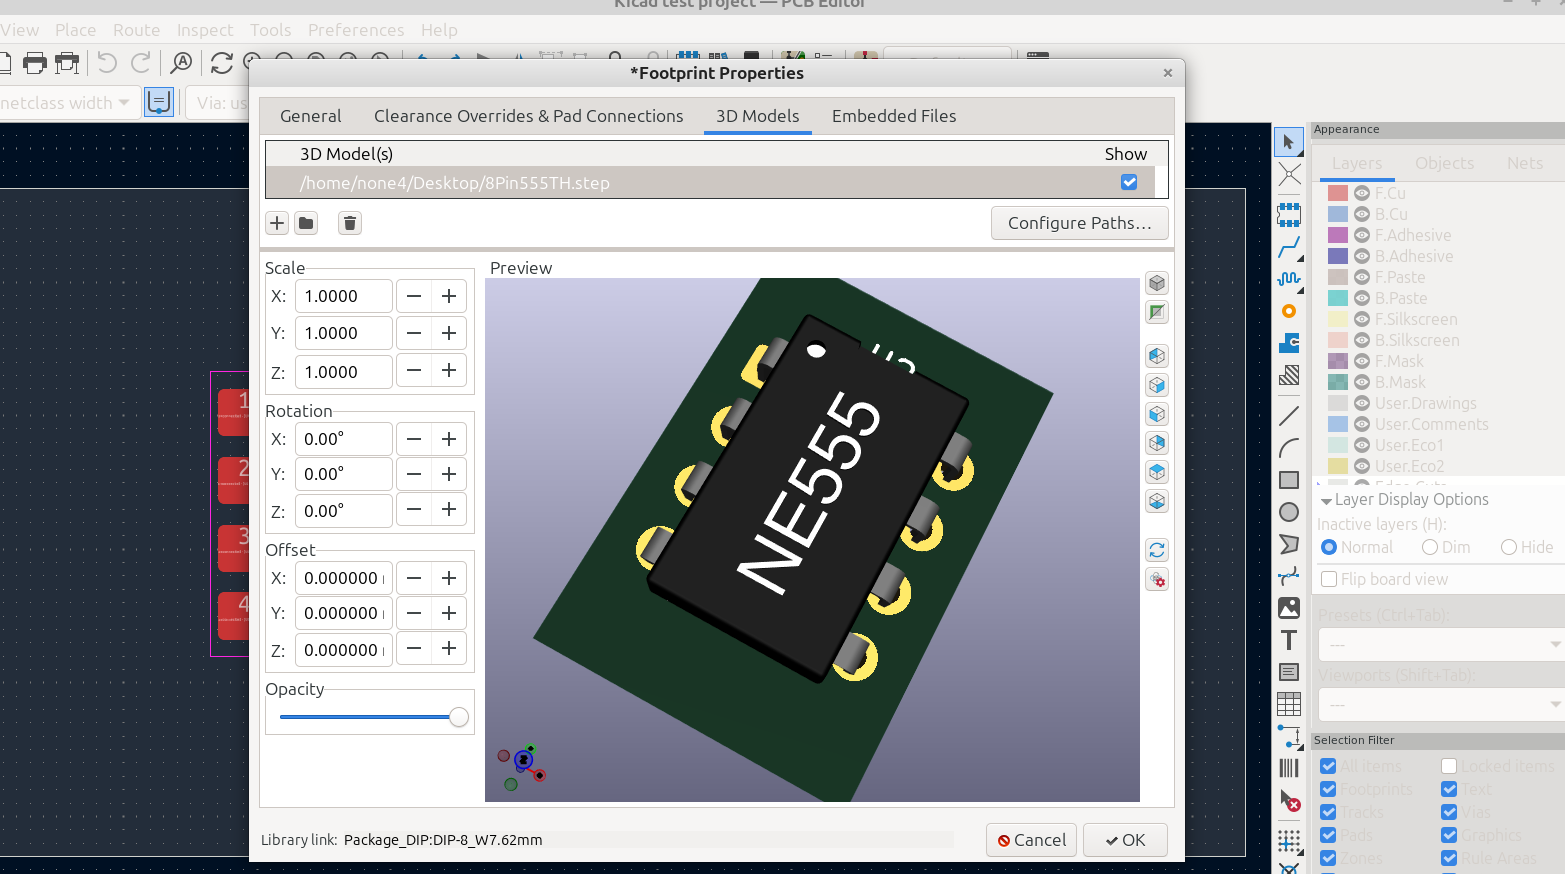
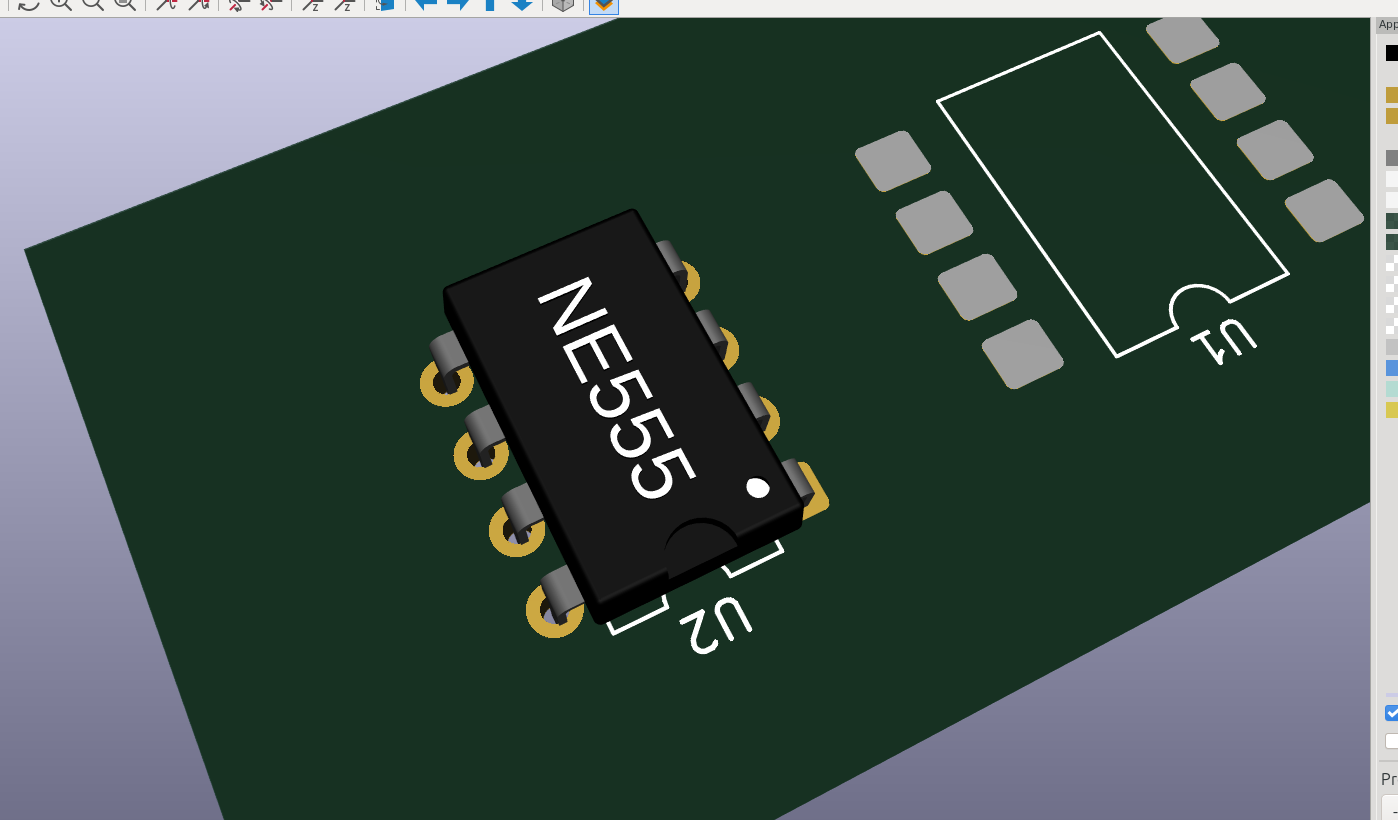
And now you have a nice looking step model file that can be saved with your project.