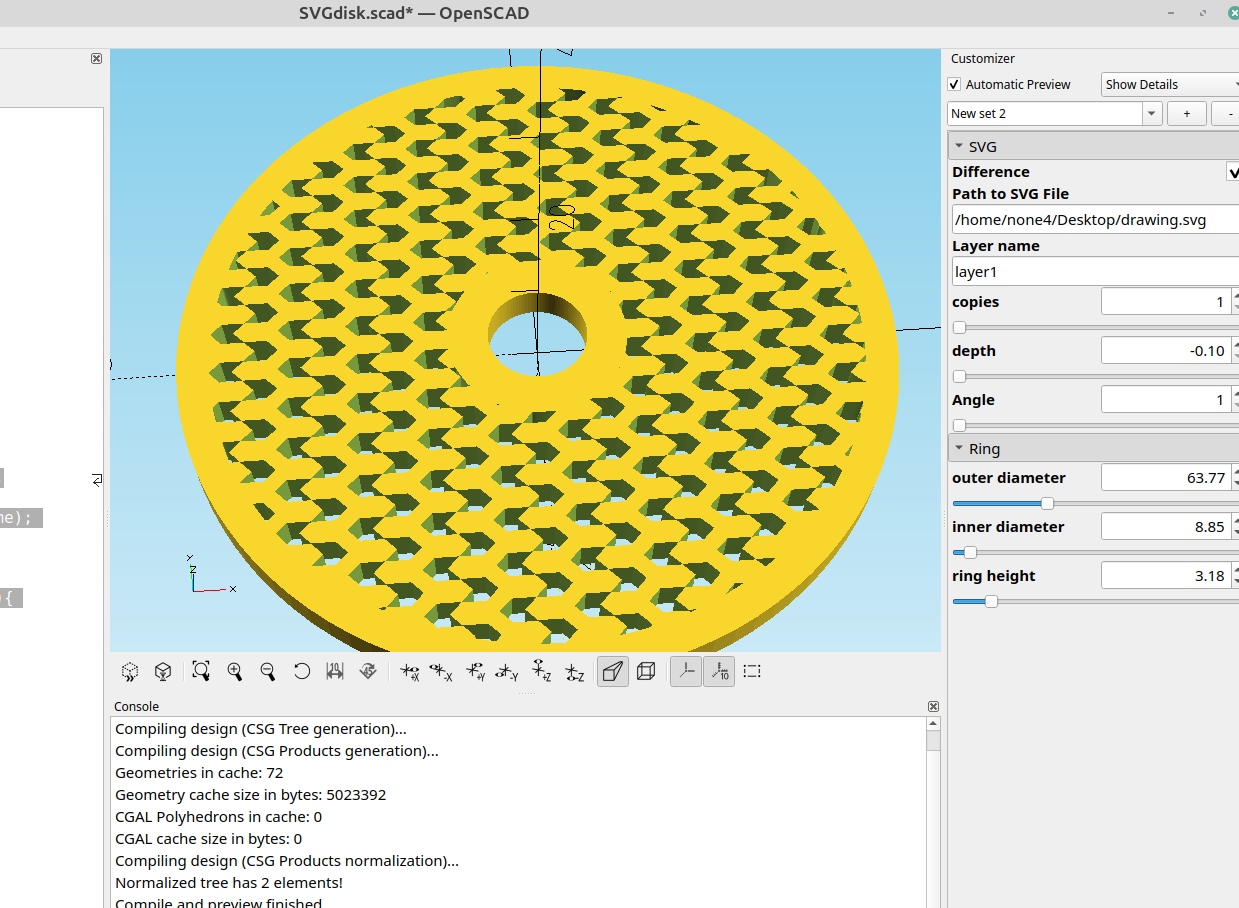
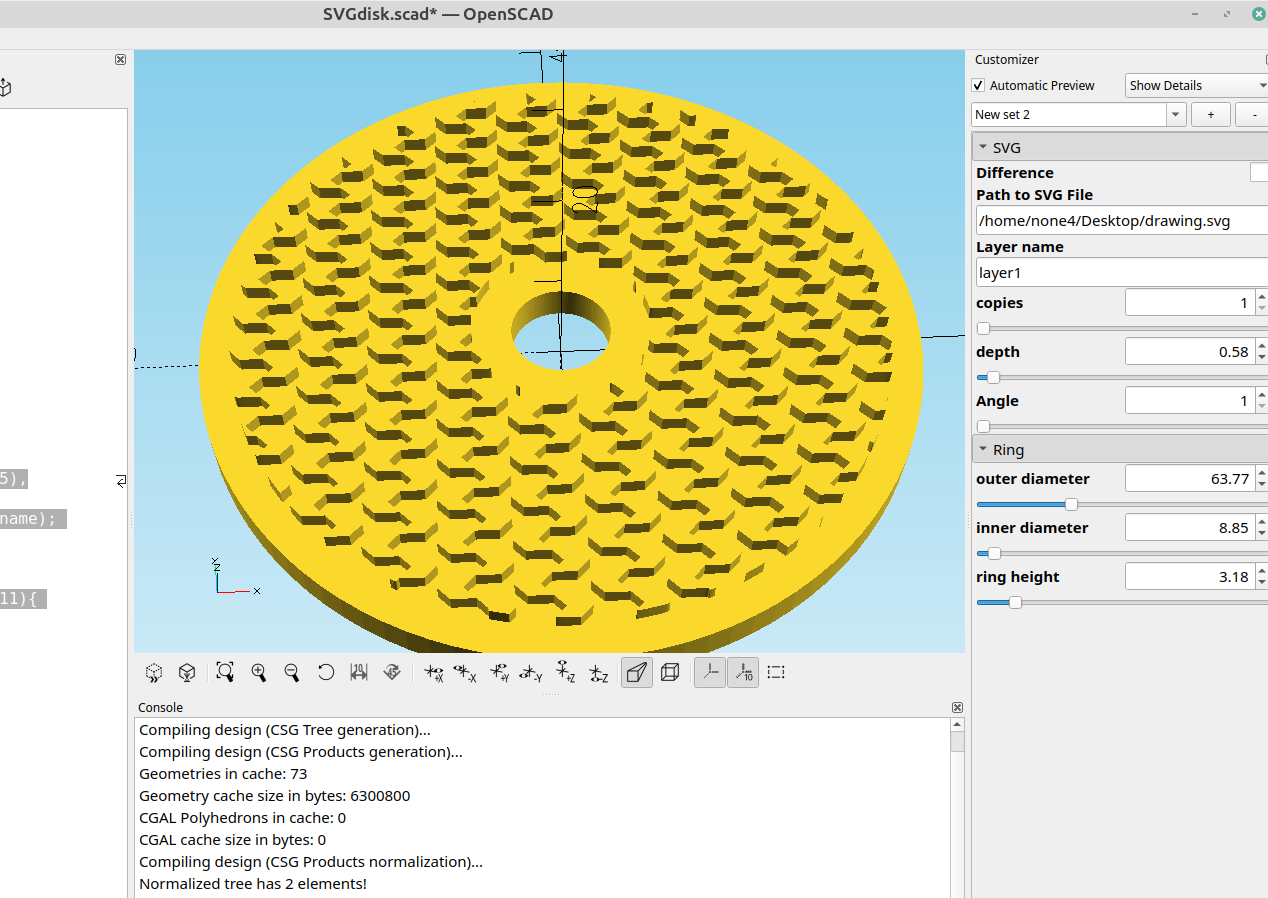
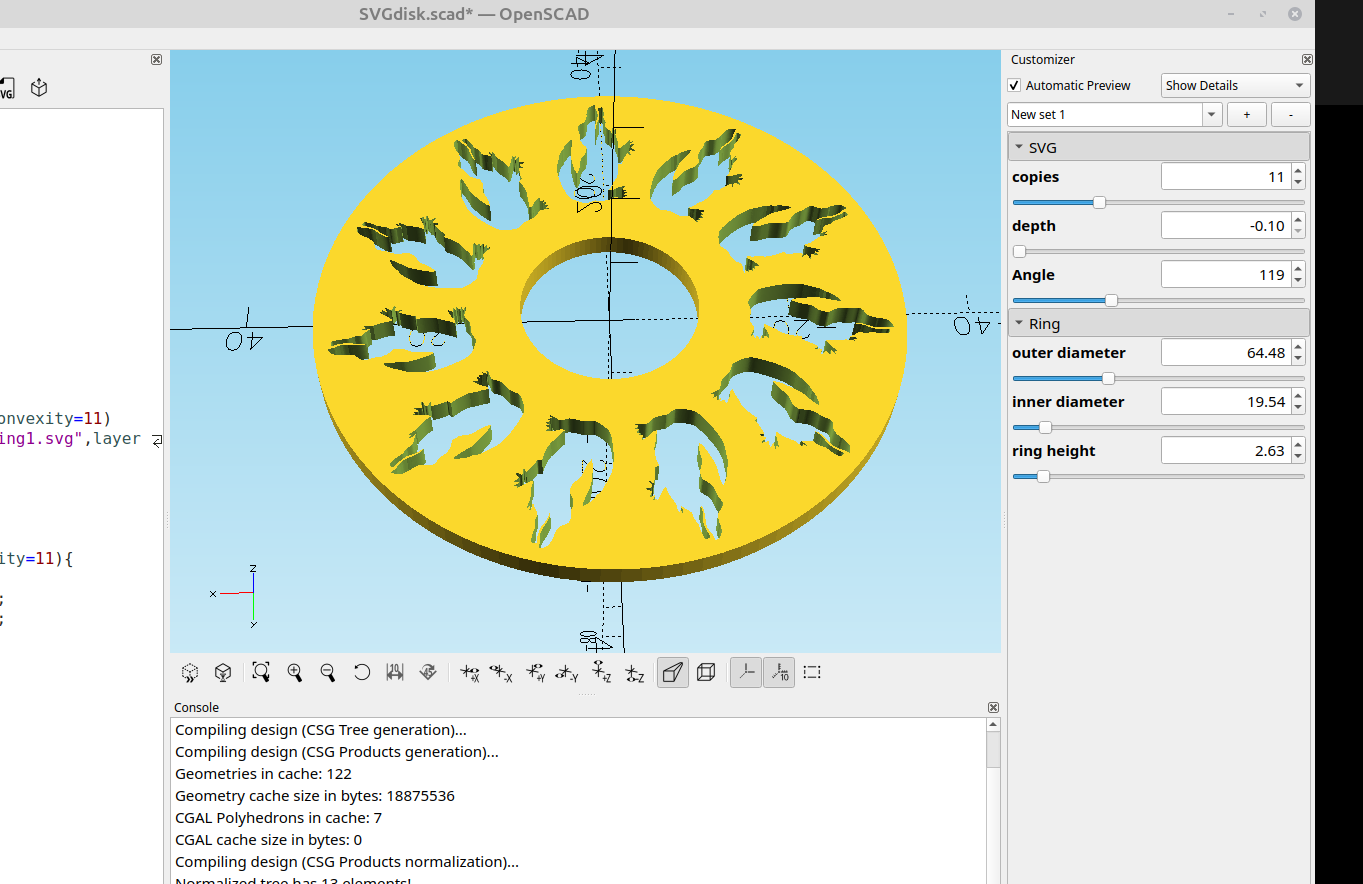
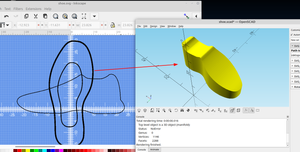
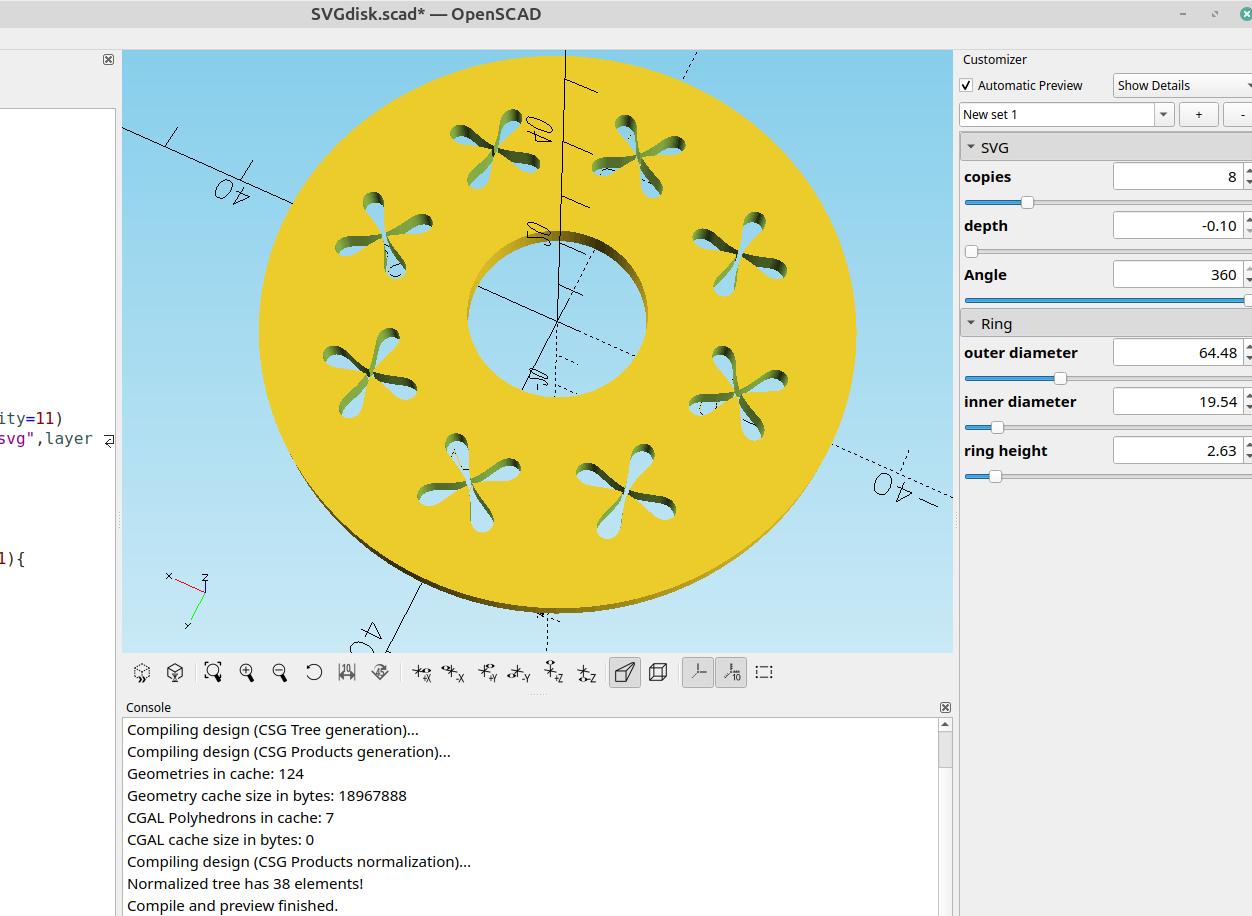
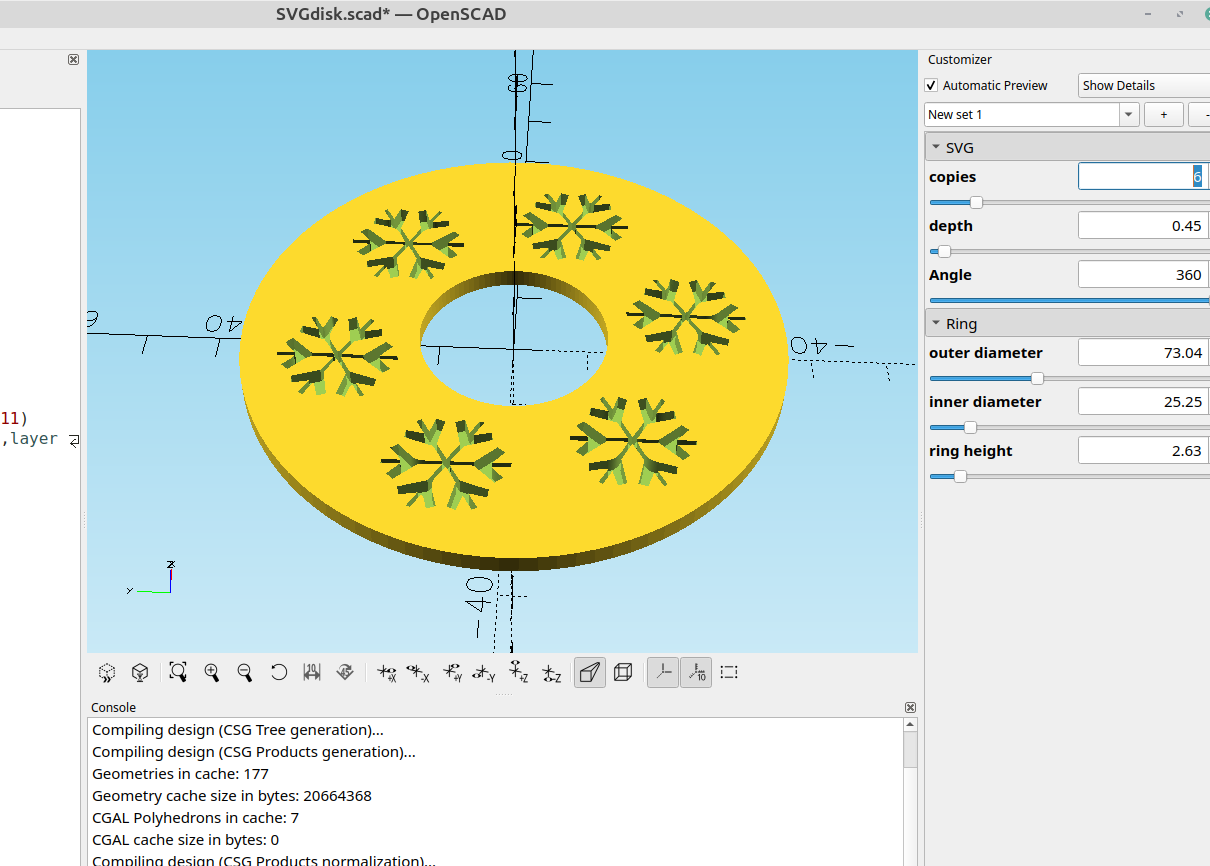
For the slotted disk module I made in the last post to be fully customizable it needed the capability to add any pattern you want to the face of the disk and make the pattern so it could be a hole or extend past the top so I made some simple modifications to do that.
//

/*[SVG]*/
Difference=true;
Path_to_SVG_File="";
Layer_name="layer1";
copies=5;//[1:1:36]
depth=1;//[-.1:.01:19]
Angle=360;//[1:1:360]

/*[Ring]*/
outer_diameter=55;//[1:.01:200]
inner_diameter=16;//[1:.01:200]
ring_height=2;//[1:.01:20]

module SVG(){
for(i=[0:Angle/10])
 rotate([0,0,(360/copies)*i])
 linear_extrude(ring_height+(depth+.25),convexity=11)
 import(Path_to_SVG_File,layer=Layer_name);
}

module ring(){
linear_extrude(ring_height,convexity=11){
difference(){
 circle(outer_diameter/2,$fn=100);
 circle(inner_diameter/2,$fn=100);
}}}

if (Difference)
difference(){
 ring();
 translate([0,0,depth])
 SVG();
}
else{
ring();
 translate([0,0,depth])
 SVG();
}
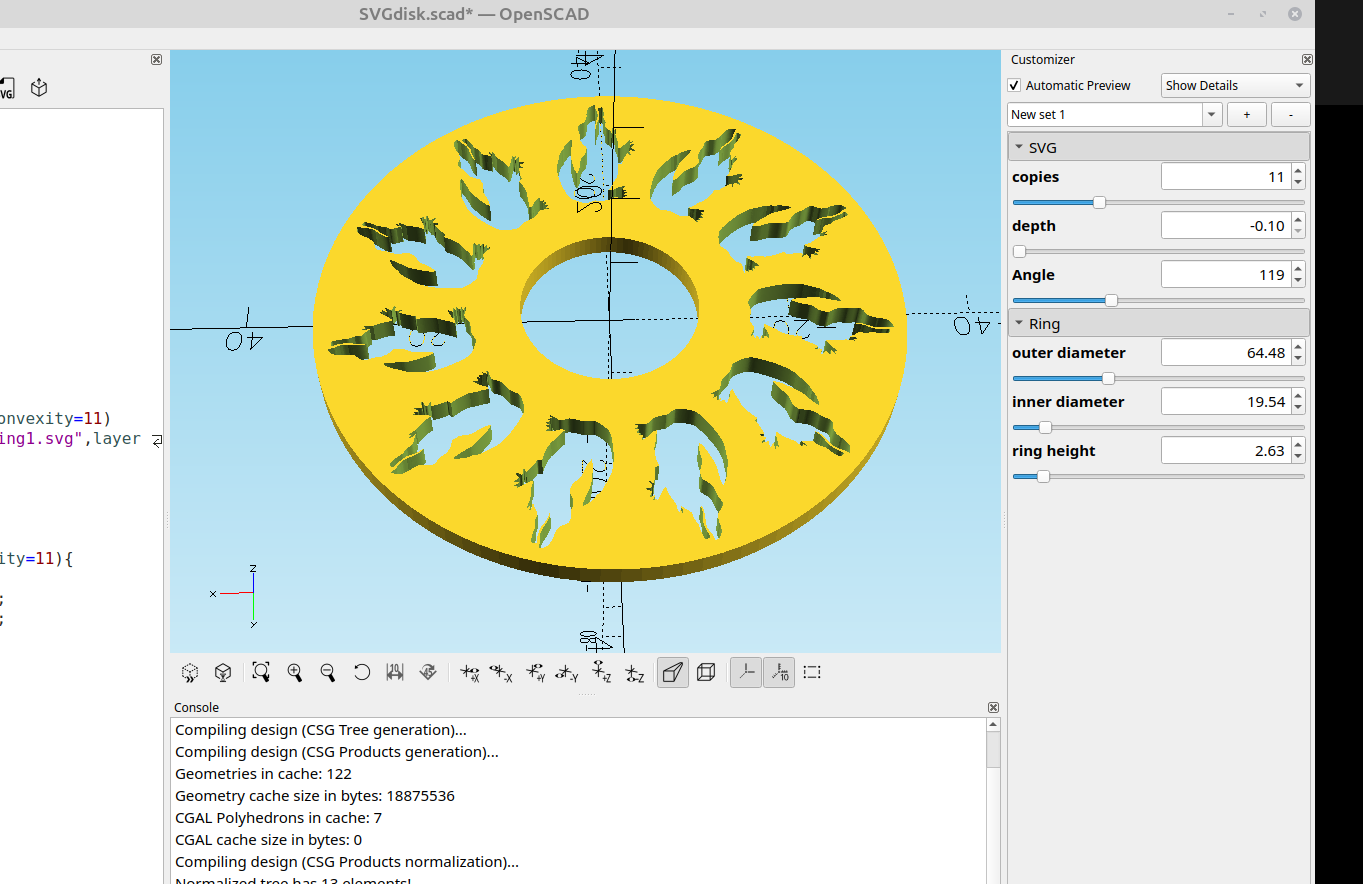
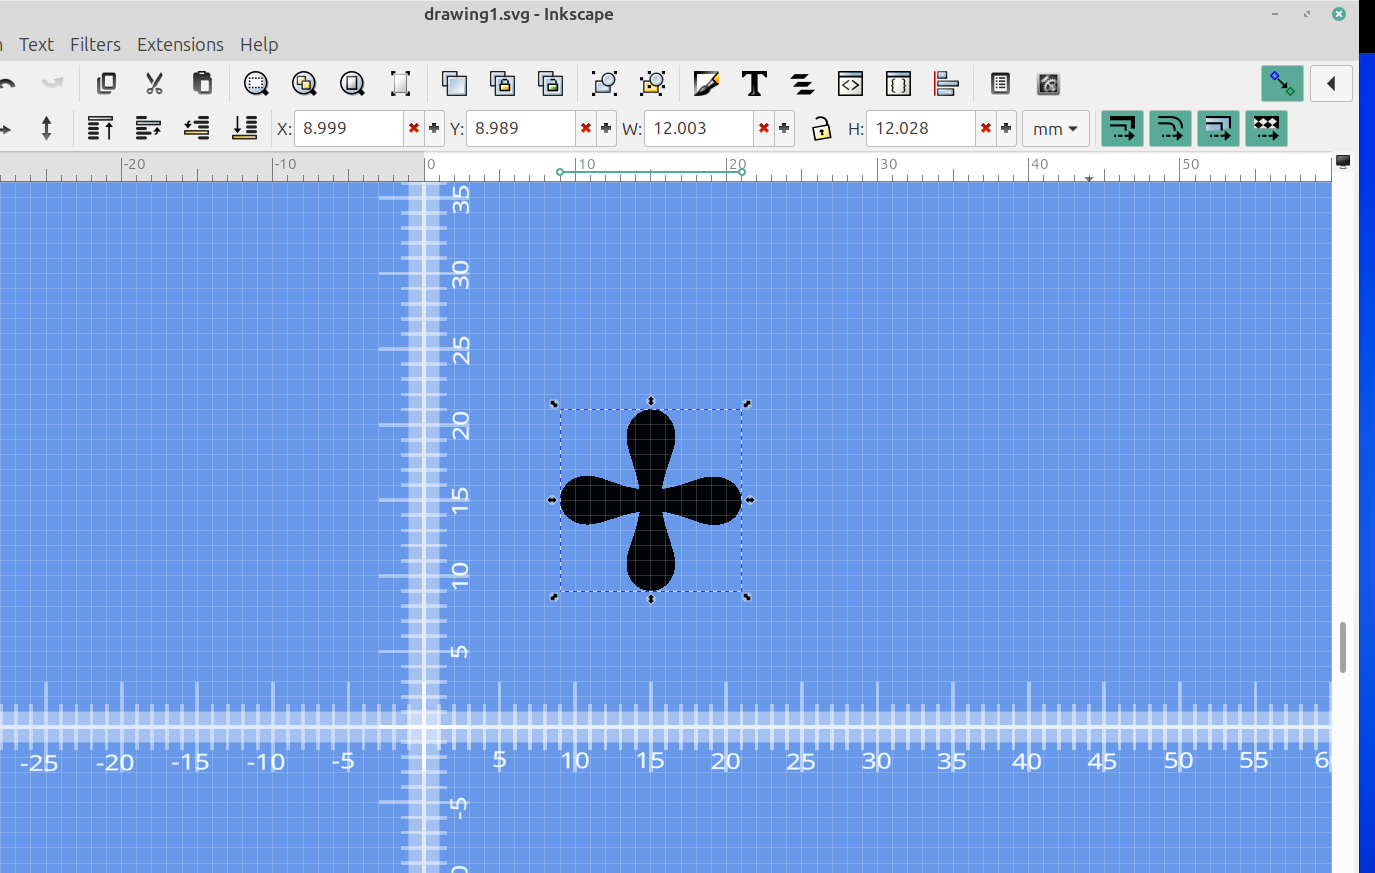
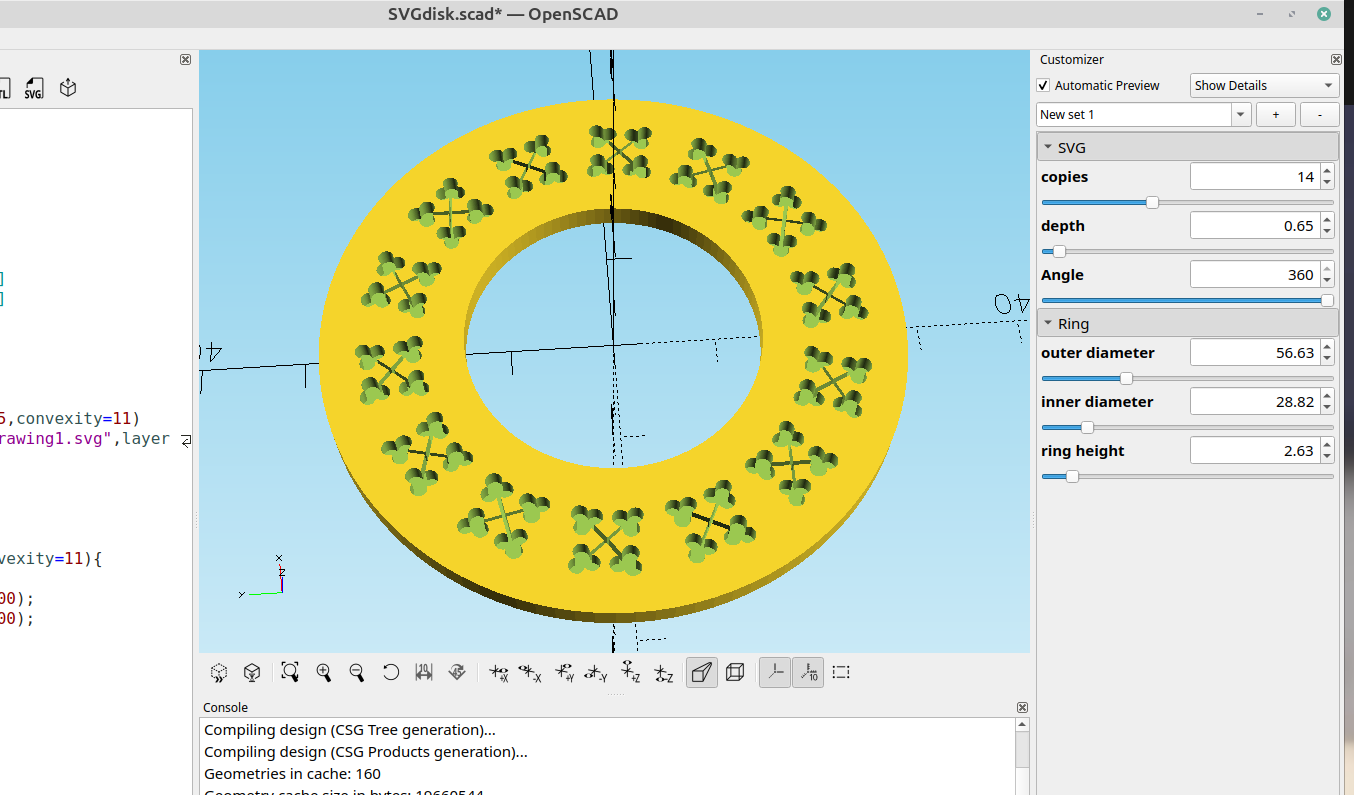
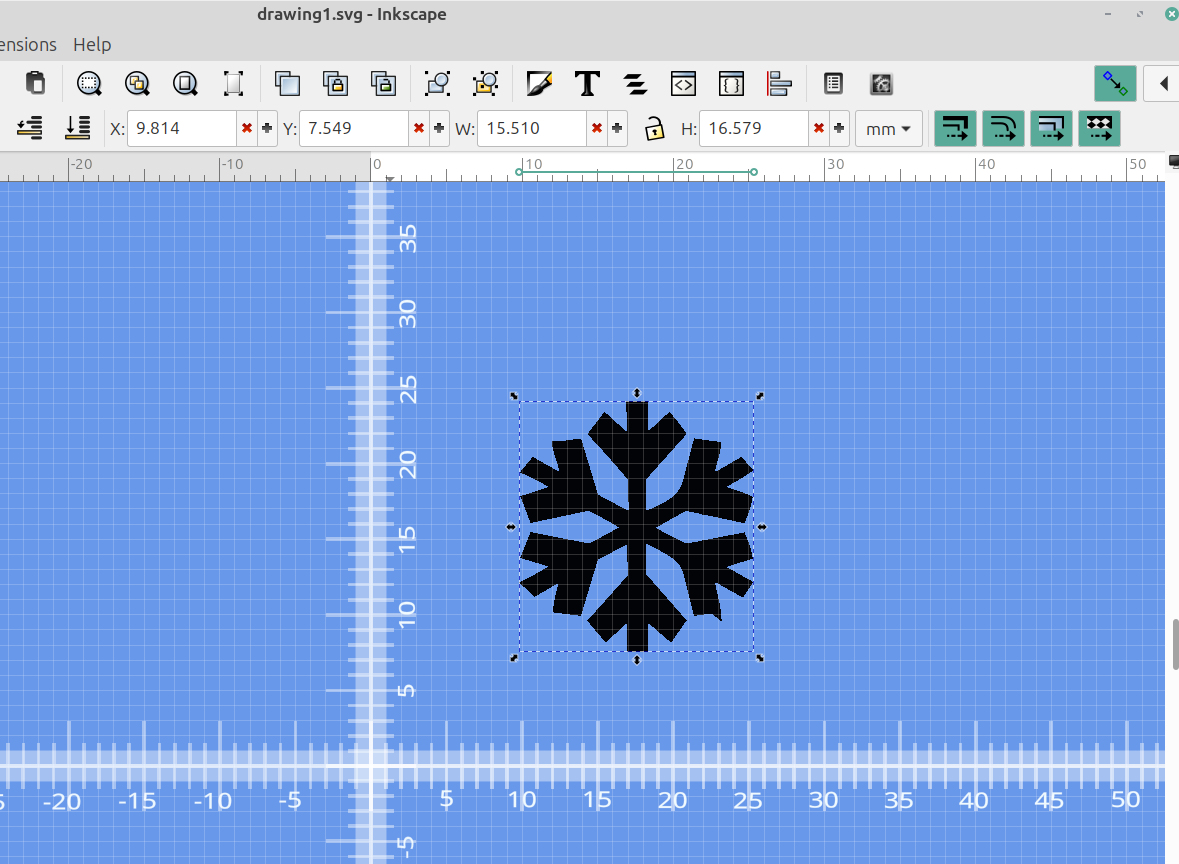
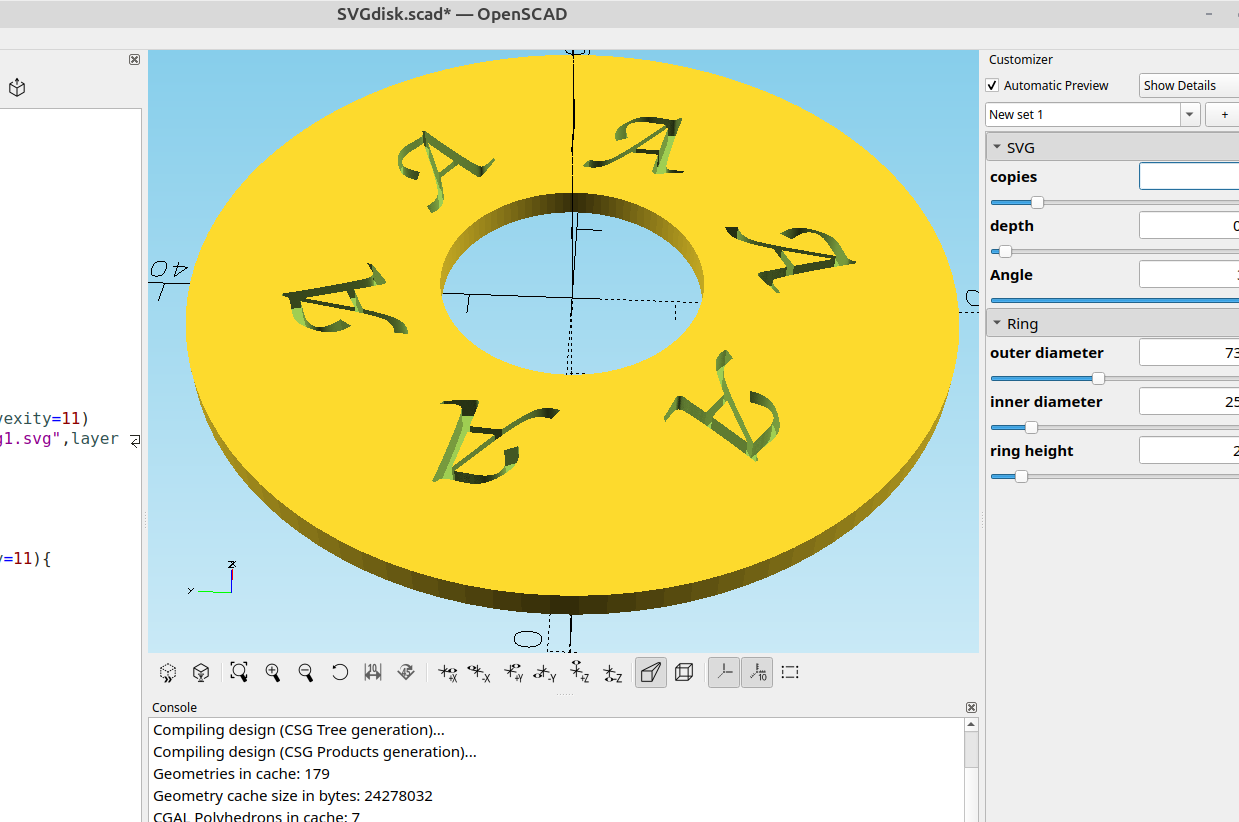
Now I can add any pattern I design with Inkscape to the face of the disk.
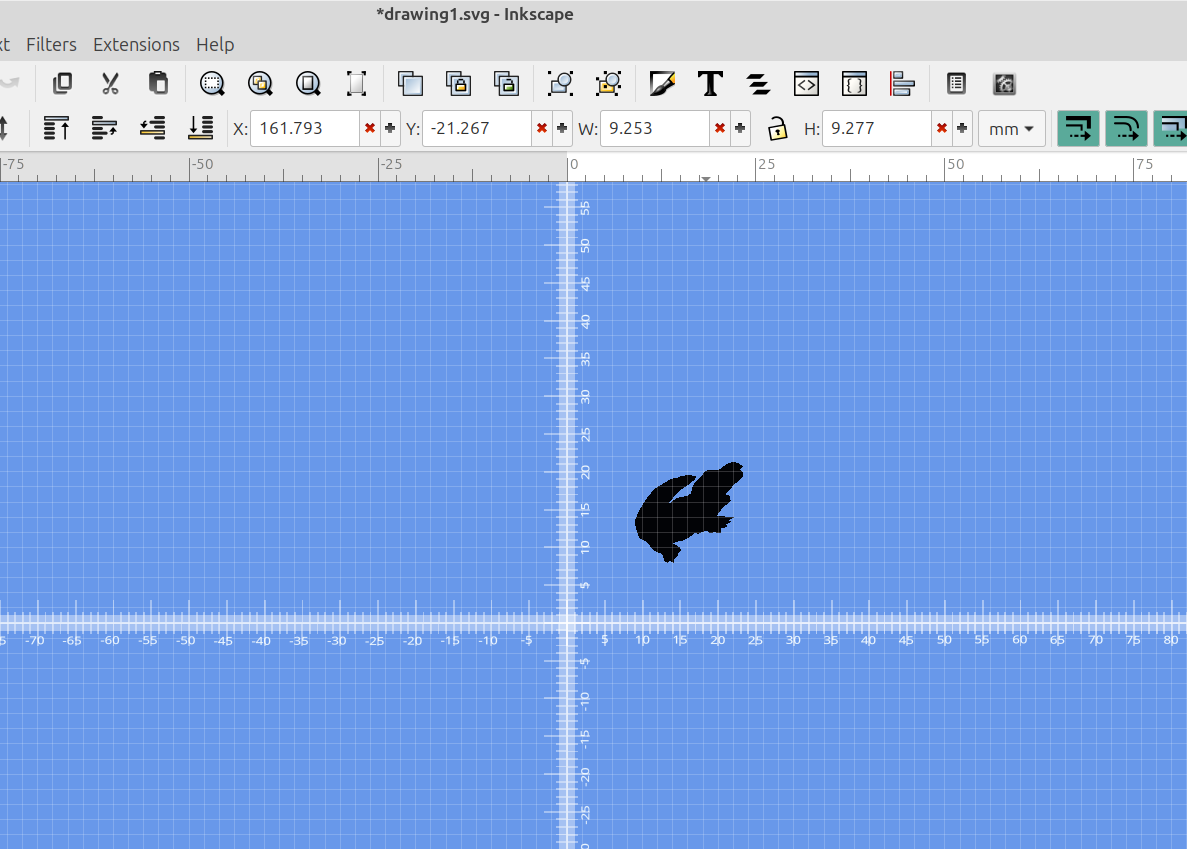
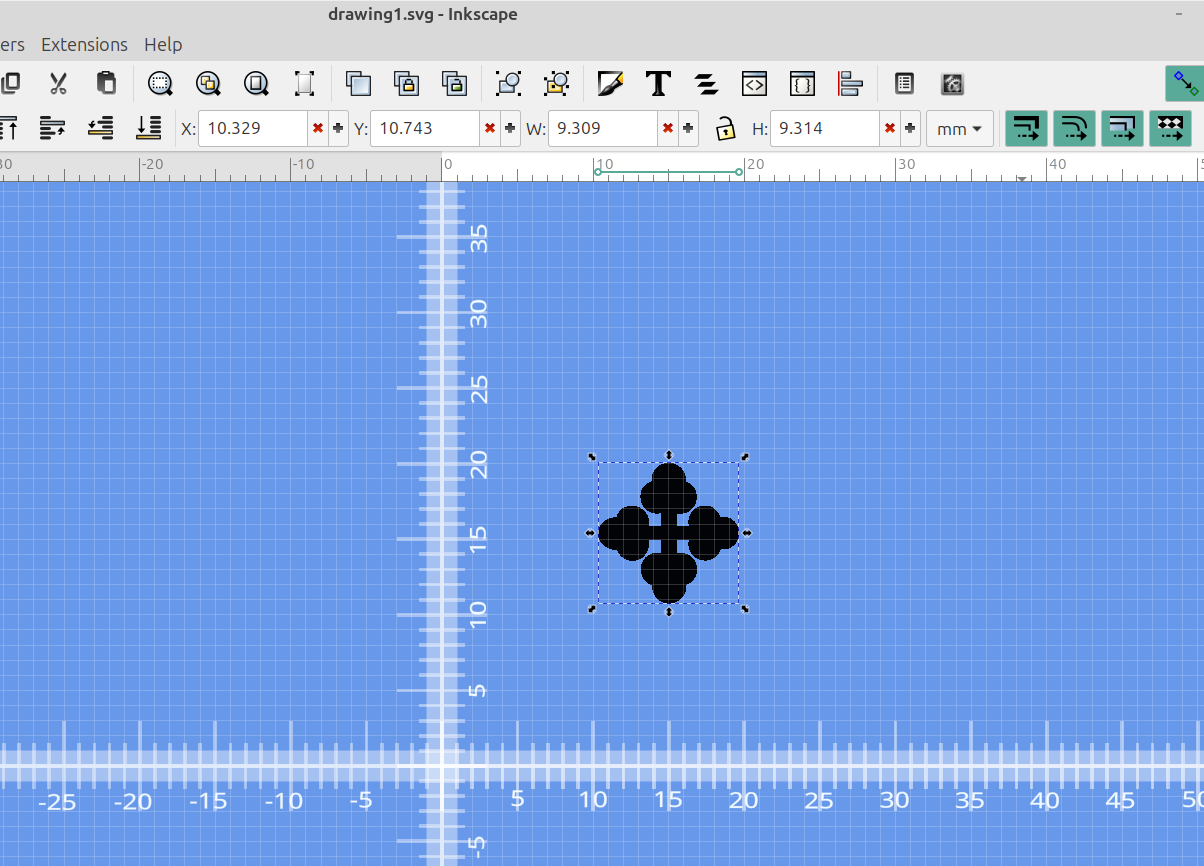
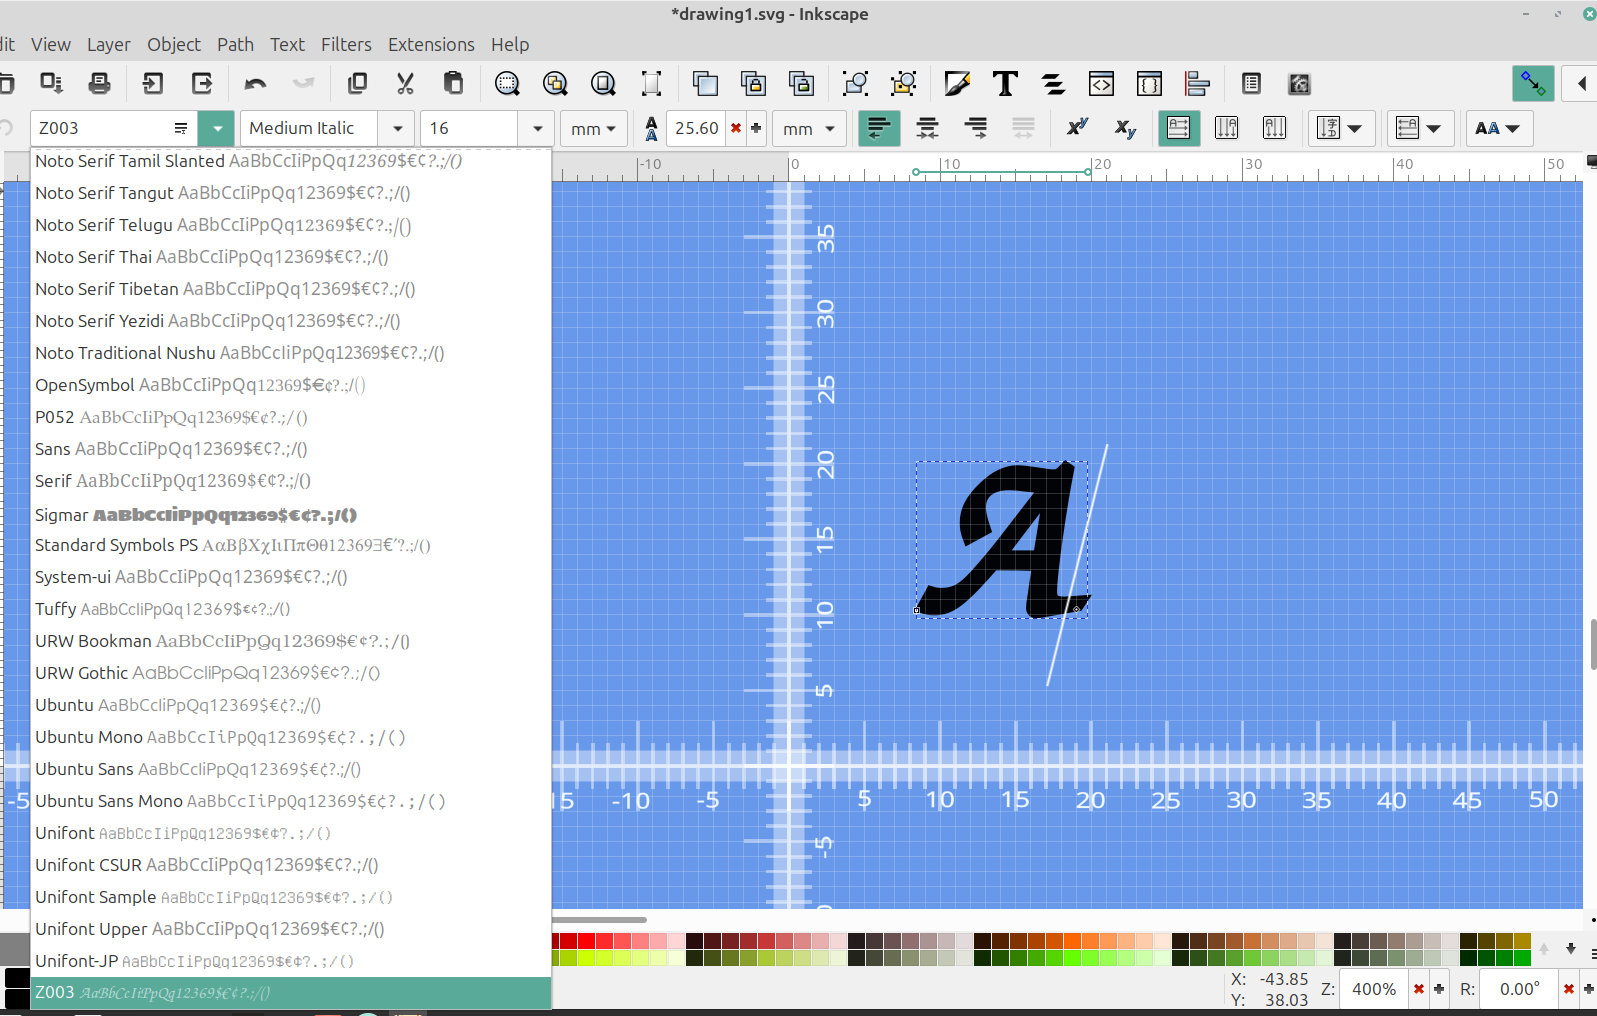
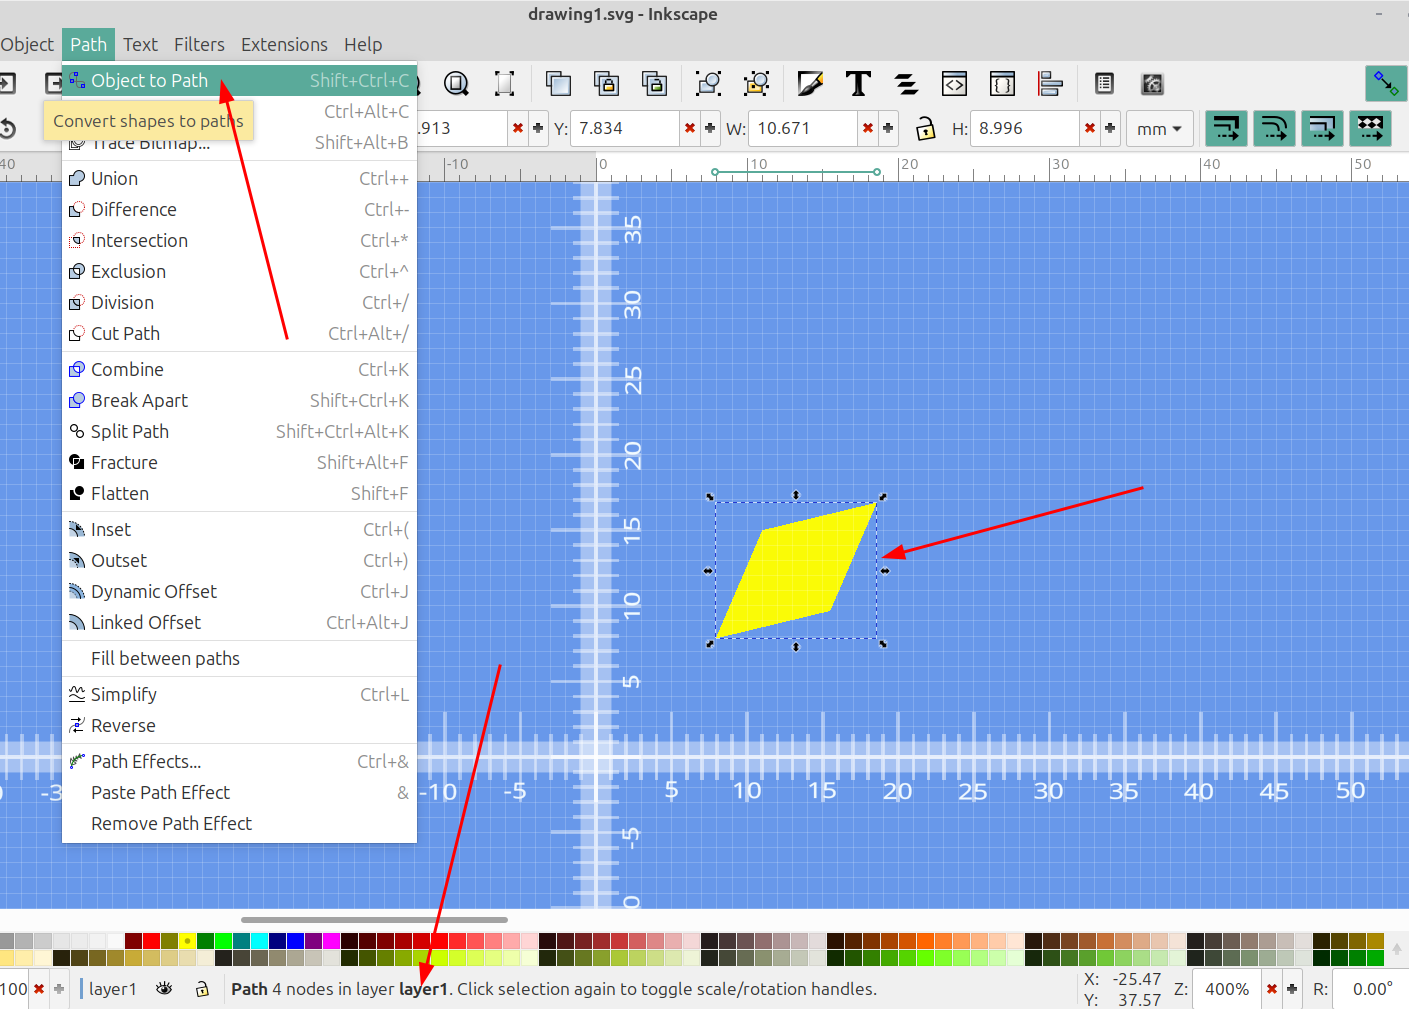
Keep in mind that to use text you have to convert it to a path
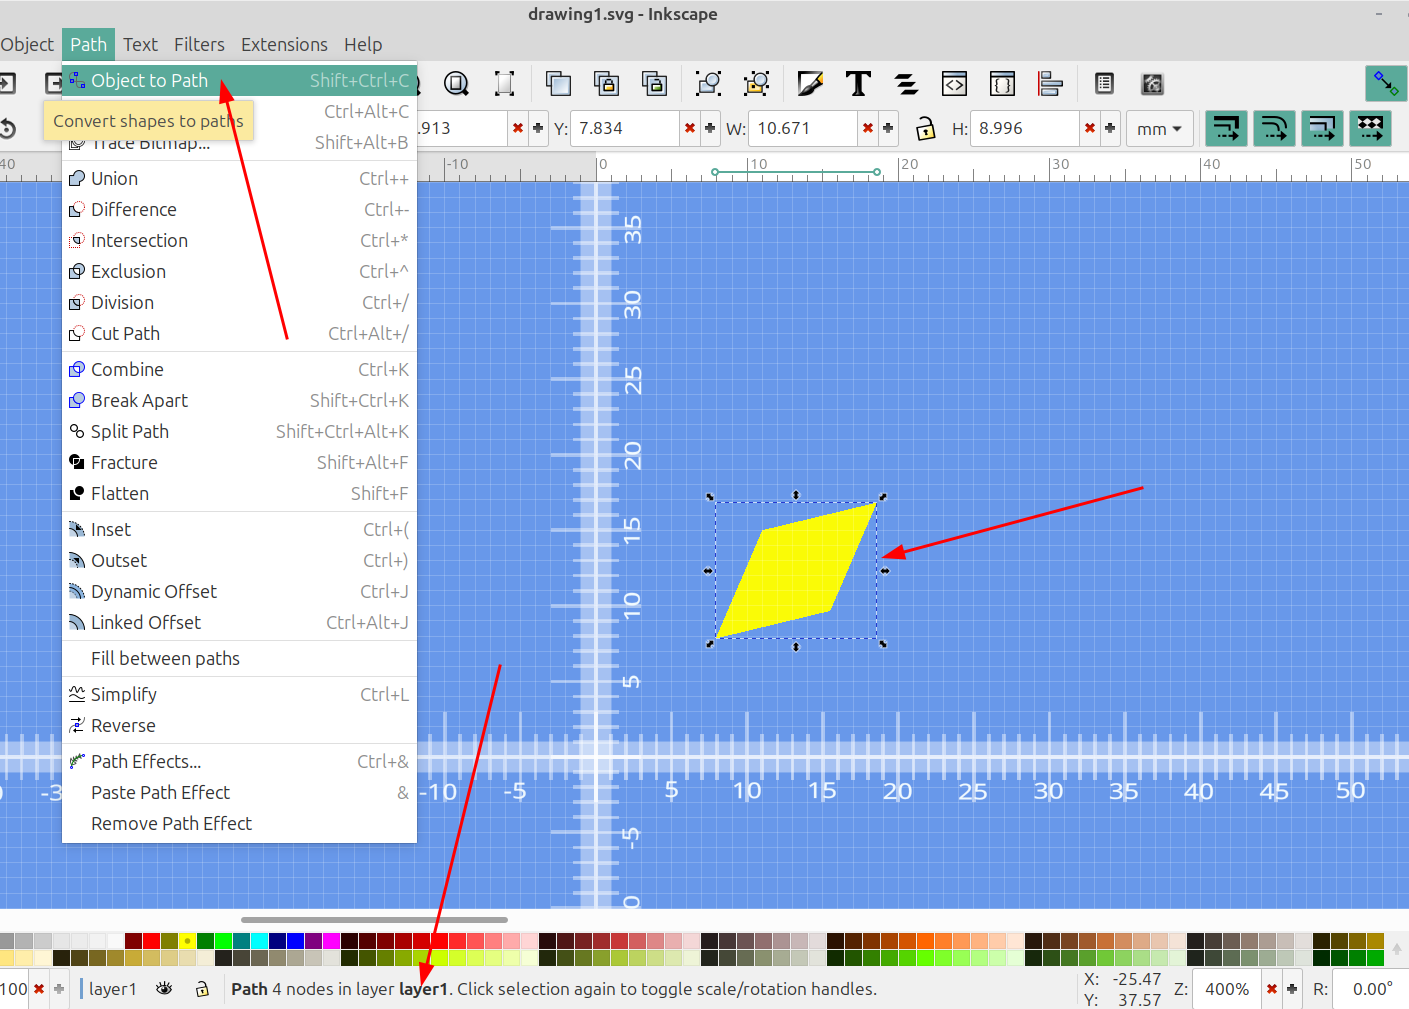
Just go to Path> Object to path
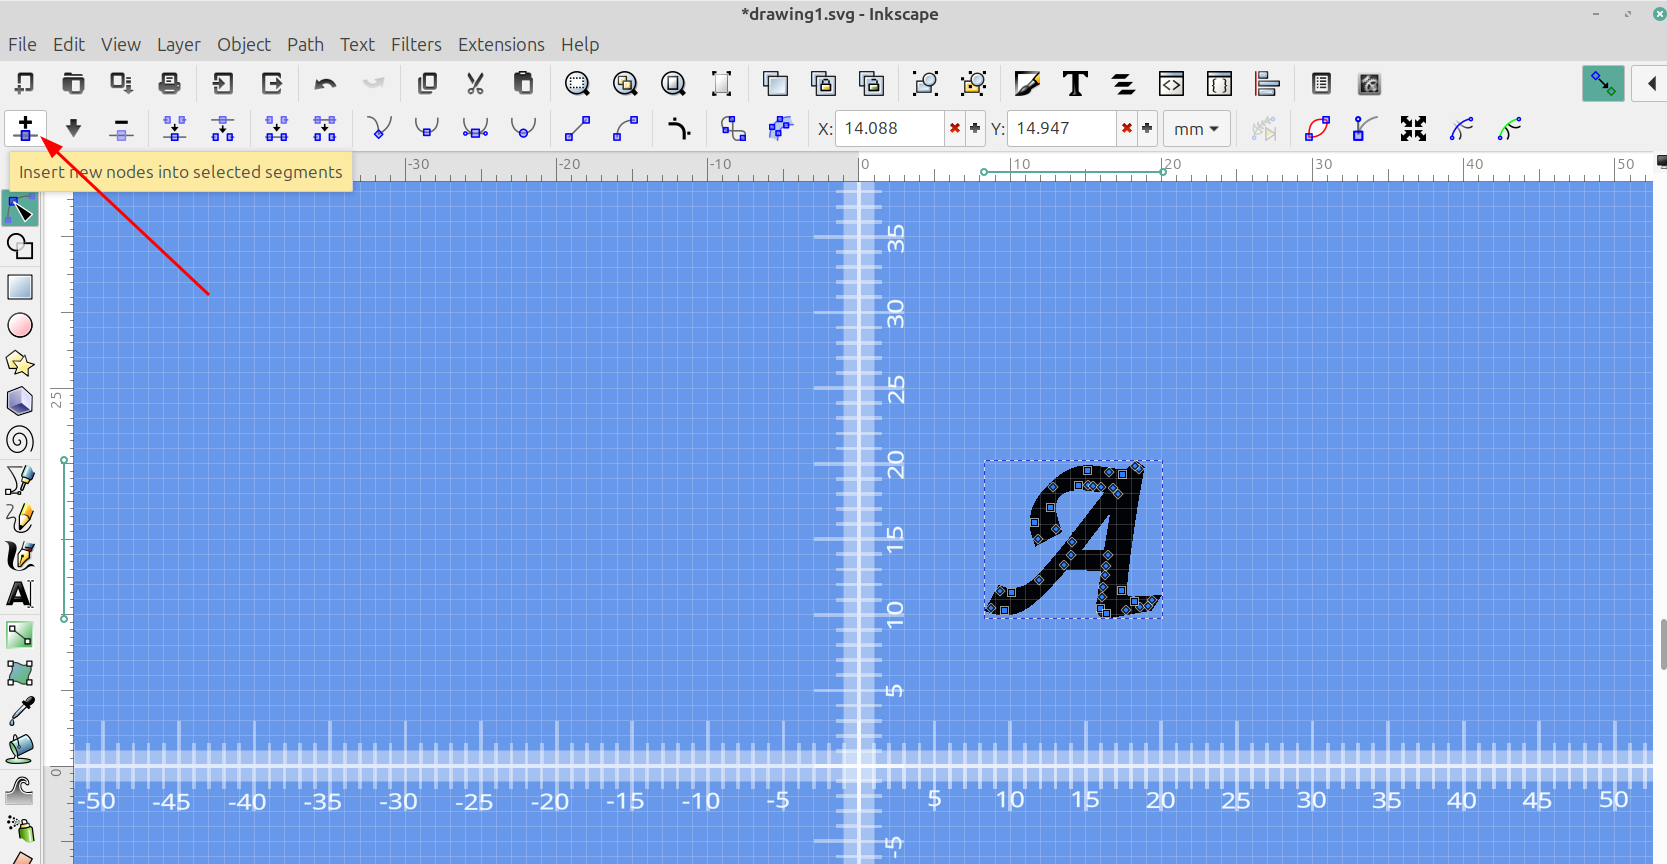
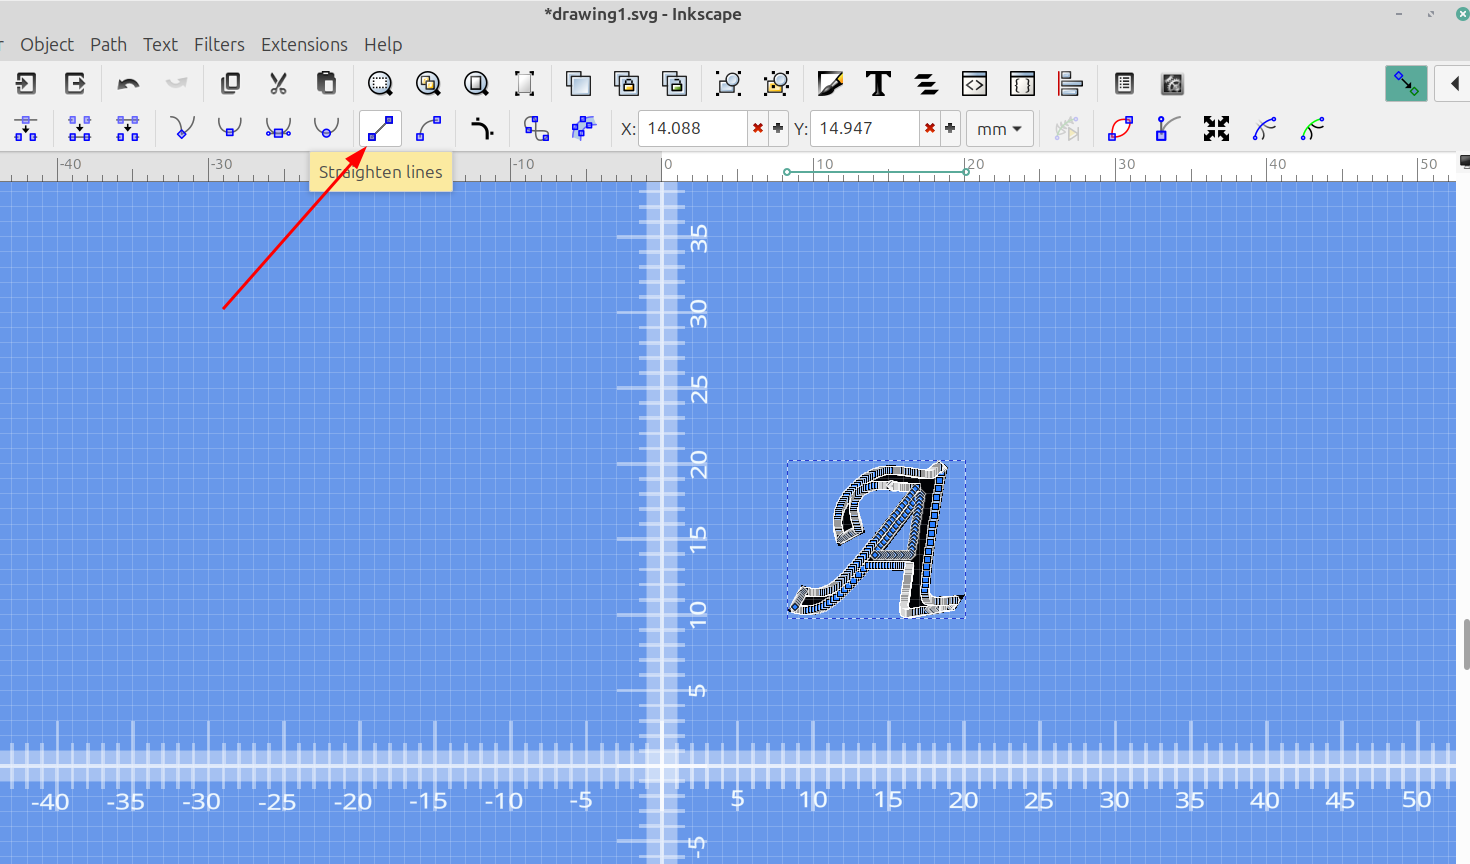
Select the object and the node tool, then add more nodes to make it smooth
Straighten the lines:
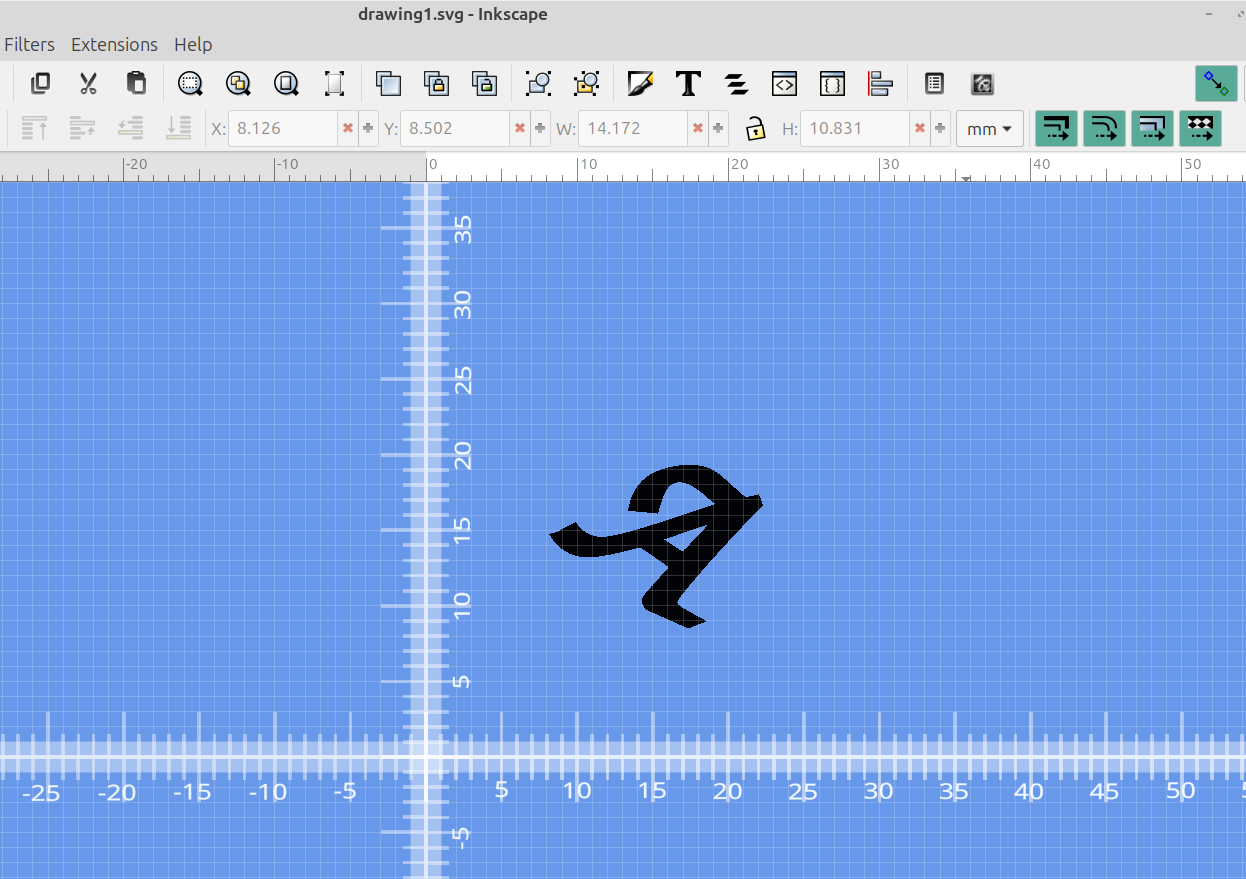
Adjust the object to the orientation you want it on the disk:
Make sure it's on the layer you want and import it into OpenSCAD.
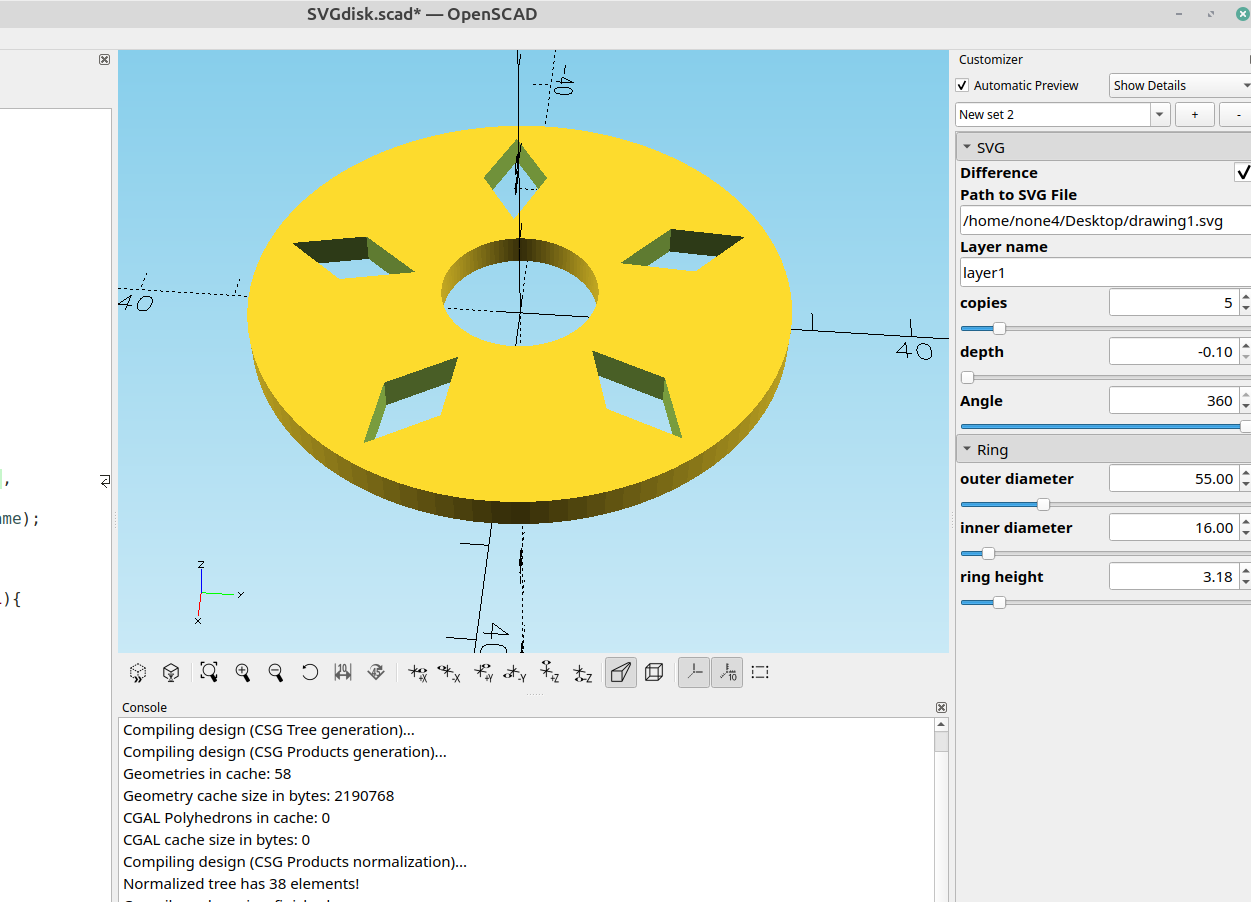
Aside from decoration the patterns can be used for a number of useful things, and by using an svg you can make any design you can imagine.
