3D part design with Inkscape and OpenSCAD #106: Making nice curves.

Sometimes it's nice to smooth out a corner where two objects meet and Inkscape has some tools to make this pretty easy.
Here is an example of a pivot arm, I started with a square and made it into a rectangle with the adjustment arrows:
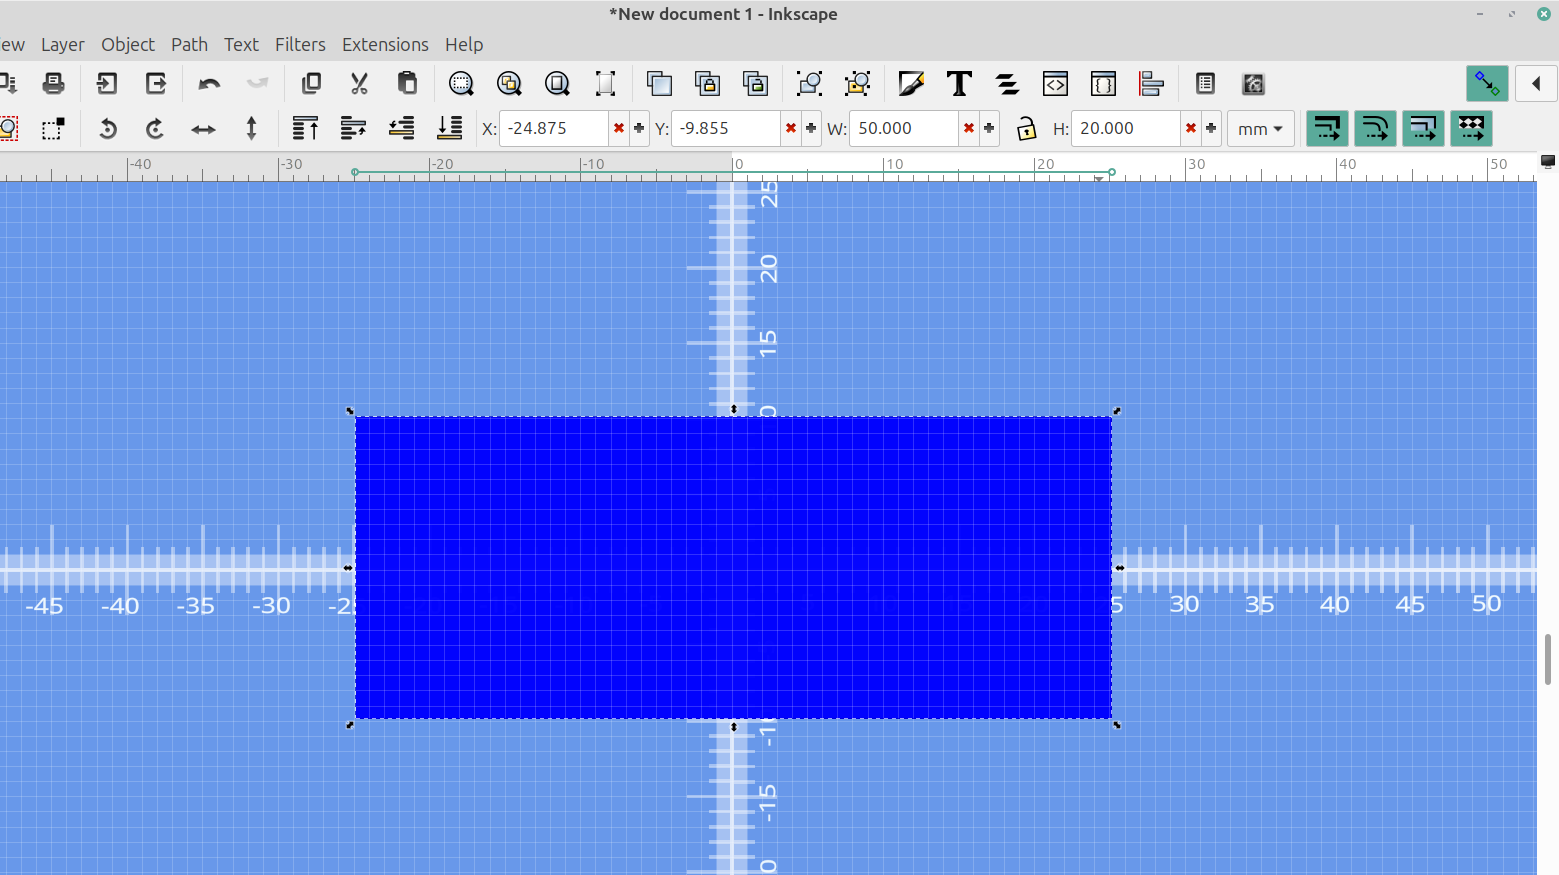
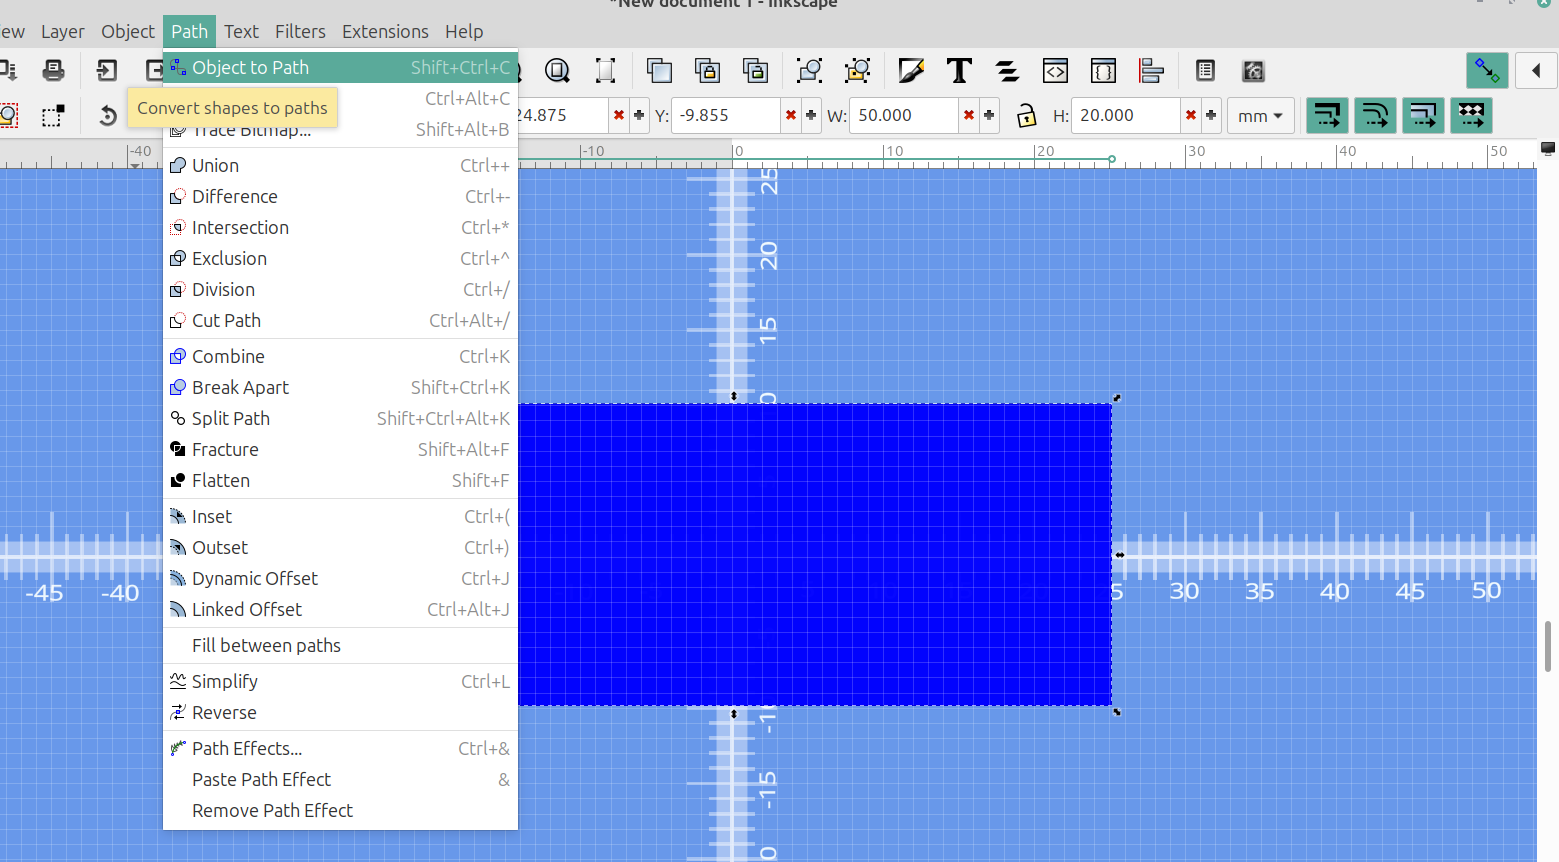
I converted it from an object to a path:
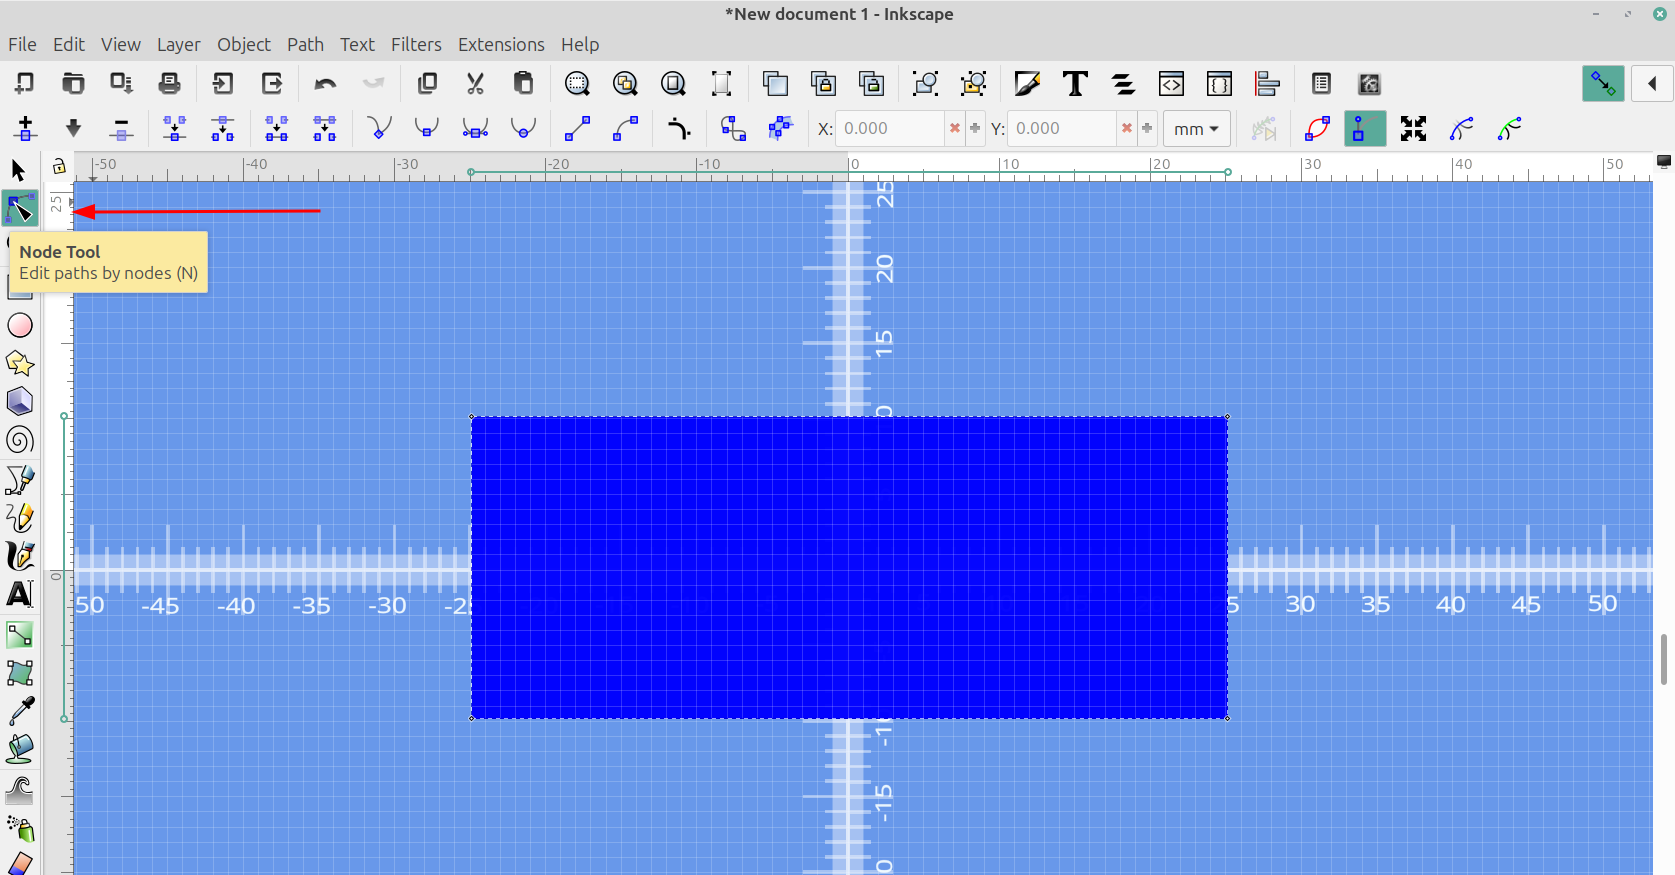
Selected the node tool:
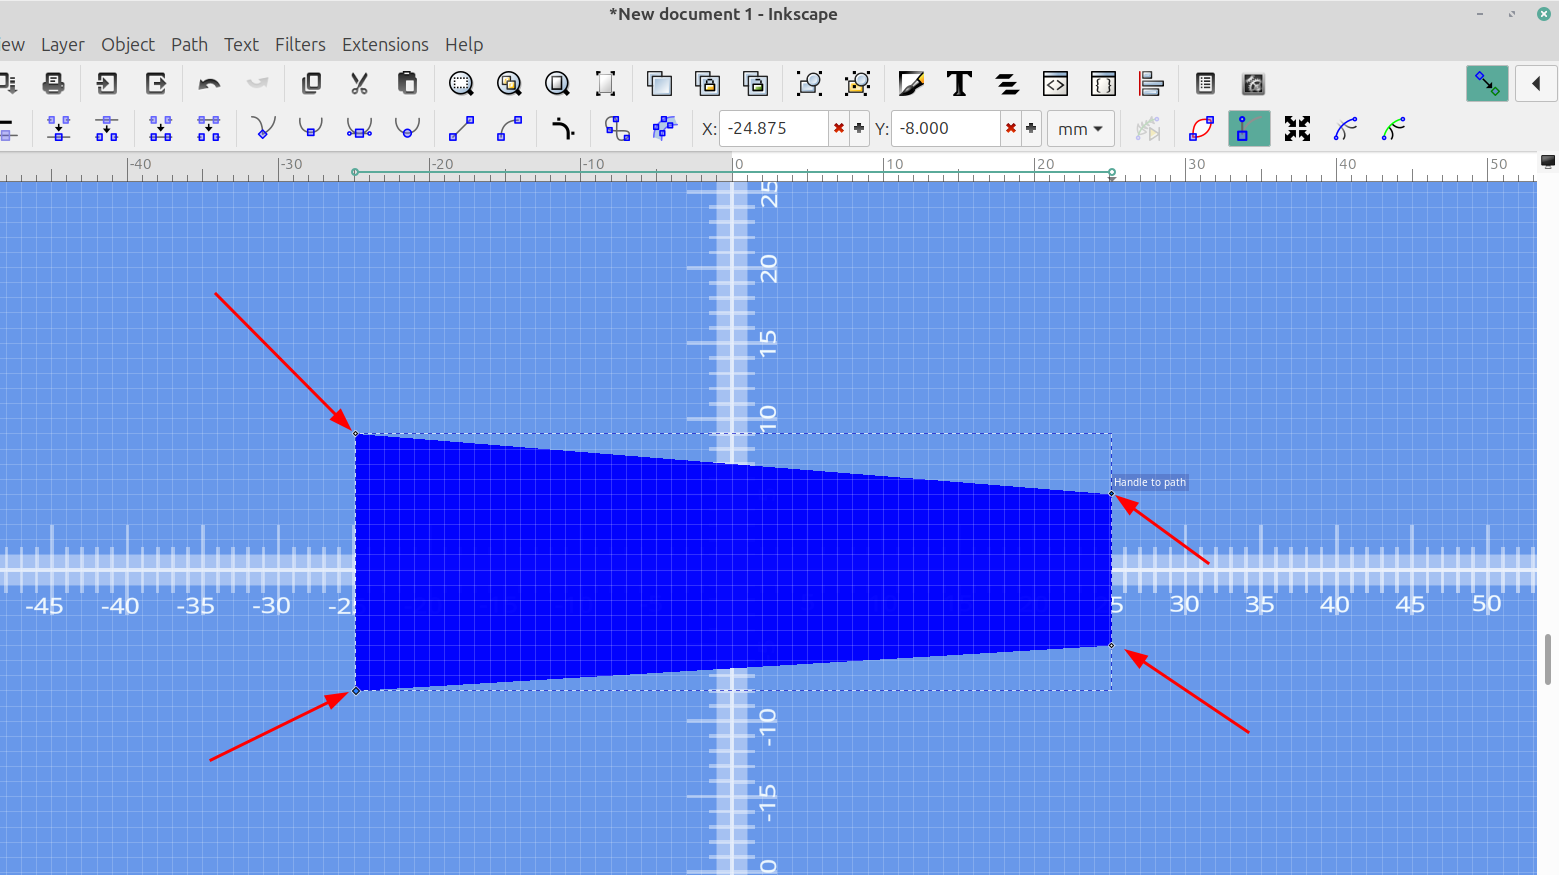
Then I used the mouse and the CTRL key to adjust the corners to the size I wanted. Holding down the control key while you move the node makes it stay in a straight line:
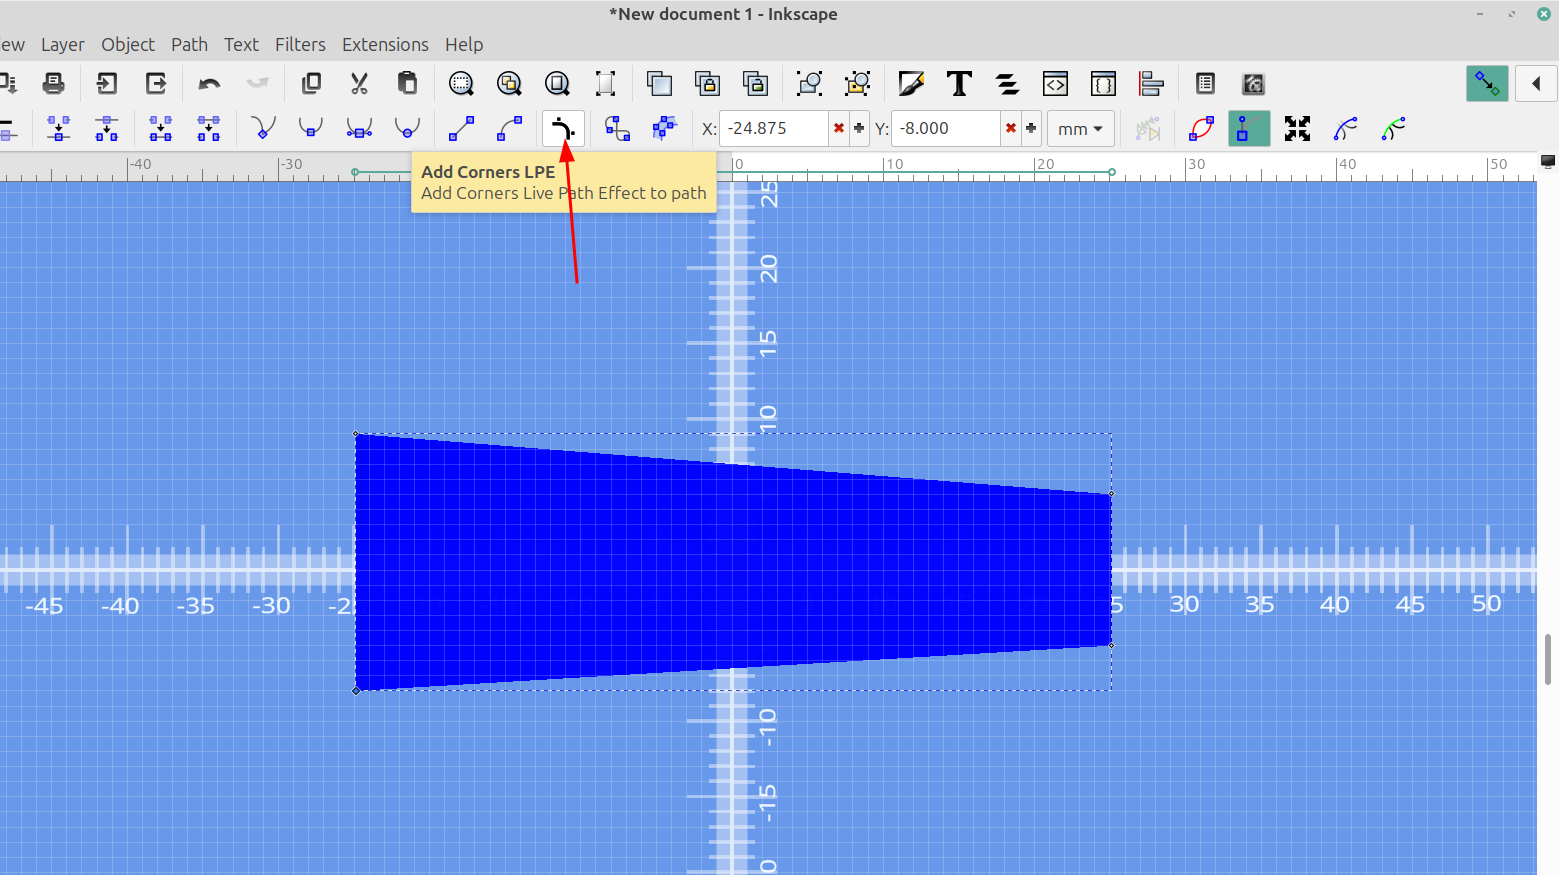
I selected the add corners live path effect:
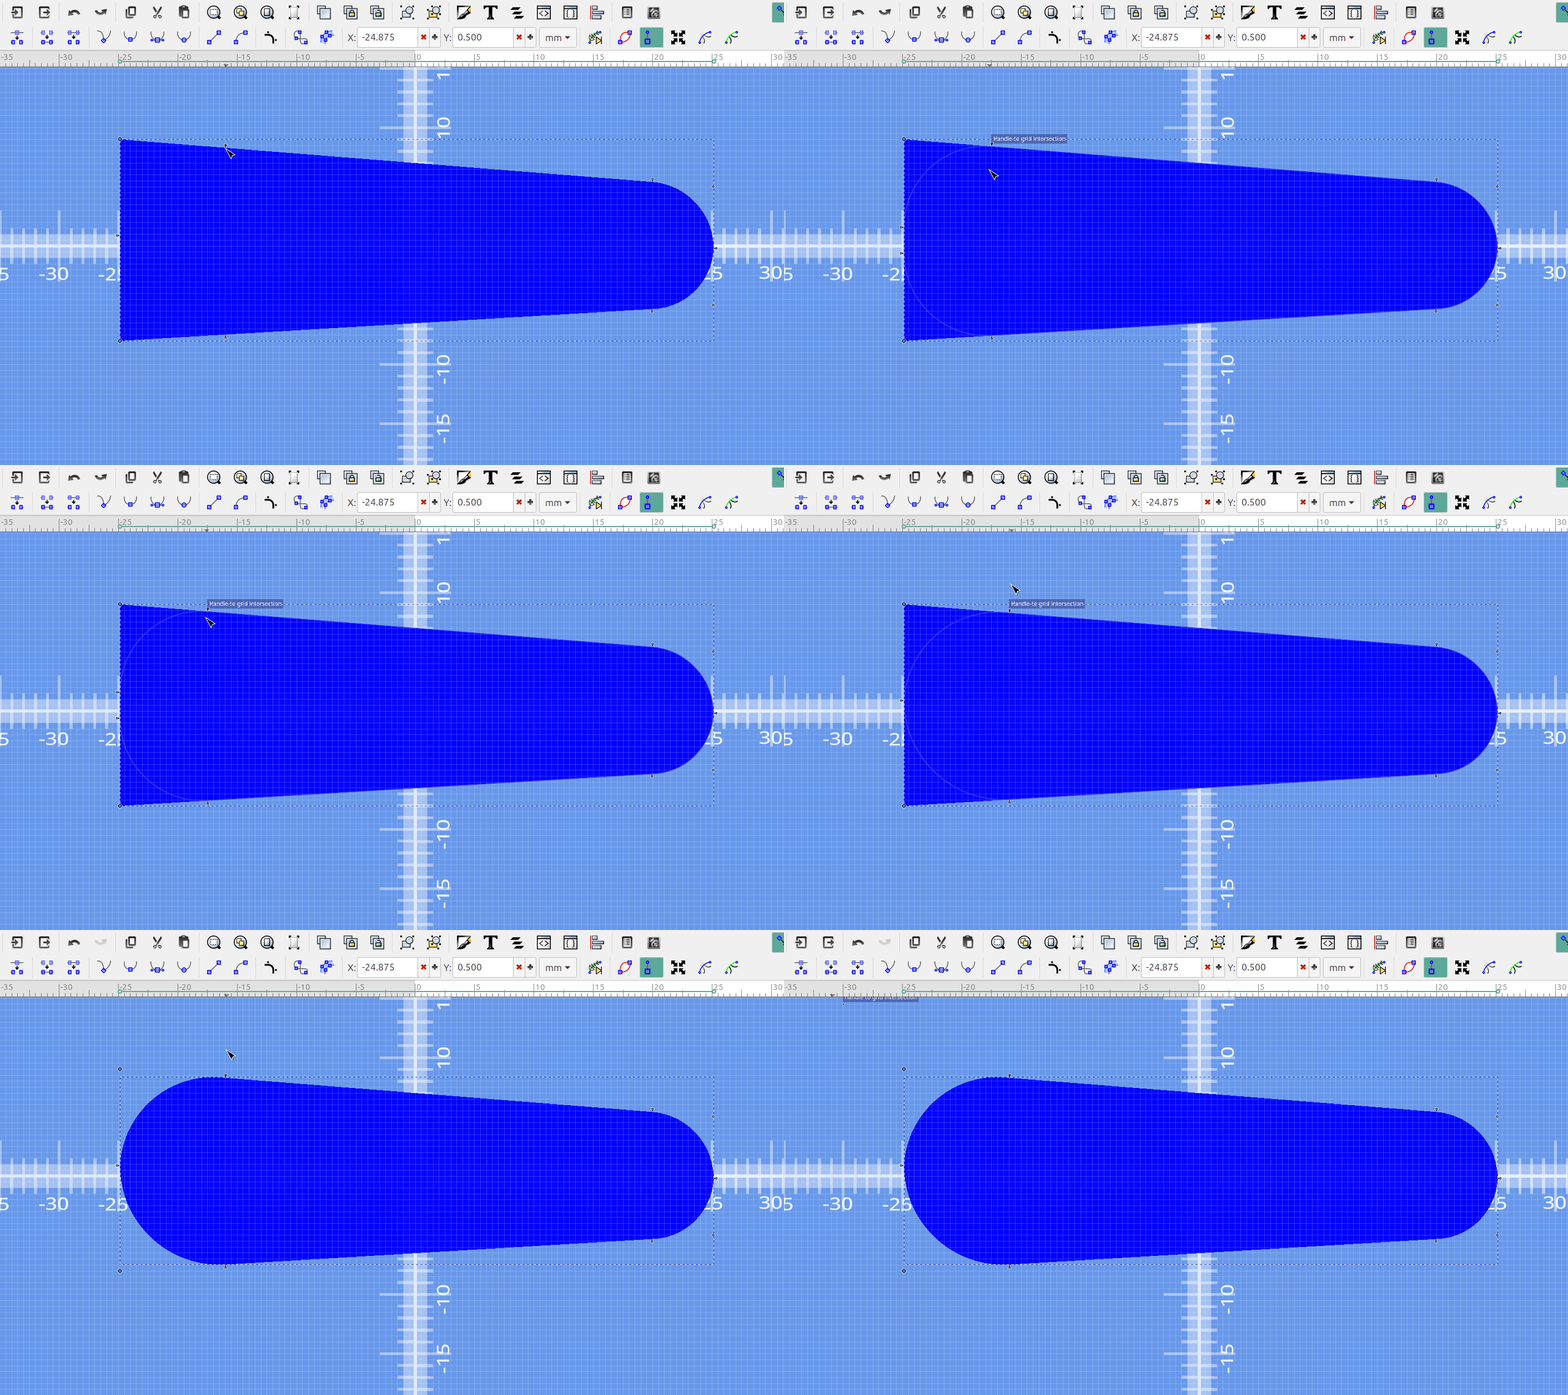
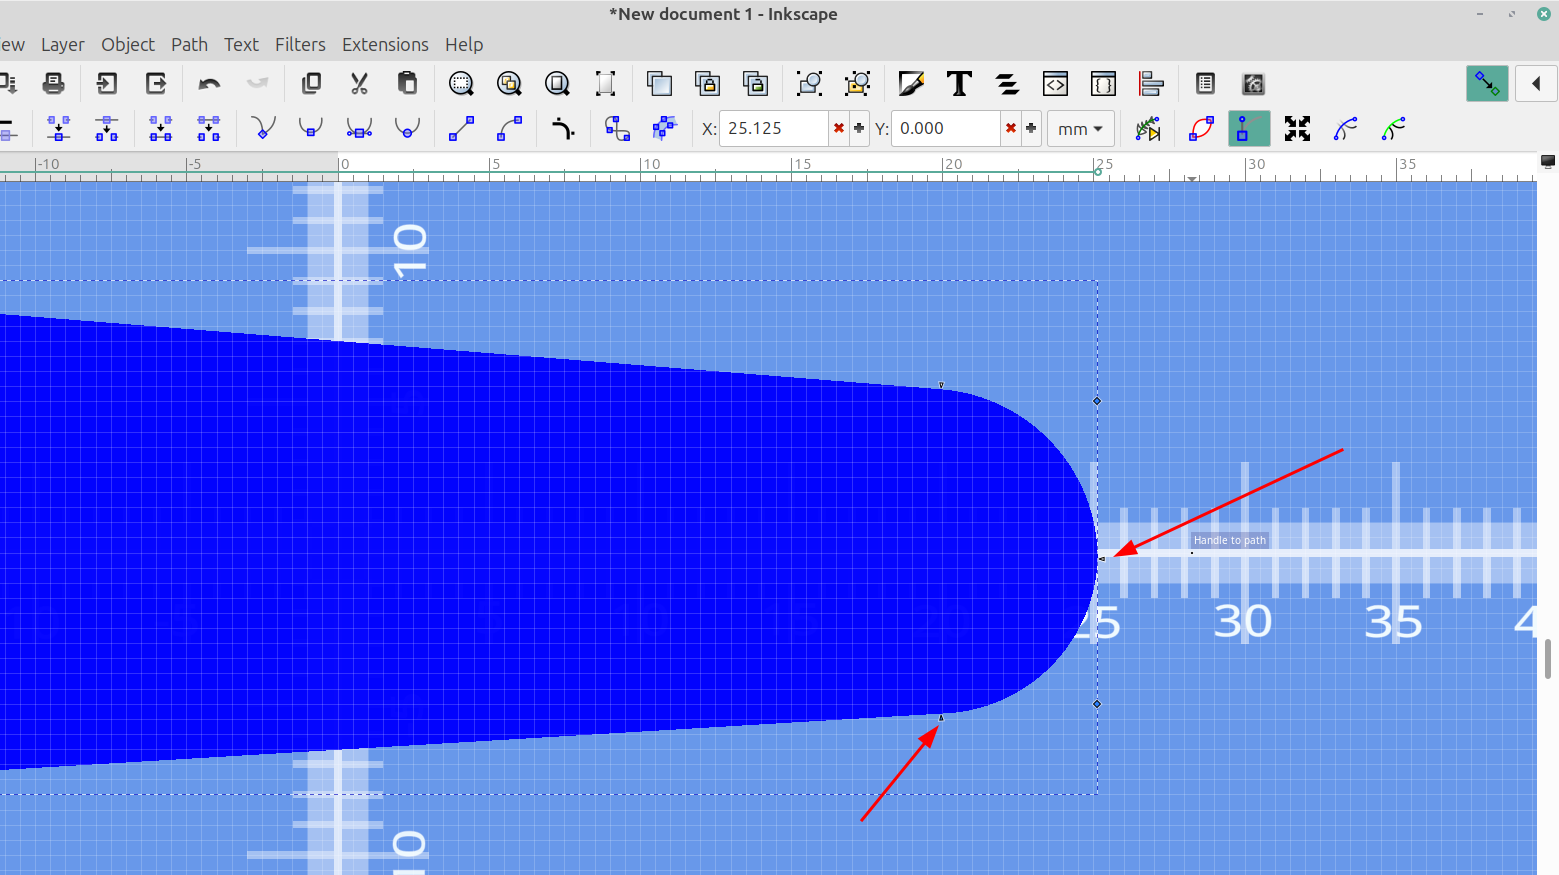
And then I moved the handles until the arrows were right over one another to make a round end on each end, it might take a second for the gif to load:
Once I had the shape I wanted I copied, pasted and rotated it to the correct angle:
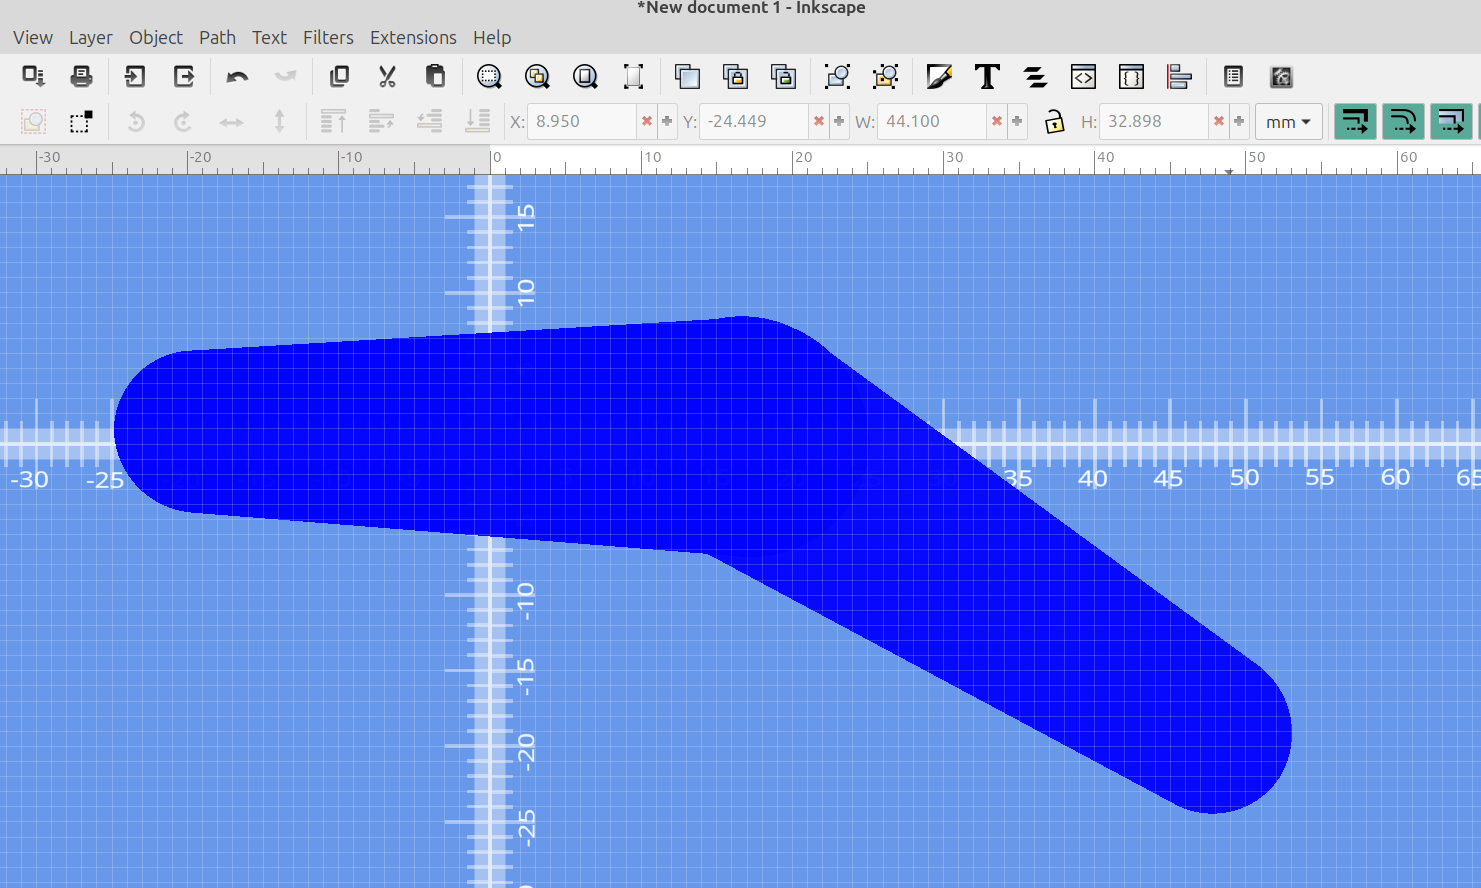
I selected both objects and used Path>union to make them one shape.
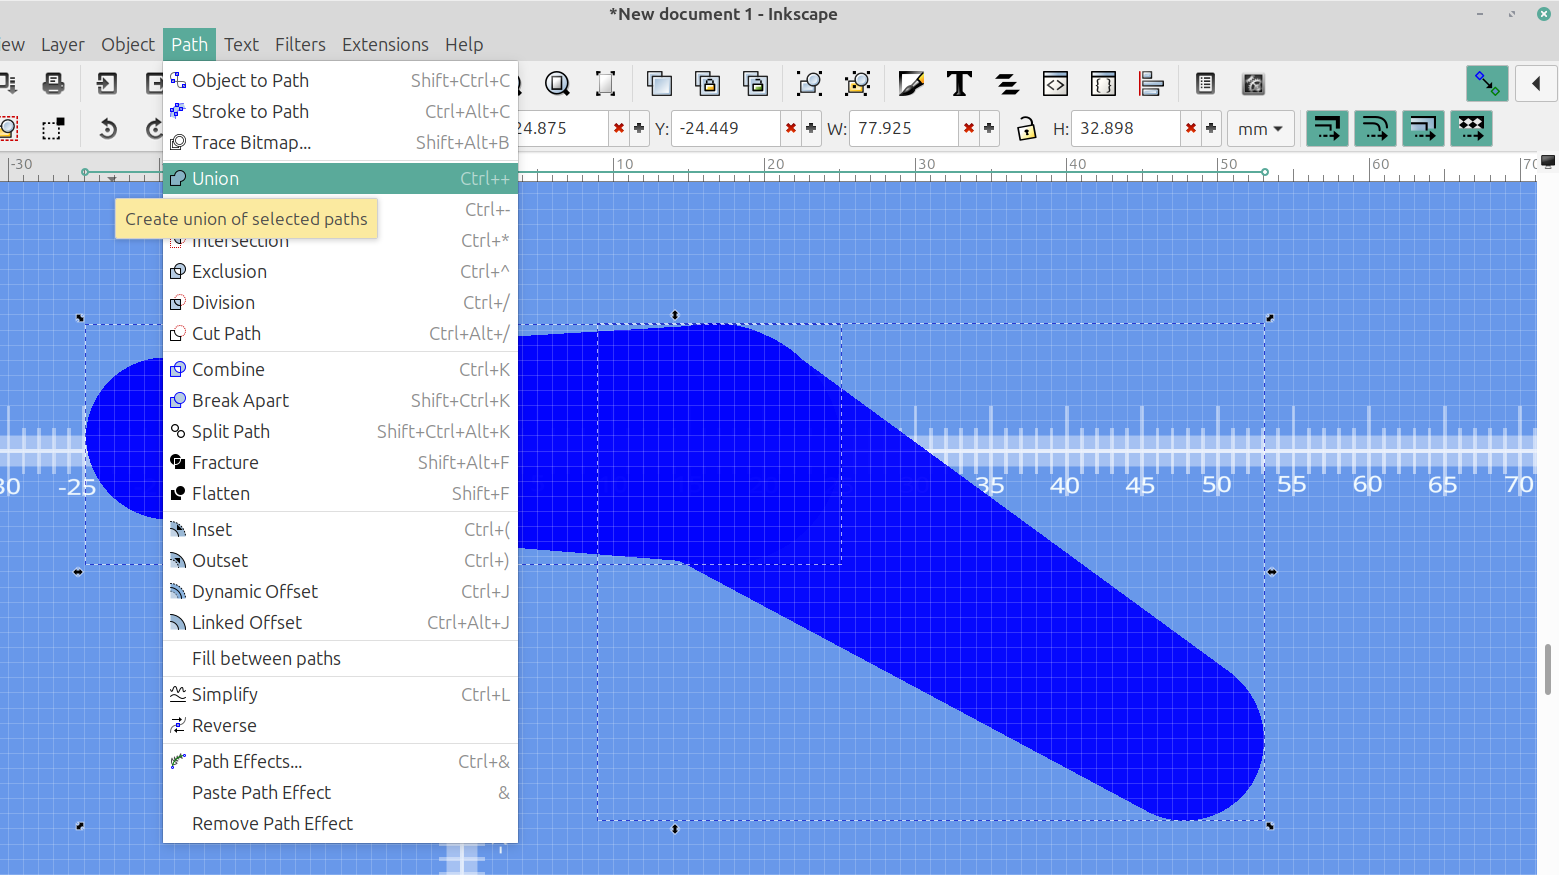
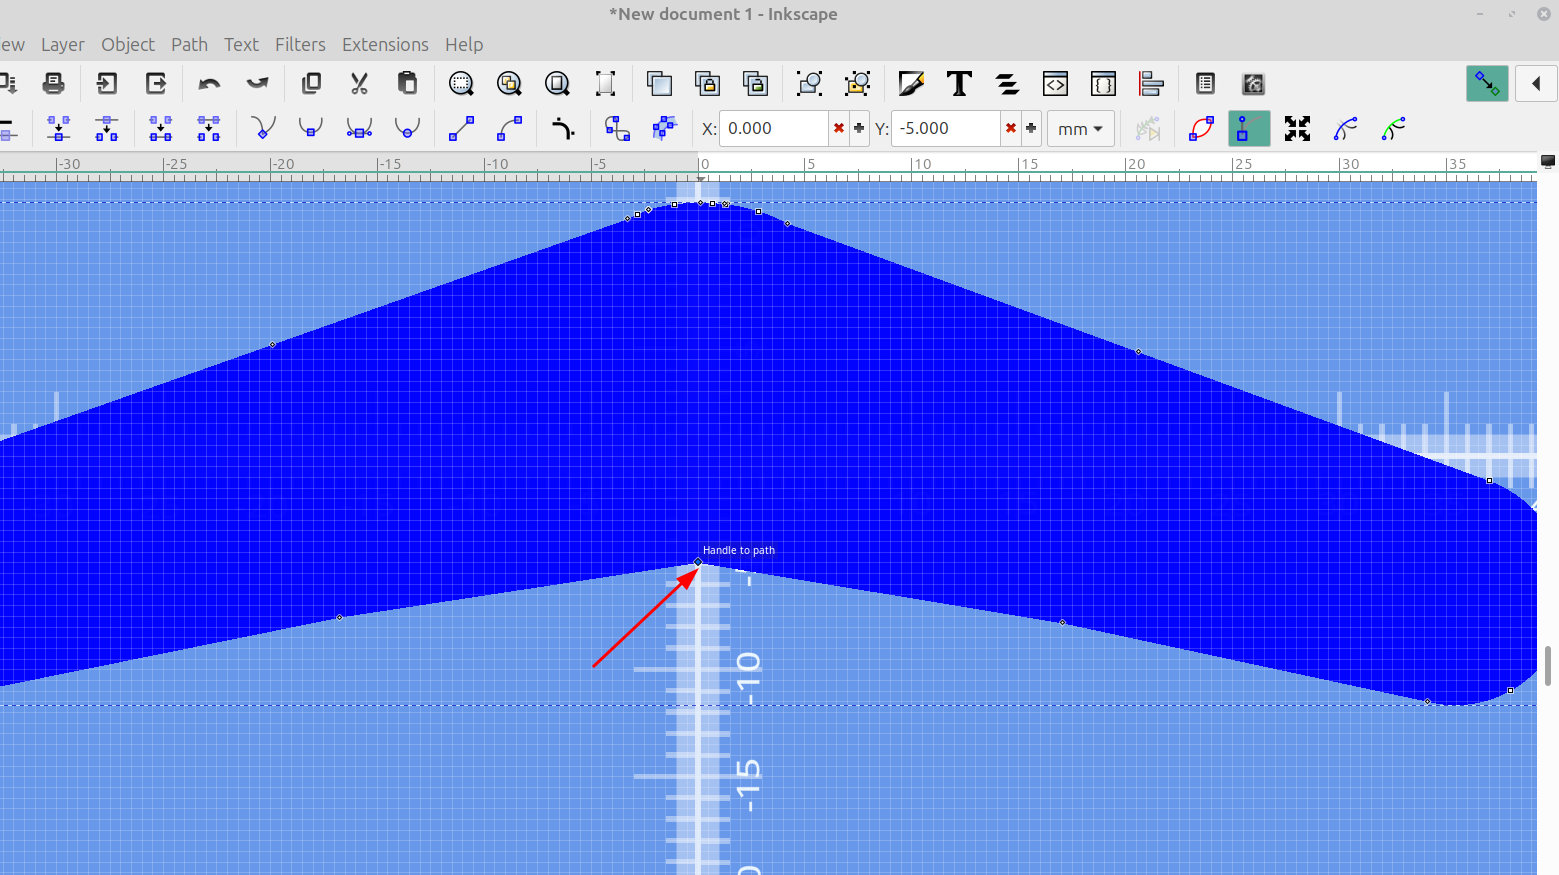
I then selected the node tool again and selected just the one node where the two objects met at the bottom and selected the add corners live path effect again:
It will take a second for the gif to load
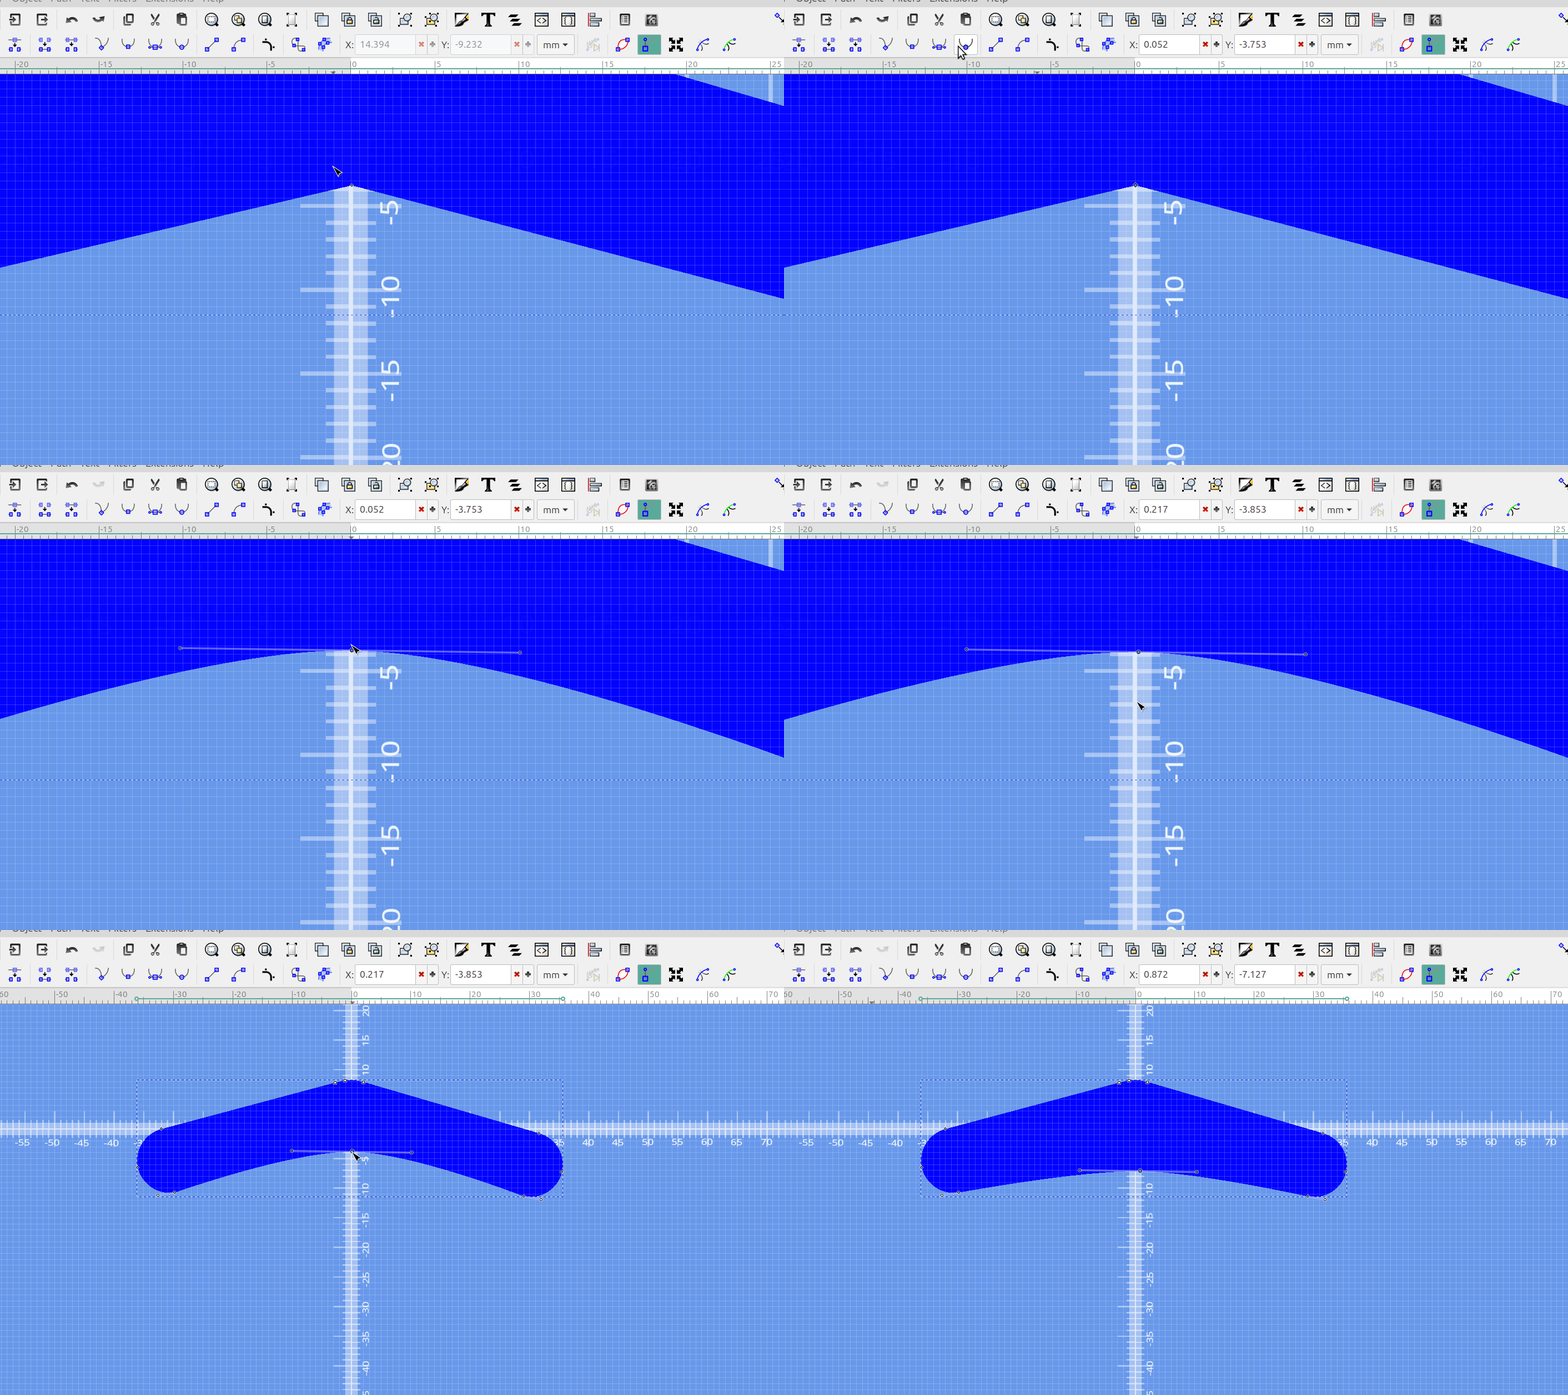
Now I can drag the node to the desired position.
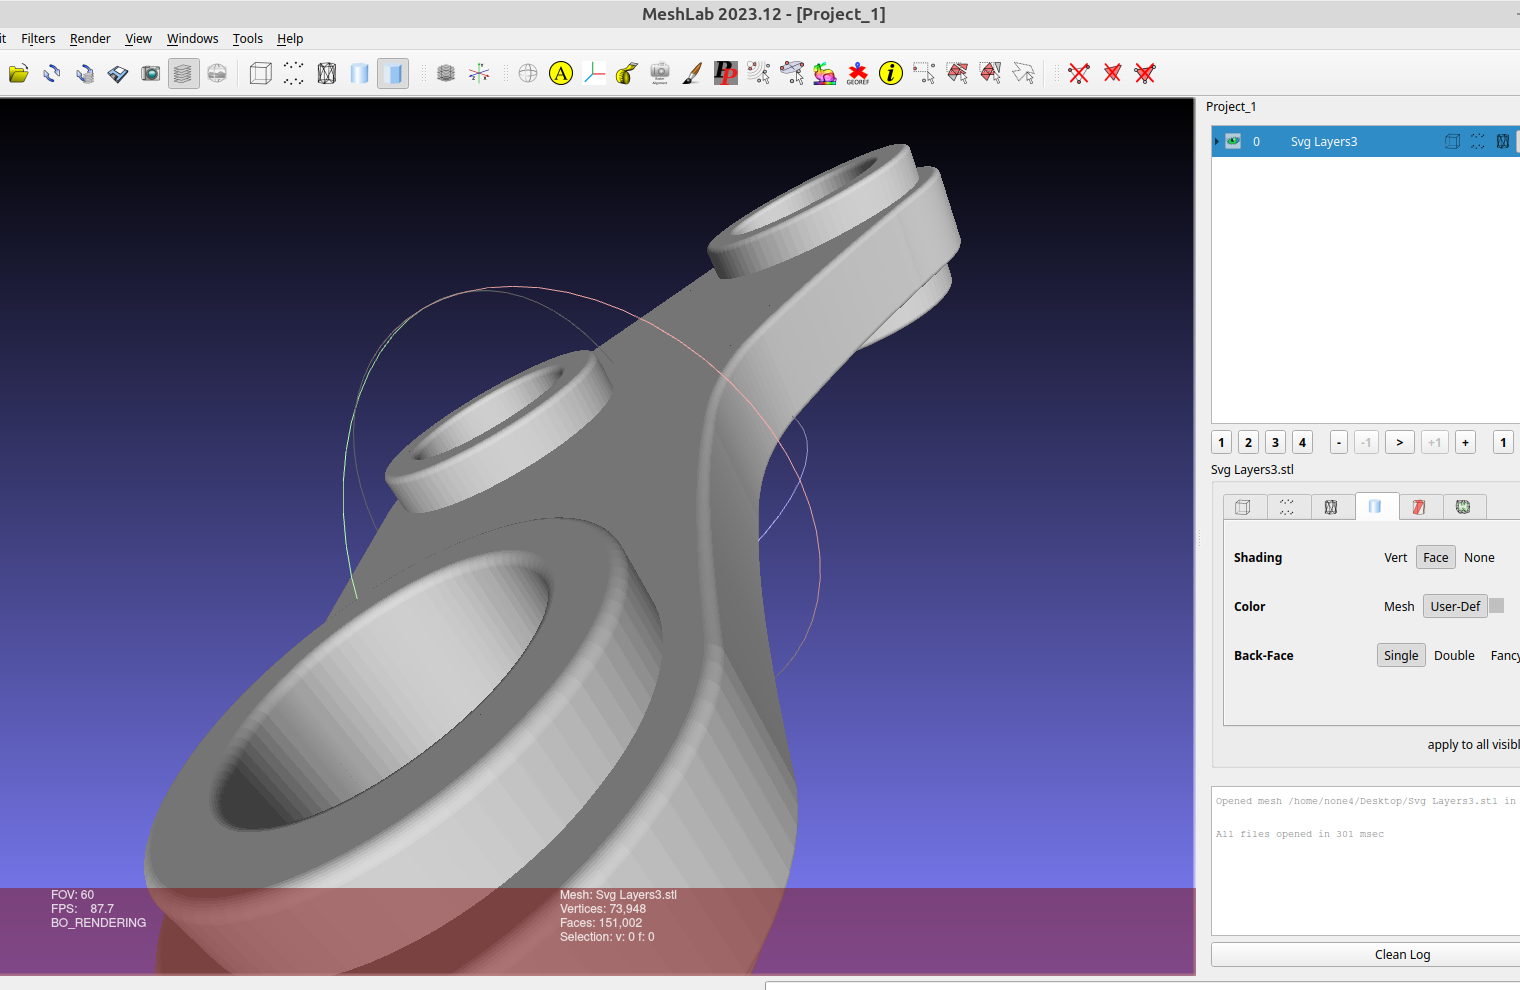
Here is one I made with through holes and rings on layer 2 so I can extrude them to different heights:
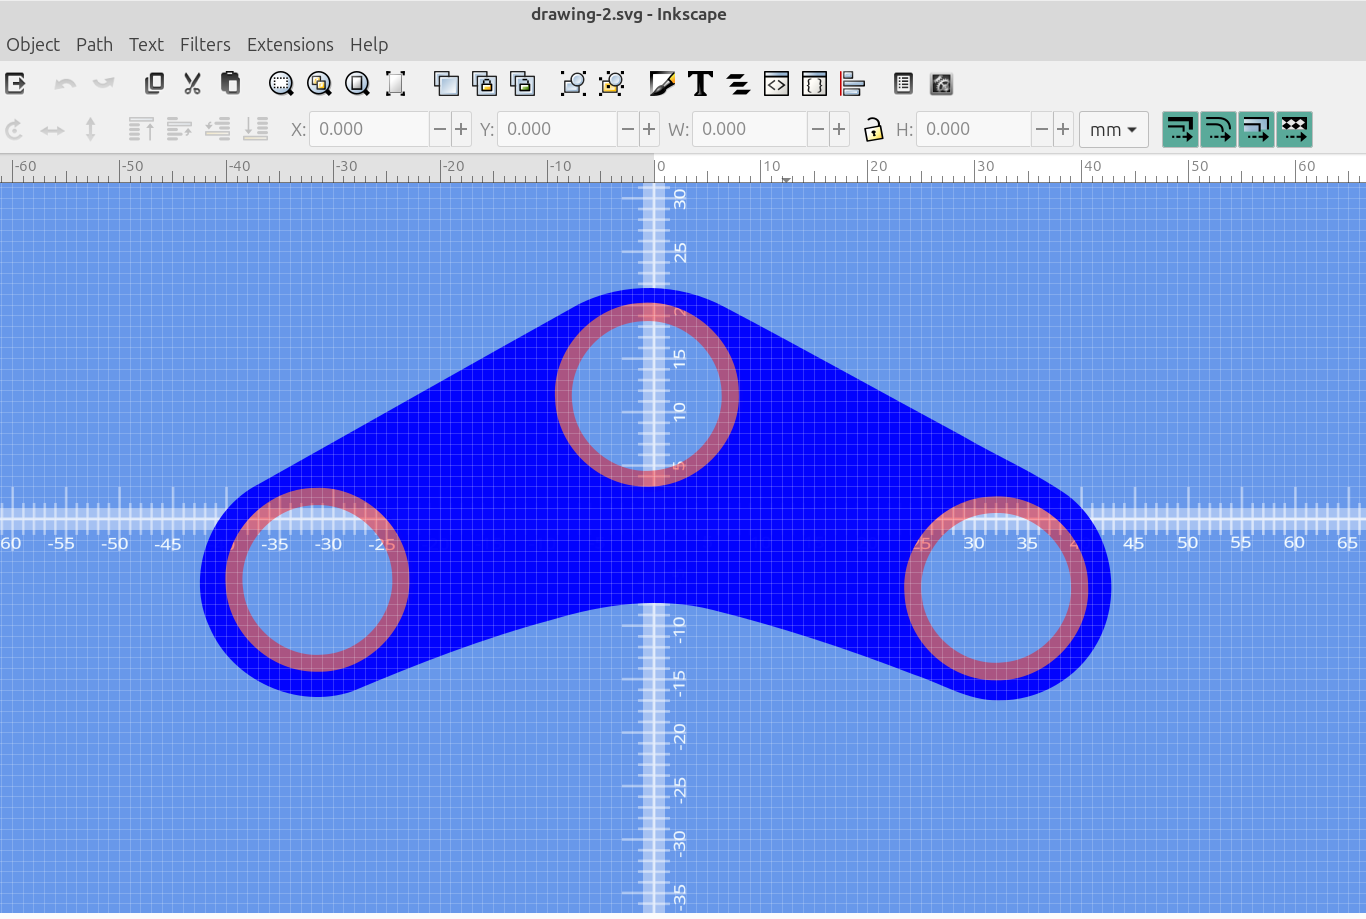
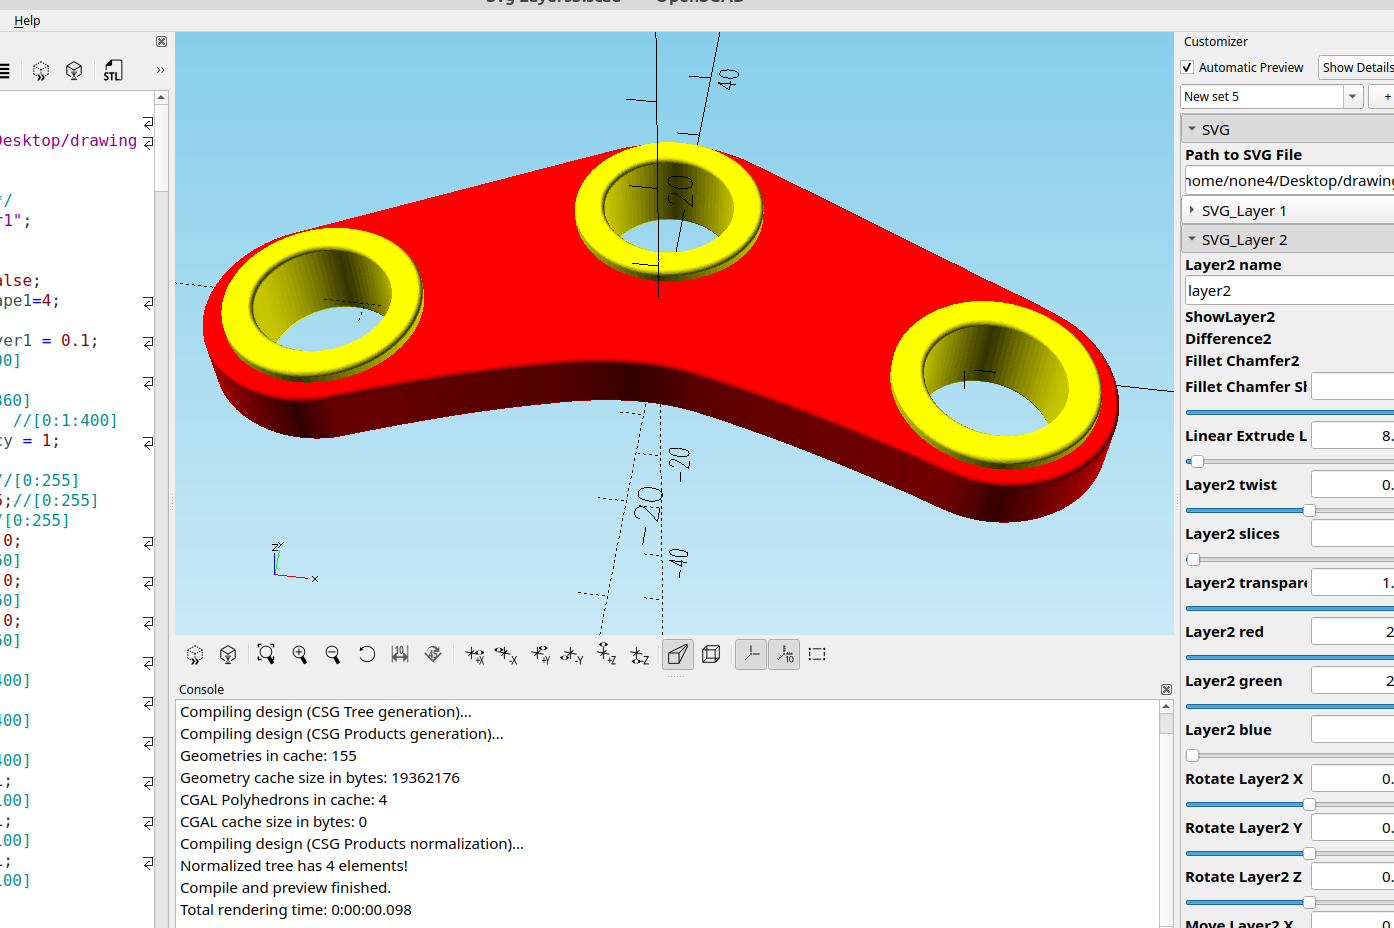
To make the circles smooth I have been adding multiple new nodes and converting them to really small line segments, which is fine because most 3d printers can only approximate a circle with super small linear moves, but this causes the design to take longer to render in OpenSCAD, it turns out there is a way to do it that works and doesn't need all of those nodes
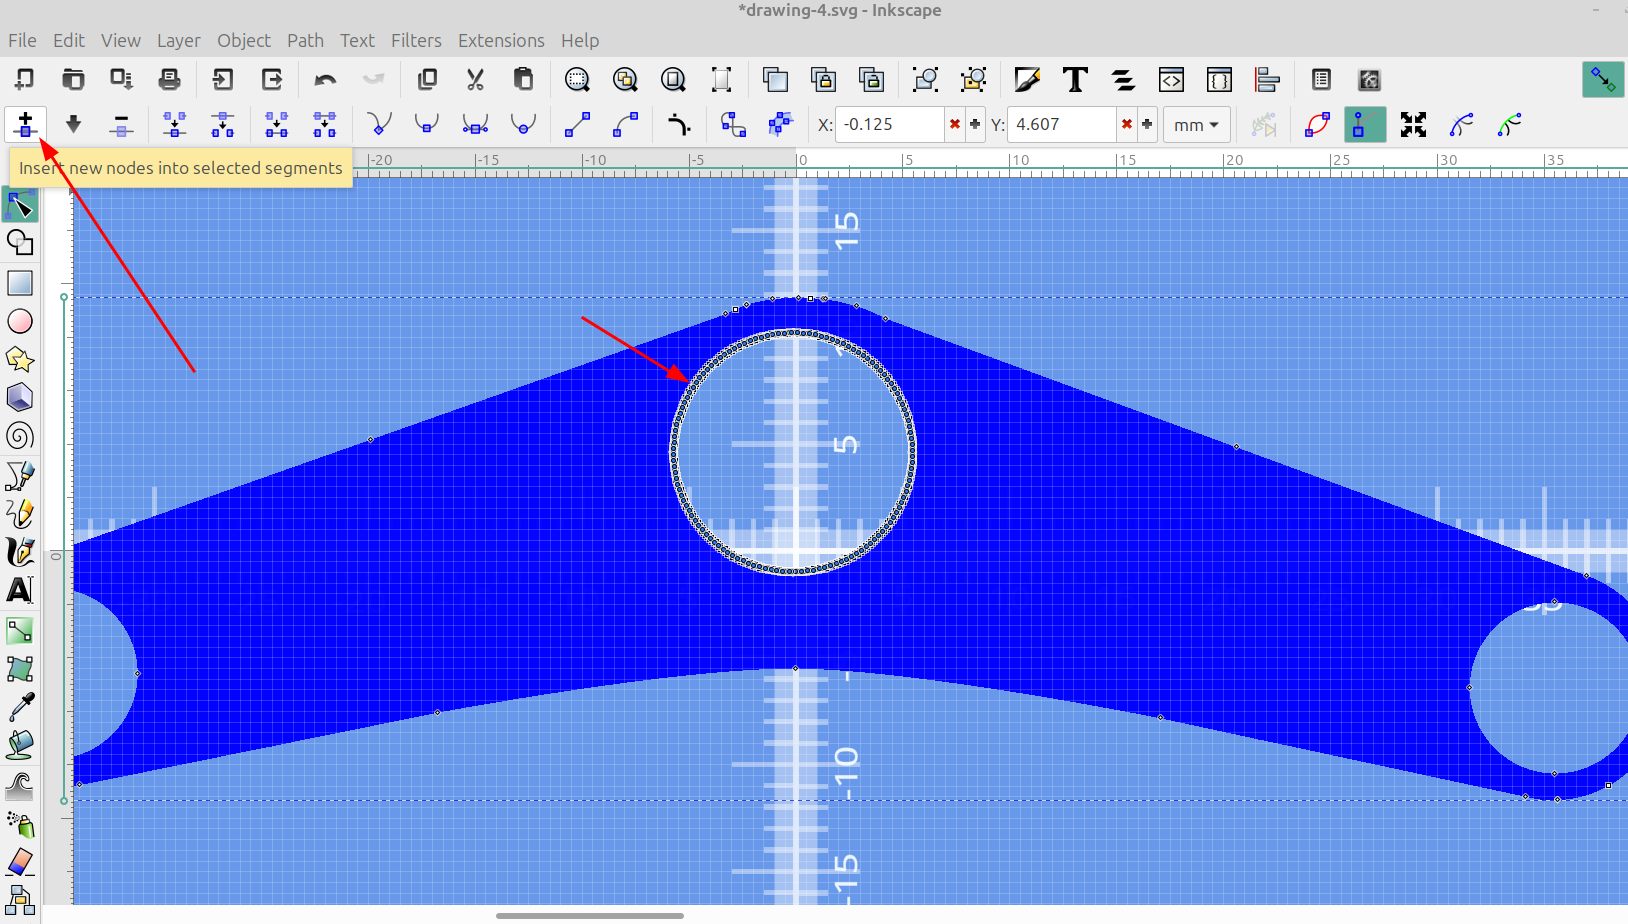
I still add multiple nodes, but I select them and use make selected nodes auto smooth, then goto path>simplify:
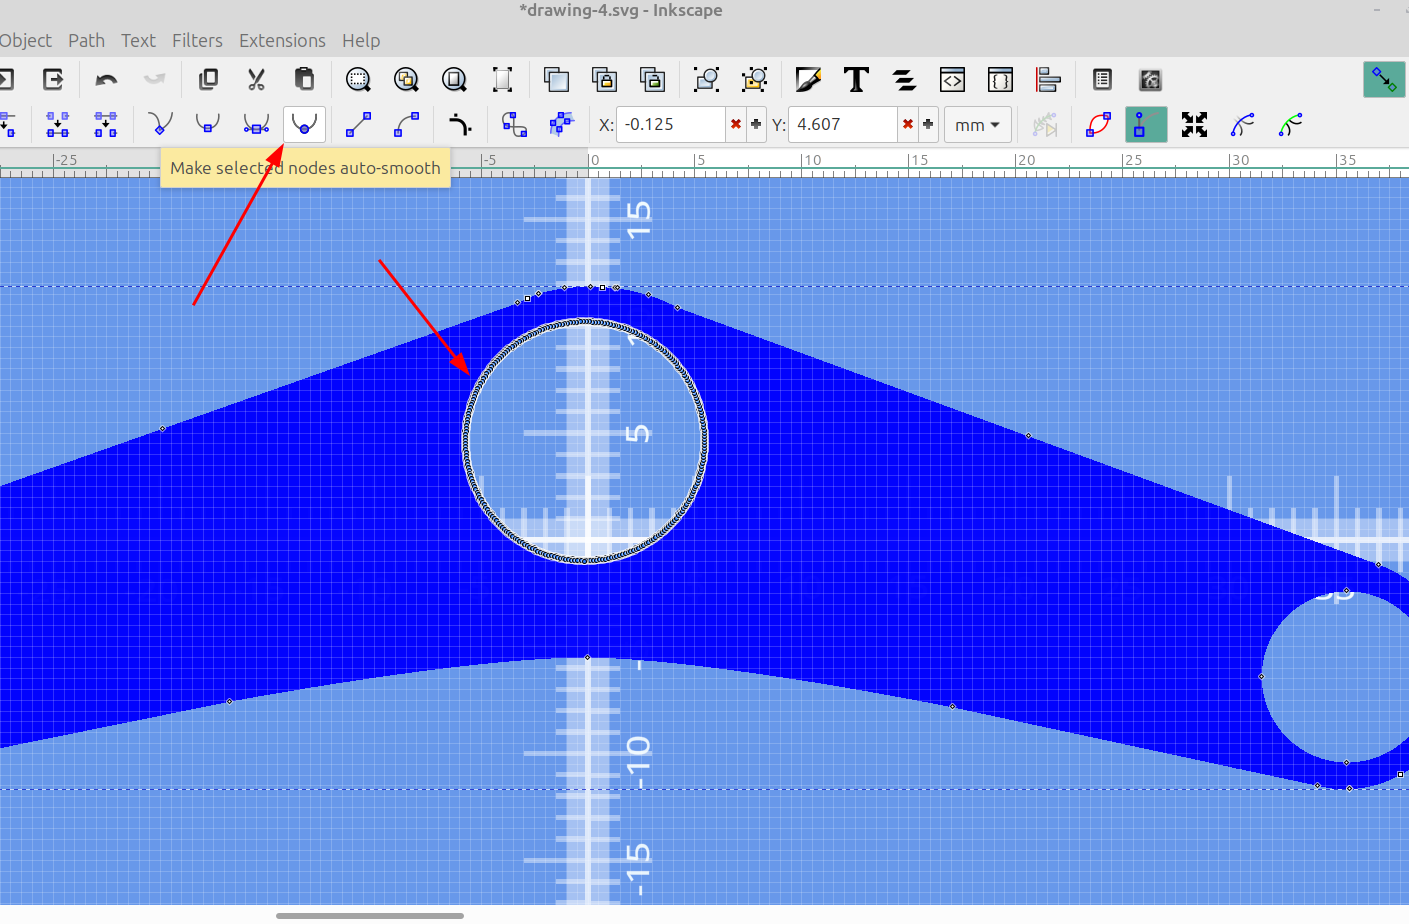
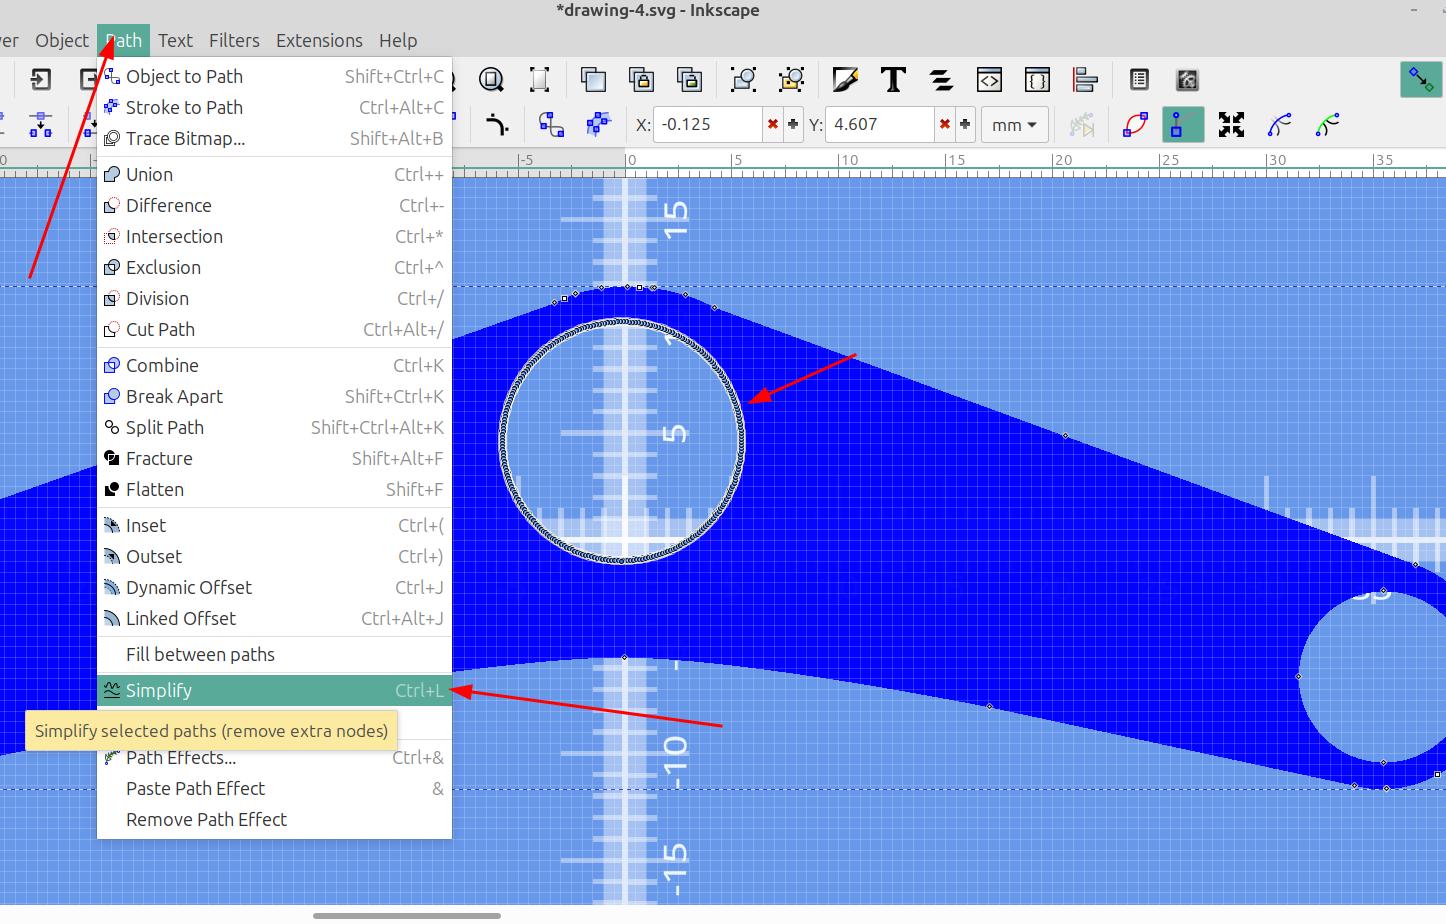
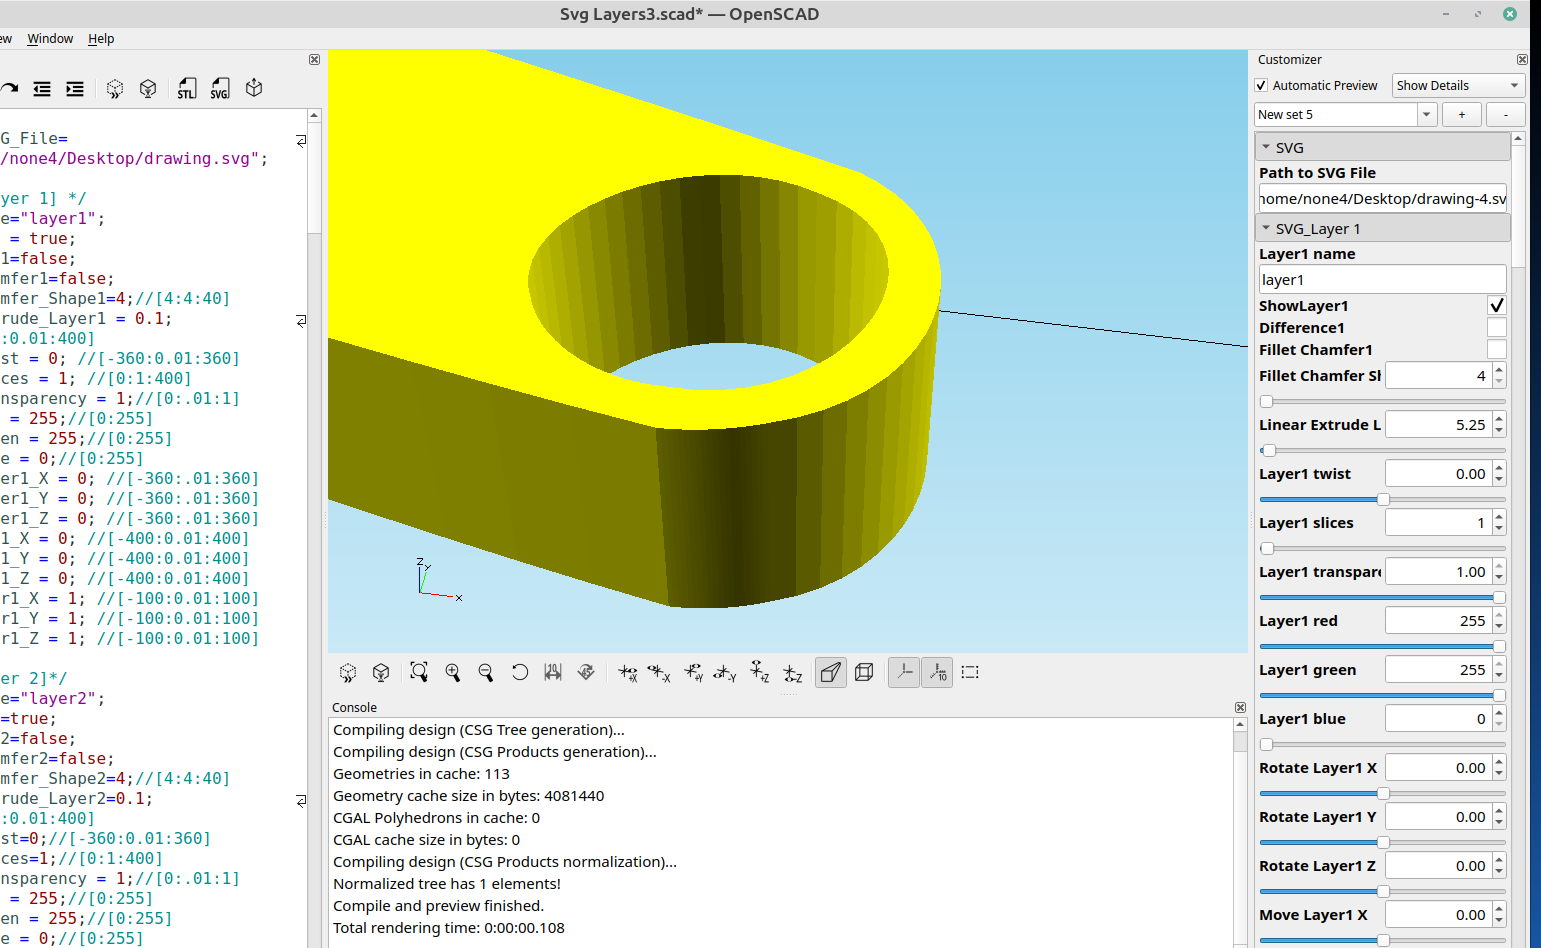
This makes the corners smooth but only have a few nodes so they render fast, here is the result:
Before:
and after:
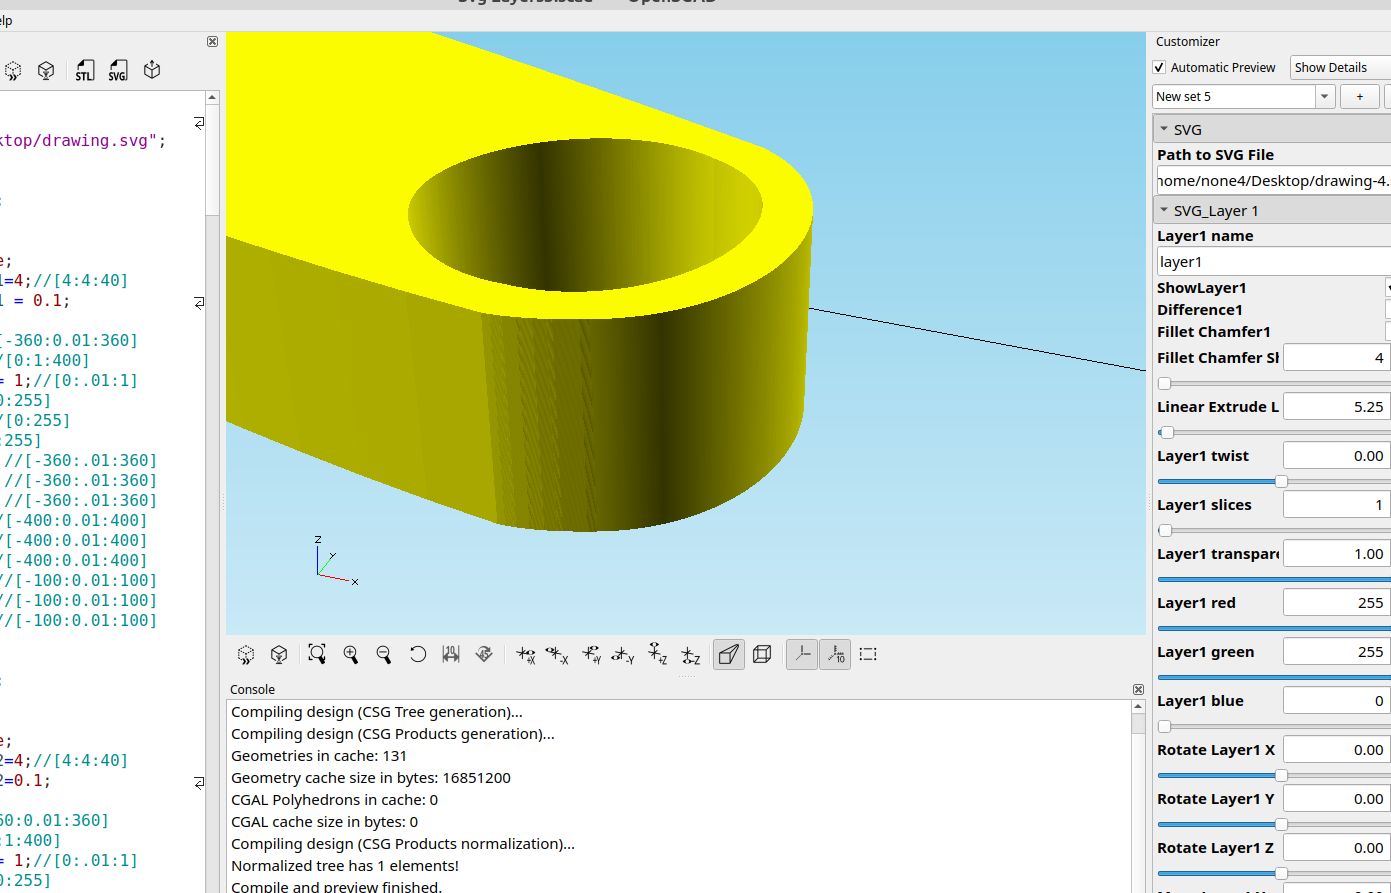
There is still a small area where I wasn't paying attention when I adjusted the nodes so it doesn't line up very well at the transition, but the bend is much smother and renders much faster. After this is printed I doubt any of the small stuff will be noticeable.
